All categories
Featured selections
Trade Assurance
Buyer Central
Help Center
Get the app
Become a supplier
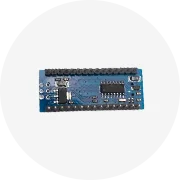
Arduino mini pro
(999+ products available)
Alibaba
Electronic Components, Accessories & Telecommunications
Development Boards, Electronic Modules and Kits
Electronic Modules(old)
Previous slide
Next slide
For
Arduino
LGT8F328P-SSOP20 MiniEVB Replacement
Pro
Mini
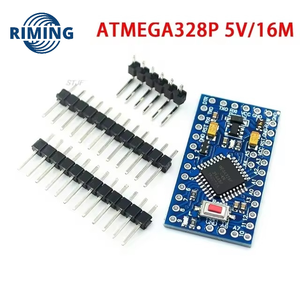
ATMEGA328P
$0.95-1.01
Min. order: 10 pieces
Previous slide
Next slide
S2
Mini
V1.0.0 ESP32-S2 4MB FLASH WIFI Development Board IoT Microcontroller
Ready to Ship
$1.58-1.65
Min. order: 1 piece
Previous slide
Next slide
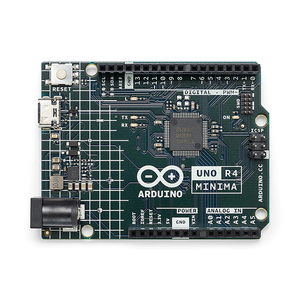
Original
Arduino
UNO R4 Minima Development Board ABX00080 Boasting the RA4M1 Microprocessor from Renesas
Ready to Ship
$18-20
Min. order: 1 piece
Previous slide
Next slide
YC
Pro
Mini
Improved Version ATMEGA328P 5V/16MHz 3.3V/8MHz for
Ready to Ship
$1.60-2
Min. order: 10 pieces
Previous slide
Next slide
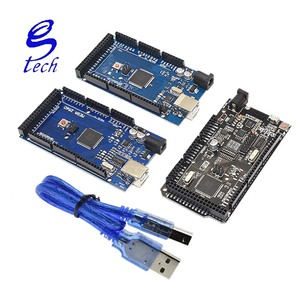
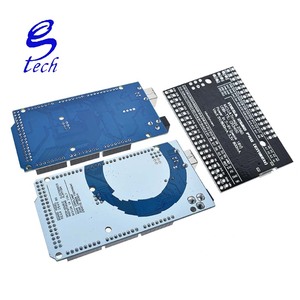
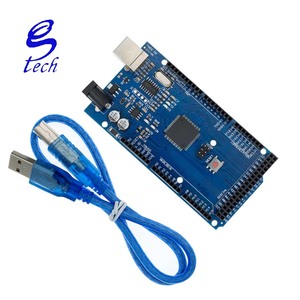
MEGA2560 ATMEGA16U2 MEGA2560
Pro
Mini
R3 ATmega2560 CH340G USB Board Development Board with USB Cable for CH340G
$10-14
Min. order: 5 pieces
Previous slide
Next slide
YDL Electronic Components
Pro
Mini
ATMEGA328P
$0.25
Min. order: 1000 pieces
Previous slide
Next slide
New and Original ATMEGA328P
Pro
Mini
3.3V/8M 5V/16M For
Arduino
Compatible For Nano Module
$0.10-2.99
Min. order: 1 piece
Previous slide
Next slide
Pro
Mini
Improved ATMEGA328P 3.3V8M 5V16M Interactive Media
Ready to Ship
$0.48-1.04
Min. order: 1 piece
1
2
3
4
5
More pages
27
Top categories
Electronic Accessories & Supplies
Power Supplies
Telecommunications
Audio Components and Products
Development Boards, Electronic Modules and Kits
Discrete Semiconductors
Displays, Signage and Optoelectronics
Passive Components
Sensors
Wireless & IoT Module and Products
PCB & PCBA
Circuit Protection
Connectors, Terminals & Accessories
Isolators
RF, Microwave and RFID
Relays
Previous slide
Next slide
Related Searches:
low power arduino
barometre arduino
arduino 2560 mega
1602a arduino
30 arduino
16u2 arduino
vcc arduino
gy 87 arduino
mega arduino 2560
rx tx arduino
pro micro arduino
rotation arduino
l298 arduino
mini arduino
apa arduino