All categories
Featured selections
Trade Assurance
Buyer Central
Help Center
Get the app
Become a supplier
(1959 products available)


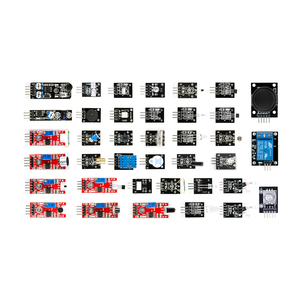

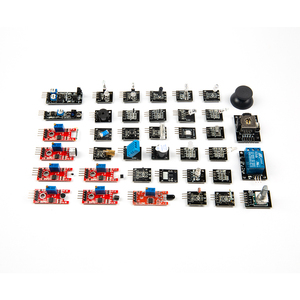
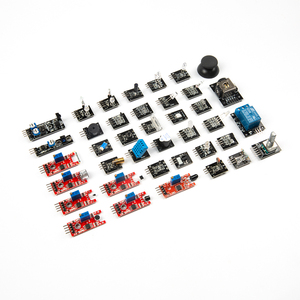
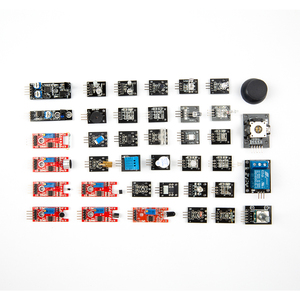
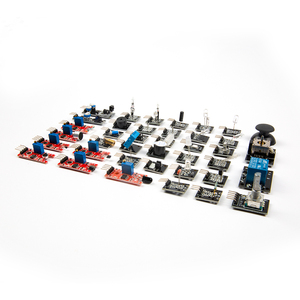


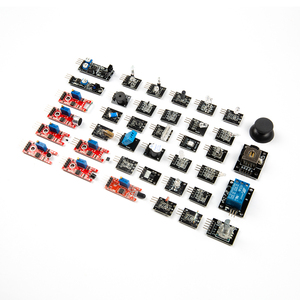

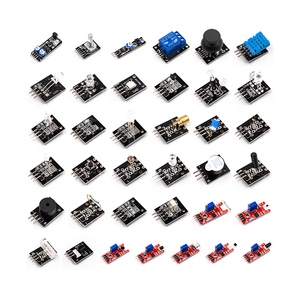
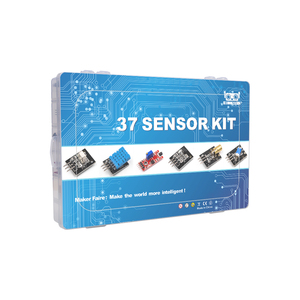
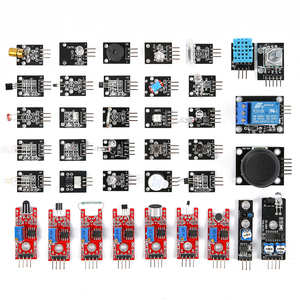
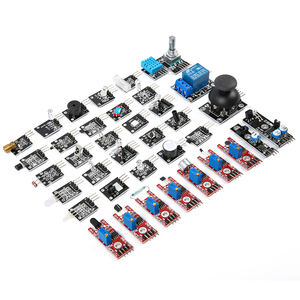
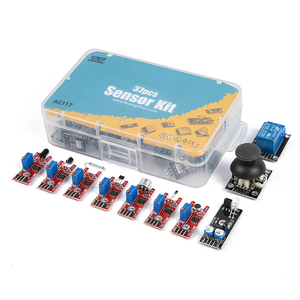
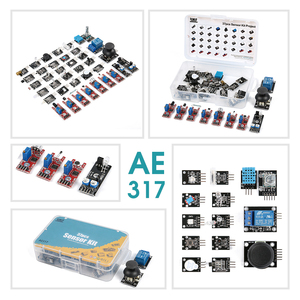
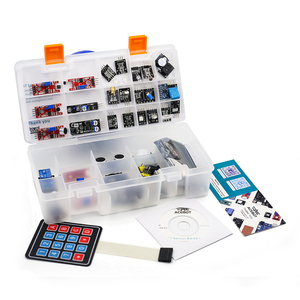
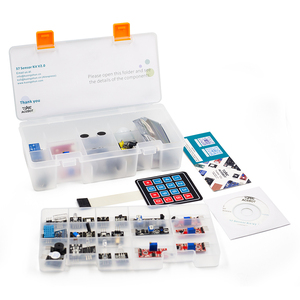
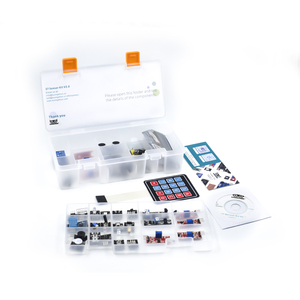

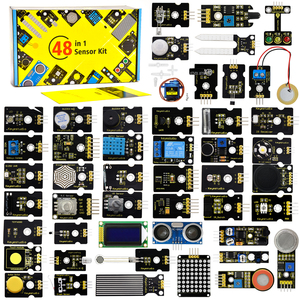
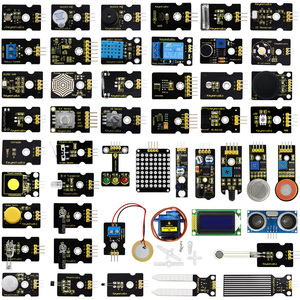
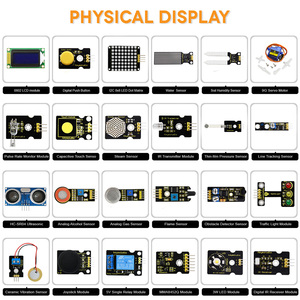
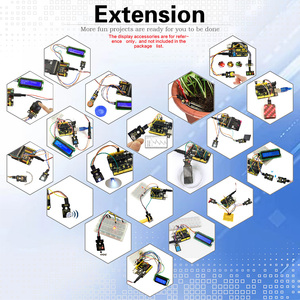


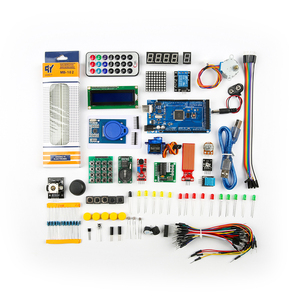

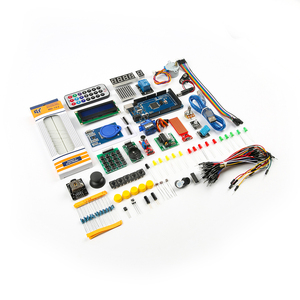
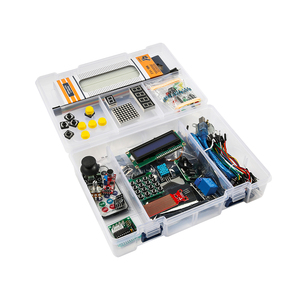
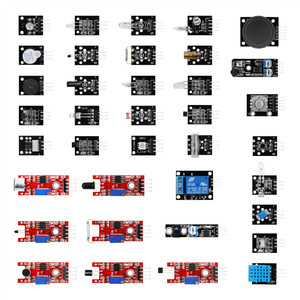
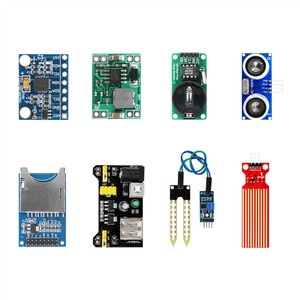
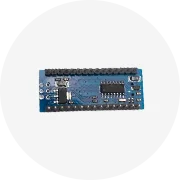
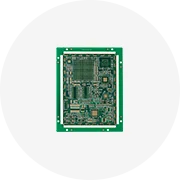
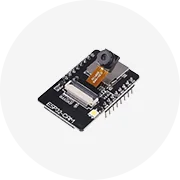
An Arduino sensor kit is a collection of electronic components used to build projects, learn programming, and understand electronics. The kits come with an Arduino board, various sensors, and other electronic components. Different types of Arduino sensor kits are available, including:
The Arduino sensor kit has many specifications that are important for different projects. Here are a few:
Voltage supply
The recommended voltage supply for the Arduino board is 5V. It is the standard voltage for most sensors and components.
Voltage supply for sensors
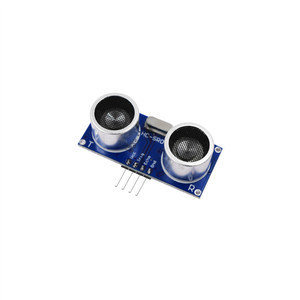
Different sensors in the Arduino sensor kit work with different voltage supplies. Most of them work with a 5V supply like the Arduino board. However, some sensors like the temperature sensor and the ultrasonic sensor need a higher voltage of about 9V to function properly.
Current draw
The current draw of the Arduino board varies depending on the model. On average, it ranges from 50mA to 100mA. Each connected sensor draws an additional current, which can vary from a few microamps to tens of milliamps, depending on the sensor type.
Communication protocol
There are different communication protocols used for communication between the Arduino board and the sensors. The common ones include Serial, SPI, and I2C.
Sensor interface
The sensors connect to the Arduino board using different interfaces. Depending on the type of sensor, it can be through digital pins, analog pins, or specialized communication interfaces like I2C or SPI.
Proper maintenance of the Arduino sensor kit is very important for improved accuracy and reliability. Below are some maintenance tips:
When reselling Arduino sensor kits, it’s crucial to understand the target market and the needs of the customers. Here are some factors to consider:
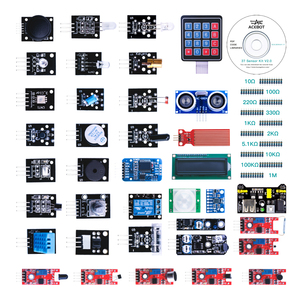
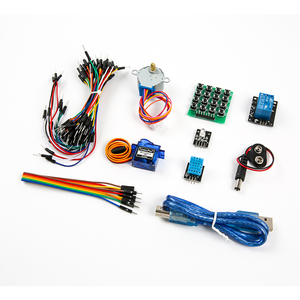
Type of Sensors
Different sensor kits have various sensors. Some have light sensors, while others have motion or temperature sensors. Consider stocking up on kits with varied sensors to meet different customers' needs.
Branding
Many customers prefer well-known and reliable brands. Consider choosing Arduino sensor kits from reputable brands. Such kits come with quality components that will serve the customers well. One can also choose to buy unbranded kits. In this case, it is advisable to buy from a trusted supplier to ensure quality.
Quality of Components
As mentioned earlier, the quality of components in a sensor kit matters. Look for kits with quality sensors that give accurate readings. Also, consider the quality of other components in the kit, such as the Arduino board, cables, and connectors.
Target Market
Different sensor kits target different markets. Some target professionals, while others target students and Arduino hobbyists. Consider the target market and stock up on kits that are within the budget range. For example, if targeting students, it is advisable to get more basic sensor kits. Advanced kits with more complex sensors can be pricy and are mostly preferred by professionals.
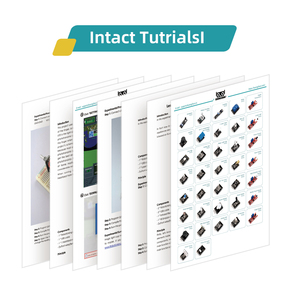
Documentation and Support
Consider the documentation and support that comes with an Arduino sensor kit. Is the documentation easy to understand? Does it have detailed guides and tutorials? Kits that come with proper documentation are easier to use. Also, consider the support from the manufacturer or supplier. Can one get help if there are any issues with the components?
To replace an Arduino sensor kit, first, find out what the current kit is. Look at the board and see what it says. It should tell you what kind of kit it is. Once you know, go to the store and find a kit that has the same board in it.
Replacements can be done using the following steps:
Q1: How should an Arduino sensor kit be maintained?
A1: Proper maintenance of the Arduino sensor kit is crucial for its longevity and optimal performance. Always keep the kit clean and dry to avoid dust accumulation, which can damage the sensors and circuit boards. Users should store the kit in a safe place away from children to prevent accidents. Additionally, ensure that batteries are replaced when needed to maintain adequate power supply to the sensors and Arduino board.
Q2: Can beginners learn to use the Arduino sensor kit by themselves?
A2: The Arduino sensor kit is designed for beginners, and learning to use it is possible. With the extensive online community, tutorials, and resources available, users can acquire the necessary skills. Moreover, the detailed documentation and examples provided in the kits guide users through various projects and help them understand concepts progressively.
Q3: What can buyers do in case of faulty sensors in the Arduino sensor kit?
A3: In case of faulty sensors in the Arduino sensor kit, users should first check the connections, code, and power supply. If the issue persists, they can refer to the manufacturer's warranty and support for replacement or repair. Additionally, users can seek solutions from the active Arduino community or explore tutorials for troubleshooting guidance.
Q4: Can the Arduino sensor kit be used for commercial projects?
A4: The Arduino sensor kit can be used for various commercial projects, especially in prototyping and research. Its flexibility, expandability, and cost-effectiveness make it an attractive platform for developing and testing innovative ideas and solutions. However, for large-scale implementations, users should consider the technical limitations and explore Arduino-compatible solutions.
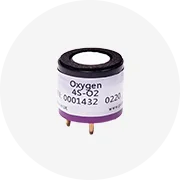
Q5: Does the Arduino sensor kit include a temperature sensor?
A5: Yes, some Arduino sensor kits include a temperature sensor, such as the LM35 or DHT11. These sensors allow users to measure and monitor temperature in their projects. However, the type and specifications of the included temperature sensor may vary depending on the Arduino sensor kit.