All categories
Featured selections
Trade Assurance
Buyer Central
Help Center
Get the app
Become a supplier
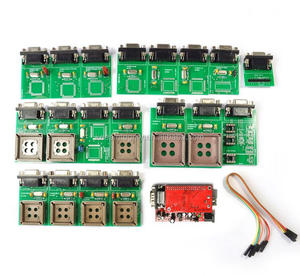
Eeprom serial programmer
(941 products available)
Alibaba
Vehicle Accessories, Electronics & Tools
Vehicle Tools
Diagnostic Tools
Previous slide
Next slide
Original new SPLY SP20P
Serial
EEPROM
/ Flash Universal ic
Programmer
in stock
$108.90-125.90
Min. order: 1 set
Previous slide
Next slide
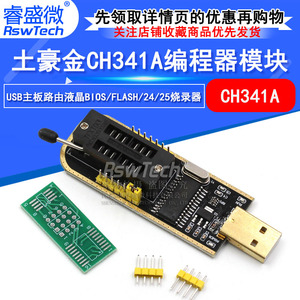
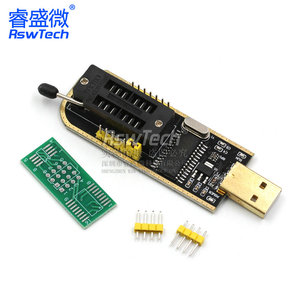
CH341A
Programmer
24 25 Series
EEPROM
BIOS Flash USB
Programmer
$3-3.22
Min. order: 1 piece
Previous slide
Next slide
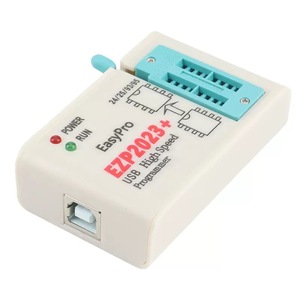
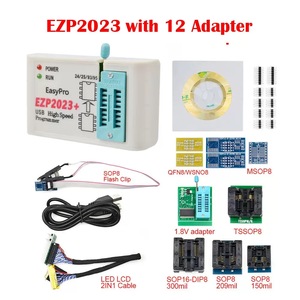
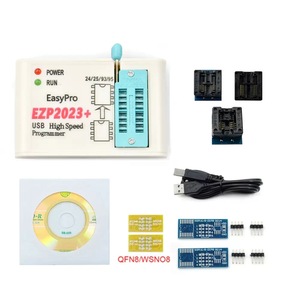
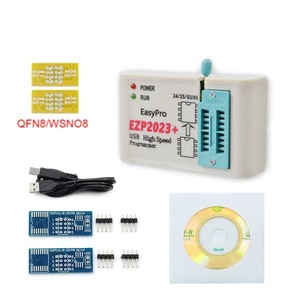
100% Original EZP 2023 High-speed USB SPI
Programmer
EZP 2023 Support 24 25 93 95
EEPROM
25 Flash BIOS Chip Better Than EZP2019
Ready to Ship
$14.70-16.70
Min. order: 1 piece
Previous slide
Next slide
UPA-USB
Serial
Programmer
V1.3
programmer
$50-51
Min. order: 1 piece
Previous slide
Next slide
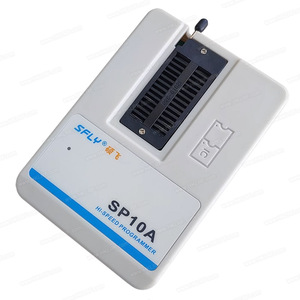
Wholesale SFLY SP10A SP10-A EEPOROM
Serial
EEPROM
/ Flash Pro
Programmer
Instead of SP8-A
$17.90-21.90
Min. order: 1 set
Previous slide
Next slide
Autel Im508s Pro Im508 Car Key Programming Machine Automotive Locksmith Tools Auto Programer Fob
Programmer
for All Keys Losts
Ready to Ship
$1,199-1,349
Min. order: 1 set
Previous slide
Next slide
New diymore
EEPROM
Serial
USB
Programmer
SP200SE / SP200S Enhanced with ISP interface
$5-10
Min. order: 10 pieces
Previous slide
Next slide
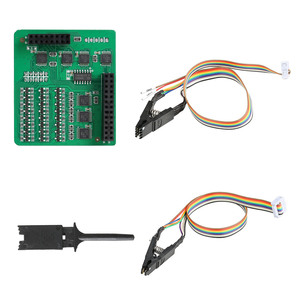
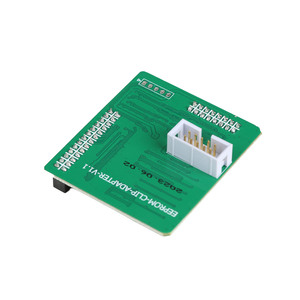
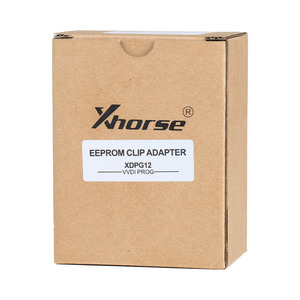
Xhorse
EEPROM
Clip Adapter for VVDI PROG
Programmer
$45-60
Min. order: 1 piece
1
2
3
4
5
More pages
24
Top categories
Interior Accessories
Auto Electronics
Exterior Accessories
Recovery & Off-road Accessories
Vehicle Equipment
Fluid & Chemicals
Car Care & Cleanings
Vehicle Tools
Petrol Service Equipment
Automobile interconnected products
Previous slide
Next slide
Related Searches:
vgate icar2 elm327 wifi
eeprom chip programmer
samsung ic programmer
serial flash programmer
mtp programmer
nxp ic programmer
auto eeprom programming
ap8022 ic programmer
rt809h ic programmer
ic eeprom programmer
tms320f2812pgfa ic programmer
mobile ic programmer
eeprom programmer immo
poxxx ic programmer
mdt10f676 ic programmer


 Ready to Ship


 Ready to Ship