
Starting a YouTube channel is more accessible than ever, but standing out requires more than just enthusiasm. A professional-looking video studio—no matter how small—can dramatically improve your content quality, viewer retention, and credibility. For beginners, the challenge isn’t budget alone; it’s knowing where to invest time and money for maximum impact. The good news: you don’t need Hollywood gear to create clean, engaging videos. With strategic planning and smart choices, you can build an effective home studio that supports consistent, high-quality production.
1. Define Your Studio Space Wisely
The foundation of any professional YouTube setup is location. Choose a quiet, dedicated area with minimal foot traffic and ambient noise. Even a corner of a bedroom or a closet can work if properly optimized. Prioritize rooms with little natural light fluctuation during filming hours to maintain consistency across sessions.
Sound reflection is often overlooked. Hard surfaces like bare walls, tile floors, or glass windows cause echo and reverb, making audio muddy. Soft materials absorb sound—think rugs, curtains, or foam panels. If possible, avoid large empty spaces unless treated acoustically.
2. Essential Equipment Checklist
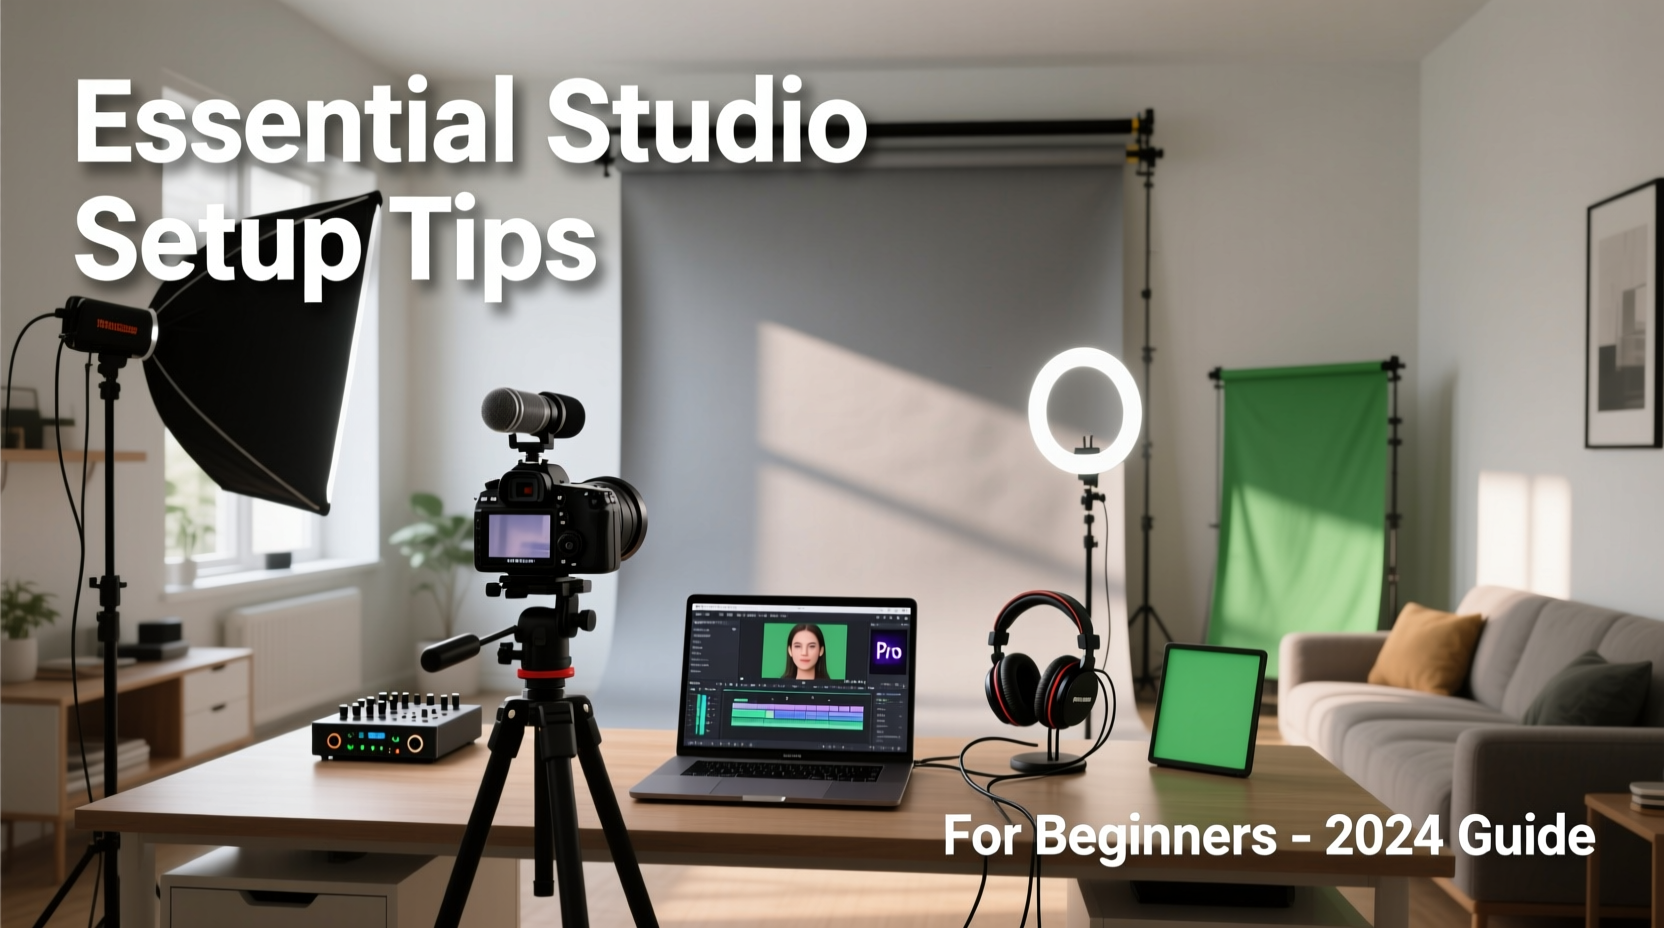
Beginners often overbuy or underinvest in critical areas. Focus on core components that directly affect viewer experience: camera, audio, lighting, and backdrop. Here's what you actually need to start:
- Camera: Start with a smartphone (iPhone or recent Android) or an entry-level DSLR/mirrorless camera (e.g., Canon EOS M50, Sony ZV-E10).
- Audio: A lavalier (lapel) mic or USB/XLR condenser microphone (e.g., Rode NT-USB, Audio-Technica AT2020).
- Lighting: Two softbox lights or LED panels with adjustable color temperature (3000K–5600K).
- Backdrop: A neutral-colored wall, fabric drape, or foldable backdrop stand.
- Support Gear: Tripod, phone mount, boom arm (for mic), and pop filter (if using a condenser mic).
“Great audio matters more than perfect visuals. Viewers will forgive slightly grainy footage, but not muffled speech.” — James Chen, Video Production Consultant
3. Lighting Setup: Three-Point Illumination Made Simple
Proper lighting eliminates shadows, reduces strain on viewers’ eyes, and makes skin tones appear natural. The industry standard is three-point lighting: key light, fill light, and backlight.
The key light is your main source, positioned at a 45-degree angle in front of you and slightly above eye level. The fill light sits opposite the key light, softer in intensity, to reduce shadows. The backlight (or hair light) goes behind you, aimed toward your head to separate you from the background.
If three lights are too much initially, use two: place the stronger one as your key and dim the other as a fill. Natural window light works as a key light—but never film directly facing or with your back to a bright window without supplemental fill.
| Light Type | Position | Function |
|---|---|---|
| Key Light | Front, 45° left/right, slightly above | Main illumination, defines facial features |
| Fill Light | Opposite side of key, lower intensity | Softens shadows created by key light |
| Back Light | Behind subject, aimed forward | Adds depth, prevents blending into background |
4. Step-by-Step Studio Assembly Timeline
Building your studio doesn’t have to happen overnight. Follow this phased approach to stay focused and within budget:
- Week 1 – Space Selection & Prep: Choose your room, declutter, add rugs or curtains, and paint or hang a neutral backdrop.
- Week 2 – Core Audio Upgrade: Buy a USB microphone and test recordings. Use free software like Audacity or GarageBand to monitor clarity.
- Week 3 – Lighting Installation: Set up two LED panels with stands. Position and test angles. Adjust brightness until shadows are soft and even.
- Week 4 – Camera & Framing: Mount your phone or camera on a tripod. Frame your shot so your head has space above, and your eyes align with the upper third of the frame.
- Week 5 – Full Test Run: Record a 2-minute video using all components. Review playback for audio sync, lighting balance, and background distractions.
5. Real Example: From Garage to Growth
Sarah Kim started her cooking channel in her garage using only her iPhone and a $20 ring light. After three months of inconsistent views, she invested $150 in a shotgun mic and acoustic foam panels. She repainted one wall white for better light reflection and used a second-hand tripod.
Within six weeks, her average watch time increased by 40%. Viewers commented on clearer voice quality and “feeling like they were in the kitchen with her.” Sarah didn’t upgrade her camera for nearly a year—she prioritized audio and lighting first, proving that thoughtful improvements beat expensive gear.
Common Mistakes to Avoid
New creators often make preventable errors that undermine their professionalism. Recognizing these early saves time and frustration.
- Overlooking audio: Built-in camera mics pick up room noise and lack clarity. Always use an external mic.
- Poor framing: Cropping too tightly or placing yourself dead-center looks amateurish. Use rule-of-thirds composition.
- Bright backgrounds: Windows or lamps behind you create silhouettes. Keep your face brighter than the background.
- Inconsistent branding: Changing backdrops, fonts, or tone frequently confuses audience perception. Develop a visual identity early.
Frequently Asked Questions
Do I need a green screen?
Only if you plan to use dynamic virtual backgrounds regularly. For most talking-head or tutorial videos, a clean, neutral wall or fabric backdrop is sufficient and looks more natural.
Can I use my smartphone as a primary camera?
Absolutely. Modern smartphones shoot in 4K and have excellent stabilization. Pair it with a tripod, external mic, and proper lighting for broadcast-quality results.
How much should I spend starting out?
You can launch a capable studio for under $300: $100 for a basic mic, $100 for two LED lights, $50 for support gear (tripod, mounts), and $50 for acoustic treatment or backdrop. Invest incrementally as your channel grows.
Final Thoughts: Build Smart, Scale with Purpose
A professional YouTube studio isn’t defined by price tags—it’s defined by consistency, clarity, and intention. You don’t need a full basement renovation or thousands in gear to produce compelling content. What matters is solving real problems for your audience through clear communication and reliable production values.
Start small. Master audio first. Optimize lighting next. Refine your framing and background. Then focus on content and delivery. As your confidence and audience grow, reinvest earnings into higher-end tools. The most successful creators didn’t begin with studios—they built them step by step, just like you can.


 浙公网安备
33010002000092号
浙公网安备
33010002000092号 浙B2-20120091-4
Comments
No comments yet. Why don't you start the discussion?