
Stars have long symbolized wonder, guidance, and celebration. Whether you're crafting holiday decor, personalized gifts, or classroom art, handmade stars add charm and meaning. With simple materials and thoughtful design, you can create stunning stars in various styles—from paper origami to woodcut silhouettes. This guide walks through multiple approaches, tools, and tips to help you craft the perfect star for any occasion.
Why Handmade Stars Matter in DIY Culture
In an age of mass-produced decor, handmade elements stand out. A star made by hand carries intention, effort, and personal flair. It becomes more than decoration—it’s a statement of creativity. From children’s crafts to professional installations, stars are versatile symbols that fit seamlessly into seasonal themes, home interiors, and gift embellishments.
Crafters across the world use stars in garlands, mobiles, wall art, and even wearable accessories. Their geometric symmetry makes them satisfying to construct, while their symbolism resonates universally. Learning how to make a star empowers you to personalize every project with a touch of magic.
Choosing Your Star Style: Types and Applications
Not all stars are created equal. The style you choose depends on your purpose, materials, and skill level. Below is a breakdown of common star types and where they shine best.
| Star Type | Best For | Skill Level | Estimated Time |
|---|---|---|---|
| Paper Origami Star (5-Point) | Holiday ornaments, gift toppers | Beginner | 10–15 minutes |
| Folded Paper Moravian Star | Window displays, centerpieces | Intermediate | 1–2 hours |
| Wooden Laser-Cut Star | Wall art, outdoor signs | Advanced | 30+ minutes (plus prep) |
| Felt Fabric Star | Toys, nursery decor, pillows | Beginner | 20 minutes |
| Wireframe Metal Star | Garden art, event backdrops | Intermediate | 45 minutes |
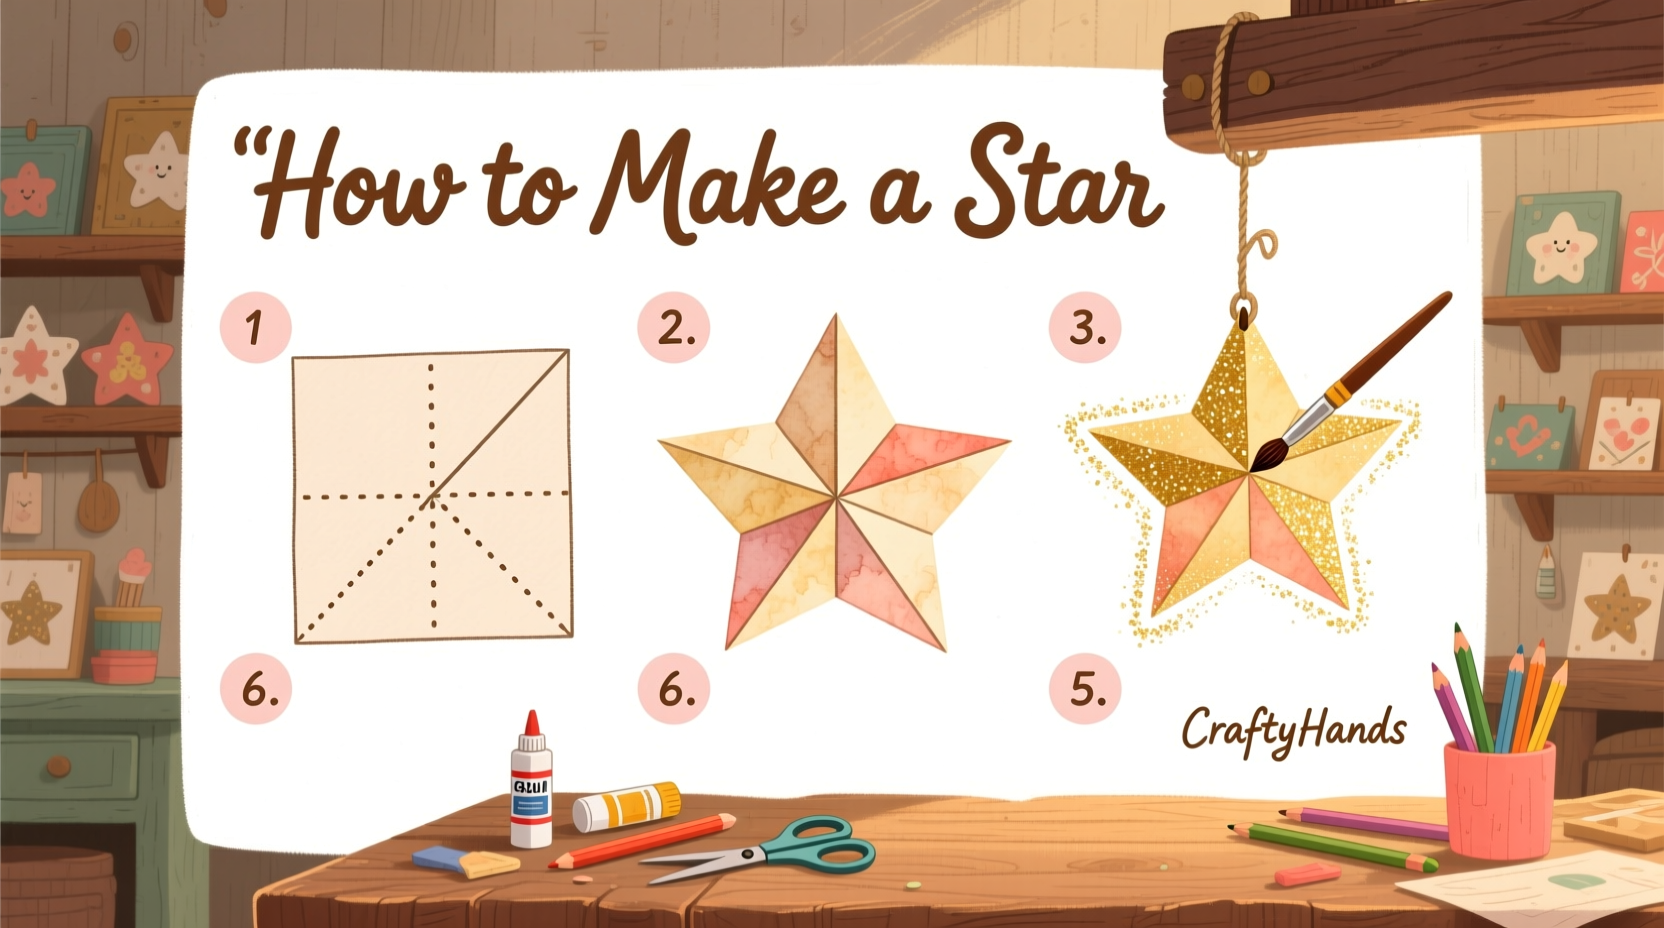
Step-by-Step Guide: How to Make a Classic 5-Point Paper Star
This timeless design uses a single strip of paper to form a symmetrical five-pointed star. Often used in classrooms and holiday crafting, it's both elegant and easy to replicate.
- Gather Supplies: One 1-inch wide by 30-inch long strip of paper (construction paper works well), scissors, glue stick.
- Create the Loop: Tie the strip into a loose knot, flattening it carefully into a pentagon shape. Tuck the short end underneath and press flat.
- Fold the Tail: Take the long tail and fold it over the front of the pentagon. Follow the edge, creating a straight fold along one side.
- Continue Folding: Wrap the strip around each outer edge of the forming star, always folding at the tip to maintain alignment.
- Secure the End: When you reach the final point, tuck the remaining strip into the nearest pocket. Apply a small dab of glue to keep it in place.
- Flatten and Shape: Gently press the star from both sides to sharpen the points. Adjust folds as needed for symmetry.
The result is a crisp, dimensional star perfect for stringing into garlands or attaching to gift wrap. Use metallic or patterned paper for added visual interest.
Expert Insight: The Geometry Behind the Craft
“Understanding basic angles enhances crafting precision. A five-pointed star relies on 36-degree internal geometry—this natural ratio creates balance and harmony.” — Dr. Lena Patel, Design Educator and Mathematical Artist
Alternative Method: Sewn Felt Star for Durable Decor
If you want something soft, washable, and long-lasting, a felt star is ideal. These are popular in nurseries, as tree ornaments, or sewn onto quilts and jackets.
Materials Needed:
- Two pieces of felt (same color or contrasting)
- Scissors
- Needle and embroidery thread or sewing machine
- Chalk or fabric marker
- Star template (print or draw one)
Instructions:
- Place the template on the felt and trace around it twice.
- Cut out both shapes carefully.
- Align the pieces and pin together.
- Using a whip stitch or machine stitch, sew around the edge, leaving a 2-inch gap.
- Turn right-side out and gently push out the points with a pencil.
- Hand-stitch the opening closed.
Mini Case Study: Community Holiday Window Display
In Asheville, North Carolina, a local arts collective launched a “Winter Light” initiative inviting residents to craft paper stars for a downtown window exhibit. Over 400 handmade stars—each unique in color and size—were strung across storefronts using fishing line. Volunteers followed the 5-point folding method detailed above, using recycled book pages and eco-friendly glue.
The project not only beautified the district but also brought people together. Schools hosted folding workshops, and seniors mailed in stars from care homes. The simplicity of the design allowed broad participation, proving that accessible crafts can generate powerful community impact.
Dos and Don’ts of Star Crafting
| Do | Don't |
|---|---|
| Use sharp scissors for clean edges | Rush through folding steps |
| Test glue on scrap material first | Overload delicate paper with heavy adhesive |
| Press folds firmly for crisp lines | Ignore grain direction in paper or fabric |
| Experiment with mixed media (glitter, beads) | Forget safety when using hot glue or cutting tools |
| Store finished stars flat or hung individually | Leave wooden or metal stars outdoors without sealant |
FAQ: Common Questions About Making Stars
Can I make a star without glue or sewing?
Yes. The classic paper strip star holds its shape through tension and precise folding. Similarly, modular origami stars interlock without adhesives. For larger installations, consider using twist ties, clips, or magnets to assemble components.
What’s the best way to hang a handmade star?
For lightweight stars, use invisible thread, ribbon, or thin wire. Punch a small hole at the top point or attach a loop during construction. Heavier stars (wood, resin) should be mounted with picture hooks or secured framing wire.
How do I scale up a star for big projects?
Use a compass and ruler to draft a large star template. Divide a circle into five equal sections (72 degrees apart), then connect every other point to form the star. Transfer this outline to plywood, foam board, or fabric for oversized versions.
Checklist: Preparing for Your Star Project
- ☐ Choose your star type based on purpose and skill
- ☐ Gather all necessary materials and tools
- ☐ Test your technique on scrap material
- ☐ Create a workspace with good lighting and ventilation
- ☐ Plan how you’ll display or use the finished star
- ☐ Set aside enough time—don’t rush intricate folds or stitches
- ☐ Photograph your process for future reference or sharing
Conclusion: Shine Bright with Your Own Creations
Making a star isn’t just about following steps—it’s about capturing light, hope, and imagination in physical form. Whether you’re crafting alone or leading a group workshop, each fold, cut, and stitch brings something meaningful into the world. These stars don’t need to be perfect; they only need to be made with care.


 浙公网安备
33010002000092号
浙公网安备
33010002000092号 浙B2-20120091-4
Comments
No comments yet. Why don't you start the discussion?