
Customizing Crocs has become a global trend, blending comfort with personal expression. While official Jibbitz™ charms are popular, they can be expensive and limited in design. A more affordable and imaginative alternative lies in repurposing everyday items—especially buttons. With a little creativity and basic supplies, you can transform vintage shirt buttons, colorful craft buttons, or even broken jewelry components into one-of-a-kind Croc charms. This guide walks through inventive methods, safety considerations, and styling ideas to help you personalize your footwear with flair.
Why Buttons Make Excellent Croc Charms
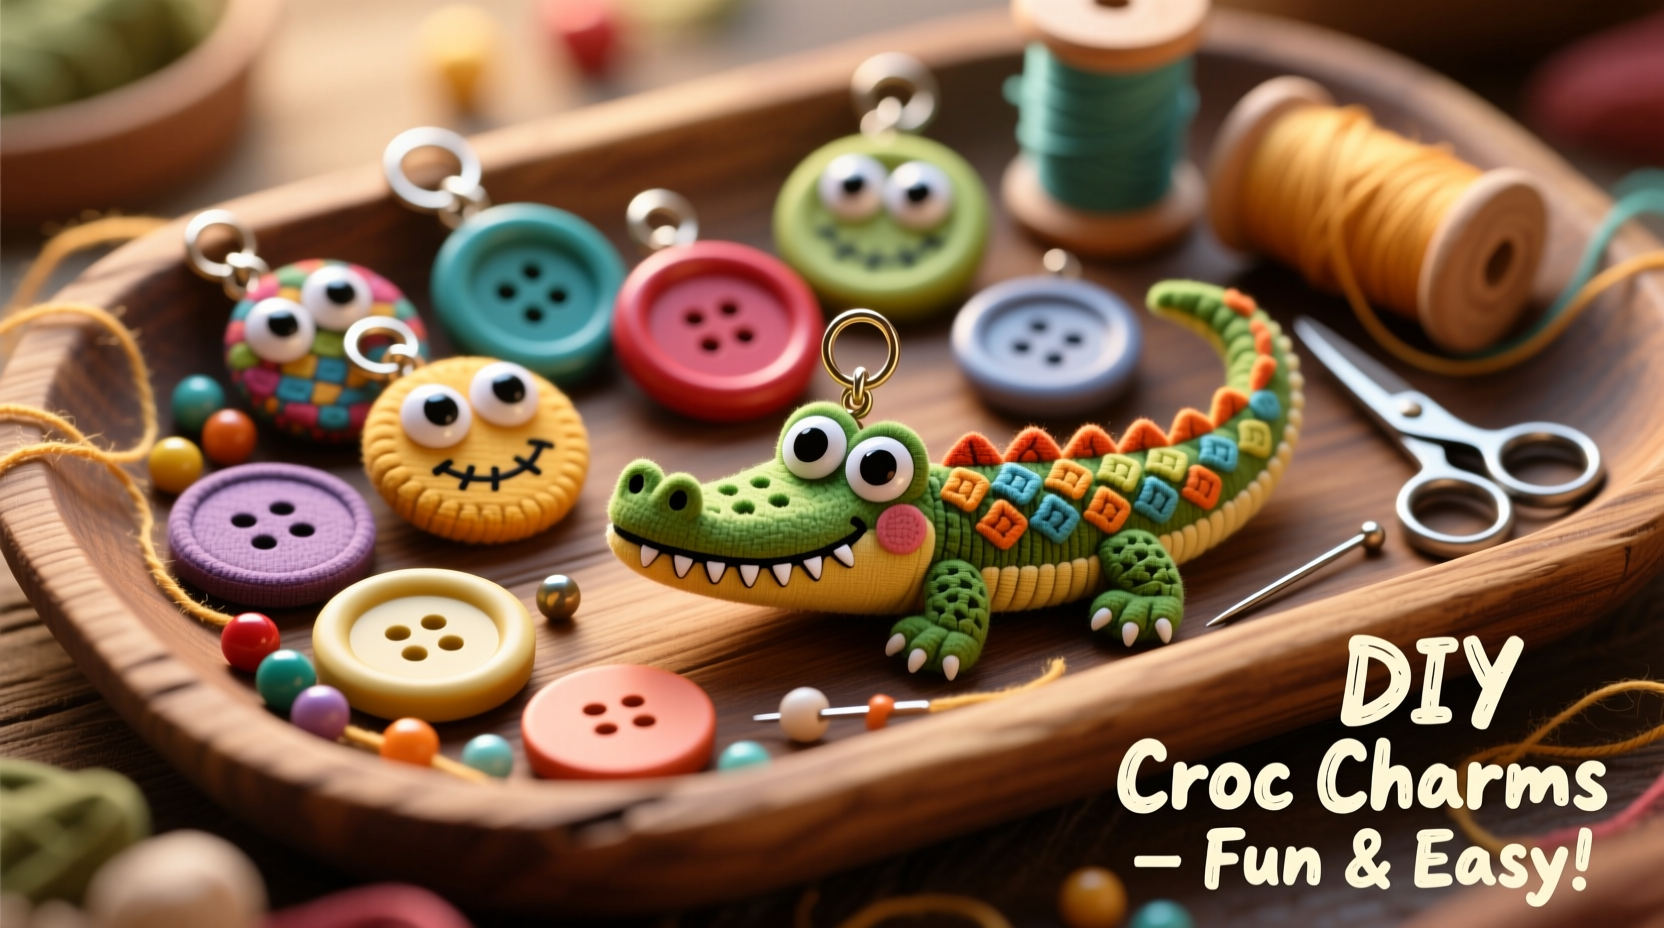
Buttons offer an unexpected but ideal base for DIY Croc customization. They come in countless shapes, sizes, materials, and colors—from glossy domino-style sets to ornate mother-of-pearl antiques. Their built-in holes make them easy to attach, and their durability ensures they withstand daily wear. Unlike plastic inserts, buttons add texture, history, and personality. Vintage buttons may carry sentimental value; handmade ceramic ones bring artisan charm; bright plastic varieties inject fun into casual outfits.
Upcycling buttons also aligns with sustainable fashion. Instead of discarding old garments or unused notions, you give them new life. As sustainability consultant Miriam Hale notes:
“Repurposing small household items like buttons reduces waste and fosters mindful consumption—one tiny accessory at a time.” — Miriam Hale, Sustainable Design Advocate
Essential Tools and Materials
Before diving into creation, gather the right tools. Most supplies are inexpensive and likely already in your home or local craft store.
| Item | Purpose | Alternative Options |
|---|---|---|
| Assorted buttons | Main charm element | Broken jewelry, beads, LEGO pieces |
| E6000 or epoxy glue | Strong, flexible adhesive | Super Glue (less durable) |
| Croc strap or blank Jibbitz-style pin | Attachment mechanism | Plastic shank from old charms |
| Flat-nose pliers | Handling small parts | Tweezers |
| Sandpaper (fine grit) | Roughen surfaces for better adhesion | Nail file |
| Masking tape | Hold pieces in place while drying | Clip organizer |
Step-by-Step Guide to Creating Button Croc Charms
Transforming a button into a secure, wearable charm takes precision and patience. Follow this detailed process for professional-looking results.
- Select your button. Choose one with visual impact—consider color contrast, shape, and thickness. Avoid overly heavy metal buttons that may stress the foam.
- Prepare the attachment pin. If reusing a Jibbitz pin, clean it thoroughly. For homemade pins, cut a short length (about 1/2 inch) from a plastic coffee stirrer or use a flat-headed nail with the point filed down.
- Sand both surfaces. Lightly roughen the back of the button and the top of the pin to improve glue grip. Wipe away dust with a dry cloth.
- Apply adhesive. Use a toothpick to spread a small amount of E6000 on both surfaces. Too much glue can ooze out and create a mess.
- Join the pieces. Press the pin firmly onto the center of the button’s back. Hold for 30 seconds, then secure with masking tape to keep it upright.
- Dry completely. Allow 24 hours for full curing, especially if using epoxy. Do not handle during this time.
- Test fit. Gently press the finished charm into a Croc hole. It should snap in snugly without wobbling.
Creative Design Ideas Using Buttons
The real magic happens in design. Move beyond single-button charms by combining multiple elements into themed miniatures.
- Mini scenes: Glue two small buttons side by side to mimic animal eyes, then add pipe cleaner whiskers or fabric ears.
- Layered looks: Stack different-sized buttons vertically to create towers, flowers, or abstract sculptures.
- Textured combos: Pair a smooth glass button with a rustic wooden one for contrast.
- Themed sets: Design a series—like ocean life (blue buttons as fish, shell-shaped ones as turtles)—to rotate based on mood or season.
- Personalized initials: Use alphabet beads glued beside a monogram button for a custom touch.
For holiday flair, incorporate seasonal buttons—pumpkins for autumn, snowflakes for winter. One crafter in Portland, Oregon, gained social media attention by turning her grandmother’s 1950s dress buttons into a vintage garden-themed set, complete with tiny rose blooms and lace-edged accents. “People kept stopping me on the street to ask where I bought them,” she shared. “When I told them they were made from my grandma’s blouse, it sparked conversations about family and memory.”
Safety and Longevity Tips
While crafting is fun, safety and durability matter—especially for footwear worn daily.
“Adhesive strength and weight distribution are critical. A charm that detaches mid-walk isn’t just inconvenient—it’s a tripping hazard.” — Dr. Lena Torres, Footwear Ergonomics Researcher
To ensure your creations last and stay safe:
- Never use sharp or pointed pins that could injure feet.
- Avoid excessively heavy charms; they can stretch or tear Croc holes over time.
- Seal porous materials like wood or fabric with clear nail polish to resist moisture.
- Inspect charms monthly for looseness or wear.
- Remove charms before washing Crocs to prevent damage.
Checklist: Create Your First Button Charm in One Hour
Follow this quick-reference checklist for a successful first project:
- ☐ Pick a medium-sized, lightweight button (under 10 grams)
- ☐ Gather E6000 glue, pin, pliers, sandpaper, and tape
- ☐ Sand the back of the button and top of the pin
- ☐ Apply a pea-sized drop of glue to both surfaces
- ☐ Attach pin to button and stabilize upright with tape
- ☐ Wait at least 4 hours before handling (24 for full cure)
- ☐ Test insertion into Croc—should fit snugly but not forceful
- ☐ Style and enjoy!
Frequently Asked Questions
Can I remove a glued charm once it's attached?
Yes, but carefully. Use needle-nose pliers to gently wiggle the pin out. If glue residue remains, let it dry fully before peeling. Avoid pulling too hard, as this can tear the foam.
Are button charms safe for kids’ Crocs?
Yes, provided the charm is securely fastened and made from non-toxic materials. Supervise young children during play to prevent chewing or swallowing small parts. Consider using larger, lightweight buttons to minimize risk.
What if my charm falls off after a few days?
This usually means insufficient surface prep or inadequate drying time. Reattach using fresh glue, ensuring both surfaces are sanded and completely dry before application. Let cure for a full 24 hours.
Final Thoughts and Inspiration
Turning buttons into Croc charms is more than a craft—it’s a form of self-expression that blends nostalgia, sustainability, and whimsy. Whether you’re reviving a childhood hobby or exploring DIY for the first time, each charm tells a story. The beauty lies not in perfection, but in personality. A chipped porcelain button from a thrifted coat becomes a badge of individuality. A mismatched pair of rainbow toggles celebrates imperfection.
Start small. Try one charm this weekend. Then build a collection that reflects your journey—seasons, moods, memories. Share your designs online with #ButtonCrocChallenge and inspire others to reimagine the ordinary.


 浙公网安备
33010002000092号
浙公网安备
33010002000092号 浙B2-20120091-4
Comments
No comments yet. Why don't you start the discussion?