
For pet owners with unpredictable schedules, ensuring timely meals for their dogs can be a constant challenge. Commercial smart feeders are available, but they often come with high price tags and limited customization. Building your own smart automatic dog feeder at home offers full control over scheduling, portion size, remote access, and even integration with home automation systems—all at a fraction of the cost.
This guide walks through the complete process of designing, assembling, and programming a reliable, Wi-Fi-enabled dog feeder using accessible components like an Arduino or ESP32, a servo motor, and 3D-printed (or repurposed) parts. Whether you're new to electronics or have some experience, this project is achievable, scalable, and deeply rewarding.
Why Build Your Own Smart Feeder?
Off-the-shelf automatic feeders may offer basic scheduling, but homemade versions allow for personalization: real-time notifications, voice alerts, camera integration, or even app-based manual dispensing. You also avoid subscription models and proprietary software lock-ins.
More importantly, building it yourself ensures reliability tailored to your dog’s feeding habits—whether that means multiple small meals, portion-controlled servings, or emergency overrides when you’re away.
“Custom-built feeders give pet owners peace of mind while promoting consistent feeding routines critical to canine health.” — Dr. Lena Torres, Veterinary Behavior Specialist
Components and Tools Needed
Before beginning assembly, gather all necessary hardware and software tools. Most items are widely available online or from electronics retailers.
| Component | Purpose | Example Models |
|---|---|---|
| Microcontroller | Brain of the system; runs code and controls timing | ESP32 Dev Module, Arduino Uno |
| Servo Motor | Rotates trapdoor or auger to release food | MG996R, SG90 |
| Power Supply | Provides stable voltage (5V–7V) | USB power bank, 5V adapter |
| Plastic Container | Holds dry kibble securely | Repurposed food storage bin or 3D-printed hopper |
| Jumper Wires & Breadboard | Prototyping connections | M/M, M/F wires; half-size breadboard |
| Wi-Fi Router | Enables remote control via app or web interface | Standard home router |
| Smartphone or Computer | For configuration and monitoring | Any iOS/Android device or laptop |
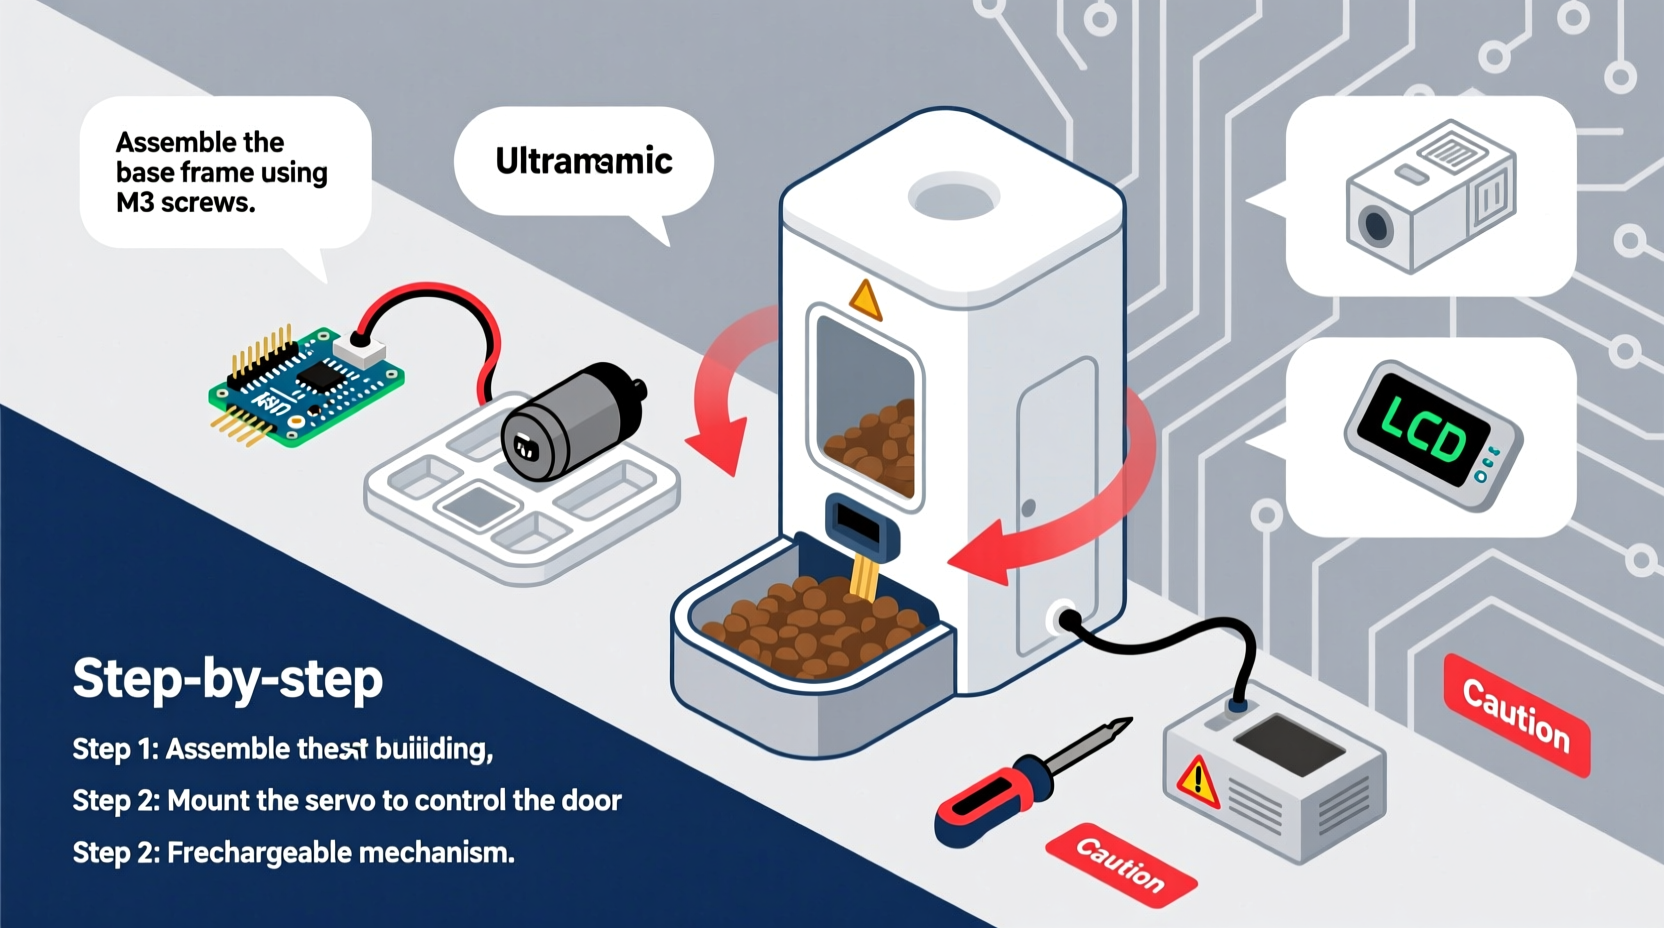
Step-by-Step Assembly Guide
- Design the Hopper and Dispensing Mechanism
Create a container with a narrow outlet at the bottom. If 3D printing, design a rotating gate or paddle that opens briefly when triggered. Alternatively, modify a plastic food container by cutting a slot and attaching a servo-controlled flap. - Mount the Servo Motor
Secure the servo to the outside base using screws or strong adhesive. Attach the arm to a custom-cut acrylic or PLA gate that blocks the food chute. Ensure smooth rotation without jamming. - Wire the Circuit
Connect the servo signal wire (usually yellow) to GPIO 13 on the ESP32. Connect red to 5V and brown to GND. Power the board via USB or external regulated supply. Double-check polarity to prevent damage. - Program the Microcontroller
Use Arduino IDE to upload firmware. The following logic should be implemented:- Set current time via NTP (Network Time Protocol).
- Define meal times (e.g., 7:00 AM and 6:30 PM).
- At each scheduled time, rotate servo to open position for 3 seconds, then close.
- Optional: Add LED indicator or buzzer feedback.
- Enable Wi-Fi and Remote Access
Configure the ESP32 to connect to your home network. Implement a lightweight web server so you can access a control page from any browser. Include buttons to manually dispense food or adjust schedule remotely. - Test and Calibrate
Run multiple dry tests with no food to ensure timing accuracy and mechanical reliability. Then test with actual kibble to verify portion consistency. Adjust servo angle and duration as needed.
Enhancing Functionality: Smart Features
The basic version feeds on schedule, but adding intelligence makes it truly “smart.” Consider these upgrades:
- Mobile Notifications: Use IFTTT or Telegram API to send alerts when food is dispensed.
- Camera Integration: Add a Raspberry Pi with camera module to stream live video when feeding occurs.
- Voice Alerts: Integrate with Alexa or Google Assistant to trigger verbal announcements (“Fido’s dinner is ready!”).
- Low-Food Sensor: Install an IR break-beam sensor near the bottom of the hopper to detect when refilling is needed.
- Battery Backup: Connect to a UPS or power bank to maintain operation during outages.
Mini Case Study: The Traveling Dog Owner
Sarah, a freelance photographer, frequently travels for weeks at a time. Her dog Max has strict dietary needs requiring two precise meals daily. After experiencing inconsistent care from neighbors, she built her own smart feeder using an ESP32 and a recycled coffee container.
She programmed it to feed Max at 7:00 AM and 6:00 PM local time, synced via Wi-Fi. She added a Telegram bot that sends her a photo and message each time food is released. During one trip, the feeder detected a missed connection due to router reboot—but because she included a failsafe routine, it resumed normal operation within minutes after reconnecting.
Sarah now uses the same system across two homes and reports improved peace of mind and better weight management for Max.
Checklist: Build Readiness Verification
Before final deployment, go through this checklist to ensure safety, functionality, and reliability:
- ✅ All electrical connections are secure and insulated
- ✅ Servo rotates fully without obstruction
- ✅ Food dispenses consistently in test runs
- ✅ Device connects to Wi-Fi and maintains uptime
- ✅ Scheduling matches household time zone
- ✅ Emergency manual override is accessible
- ✅ Unit is placed on a stable, level surface away from moisture
- ✅ Kibble type does not jam mechanism (test with longest pieces)
Common Pitfalls and How to Avoid Them
| Issue | Cause | Solution |
|---|---|---|
| Food jams in chute | Kibble too large or irregular shape | Use uniform kibble; widen chute slightly |
| Servo overheats or stalls | Excessive load or incorrect voltage | Use metal-gear servo; check power supply stability |
| Missed feeding times | Wi-Fi dropouts or clock sync failure | Implement local time backup with millis(); retry NTP hourly |
| Over-dispensing | Servo delay miscalibrated | Reduce open duration; add flow limiter inside chute |
| No remote access | Firewall blocking port or IP changes | Use dynamic DNS or cloud dashboard like Blynk |
Frequently Asked Questions
Can I use this for wet food or raw diets?
No. This design is intended only for dry kibble. Wet or perishable foods require refrigeration and present hygiene risks if left in mechanical systems. Stick to dry food unless you're building a specialized, cleaned-after-each-use model.
Is it safe to leave powered overnight?
Yes, provided you use a regulated power source and monitor initial operation. Avoid cheap, unbranded adapters. Enclose exposed circuits and place the unit away from water sources or chewing-prone areas.
How do I clean the feeder?
Disassemble the hopper and tray weekly. Wash with warm, soapy water and dry thoroughly before reassembly. Never submerge electronic components. Wipe exterior surfaces regularly to prevent dust buildup.
Final Thoughts and Next Steps
Building a smart automatic dog feeder isn’t just about convenience—it’s about responsibility. By investing time into creating a dependable system, you ensure your pet receives consistent nutrition regardless of your daily rhythm. The skills gained—from basic circuitry to coding and problem-solving—are transferable to countless other home automation projects.
Start simple, test rigorously, and expand features gradually. Share your design online, contribute to open-source pet tech communities, or adapt the system for cats, birds, or even livestock.


 浙公网安备
33010002000092号
浙公网安备
33010002000092号 浙B2-20120091-4
Comments
No comments yet. Why don't you start the discussion?