
A small scratch on your car’s surface might seem insignificant, but it can quickly become a point of frustration—especially when it catches the light every time you walk past your vehicle. More than just cosmetic, even shallow scratches expose the underlying layers to moisture and contaminants, potentially leading to rust over time. The good news is that most minor scratches don’t require a trip to the auto body shop. With the right tools and techniques, you can address them at home efficiently and affordably.
Understanding the type of scratch you're dealing with is the first step toward effective repair. Not all marks are created equal, and using the wrong method can do more harm than good. This guide walks through proven DIY solutions that preserve your car’s paint integrity while restoring its smooth, glossy finish.
Understanding Scratch Types: What You’re Dealing With
Before reaching for any polishing compound or touch-up pen, assess the depth of the scratch. Car scratches generally fall into three categories:
- Clear Coat Scratches: These are the most superficial, affecting only the transparent top layer of paint. They often appear as white or light streaks and don’t catch on fingernails.
- Base Coat Scratches: These penetrate through the clear coat into the colored paint layer. They’re darker and may feel slightly rough when touched.
- Primer or Metal-Level Scratches: Deep gouges that reach the primer or bare metal. These require professional attention and are beyond the scope of DIY fixes covered here.
Essential Tools and Materials for Home Repair
Effective scratch removal starts with having the right supplies on hand. Most items are affordable and reusable for future maintenance. Here’s what you’ll need:
- Clean microfiber towels (lint-free)
- Isopropyl alcohol (70% or higher) and a clean cloth
- Circular foam applicator pad or dual-action polisher (optional but recommended)
- Cut-and-polish compound or scratch remover paste
- Car wax or sealant
- Touch-up paint (if base coat is exposed)
- Magnifying glass (helpful for assessing fine details)
Always work in a shaded area. Direct sunlight can cause cleaning agents to dry too quickly and reduce their effectiveness.
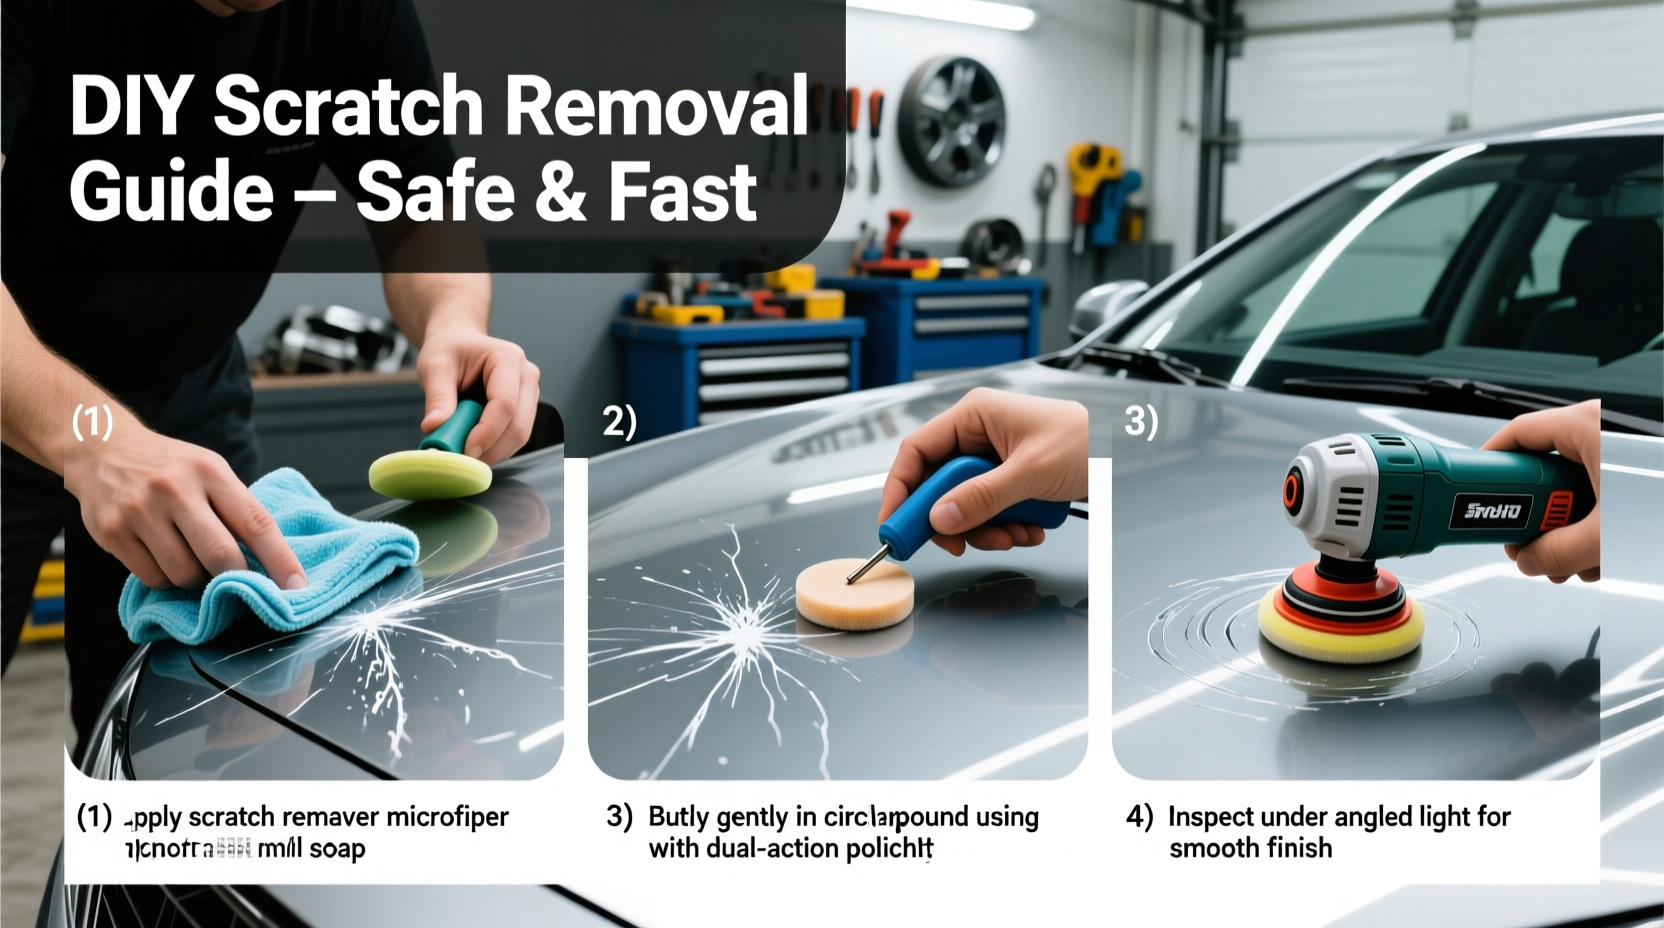
Step-by-Step Guide: Removing Minor Scratches at Home
Follow this systematic approach to treat light to moderate scratches safely and effectively.
- Wash the Area: Use automotive soap and water to clean the scratched zone thoroughly. Remove dirt, grime, and wax buildup that could interfere with the repair process.
- Dry Completely: Pat the area dry with a microfiber towel. Ensure no moisture remains before proceeding.
- Decontaminate the Surface: Wipe the scratch and surrounding area with isopropyl alcohol to eliminate oils and residues.
- Apply Scratch Remover Compound: Place a small amount of cut-and-polish compound on a foam applicator. Work the product into the scratch using tight, circular motions. Apply moderate pressure if doing manually; use low speed (3–4) if using a polisher.
- Buff and Inspect: After 30–60 seconds, wipe away the residue with a clean microfiber cloth. Check progress under natural light. Repeat if necessary, but avoid over-polishing, which can thin the clear coat.
- Seal the Finish: Once the scratch is minimized or gone, apply a quality carnauba wax or synthetic sealant to protect the repaired area and blend it with the surrounding paint.
“Most minor scratches are fixable at home, but patience and precision matter. Rushing the process risks damaging good paint.” — Daniel Ruiz, Auto Detailing Technician with 15 years of experience
Alternative Methods for Specific Scenarios
Not every scratch responds the same way to polishing. Depending on the situation, other DIY approaches may yield better results.
Using Toothpaste (For Very Light Scratches)
While not a professional-grade solution, non-gel toothpaste containing mild abrasives can buff out faint swirl marks and surface scuffs. Apply a pea-sized amount to a damp cloth and rub gently in circular motions for 30 seconds. Rinse and dry. This method works best on newer vehicles with softer clear coats.
Touch-Up Paint for Exposed Base Coats
If the scratch has broken through to the color layer but hasn’t reached metal, a touch-up pen matched to your car’s paint code can prevent corrosion and improve appearance. Clean the area, apply a tiny drop with the pen, and let it dry. Avoid overfilling. For best results, follow with a clear coat pen or light polishing after full cure (usually 24 hours).
Sun-Induced Swirl Reduction
Prolonged sun exposure can make scratches more visible due to oxidation and fading around the damaged area. In such cases, using a paint rejuvenator or glaze before polishing helps restore even tone and enhances clarity.
| Method | Best For | Time Required | Effectiveness |
|---|---|---|---|
| Cut-and-Polish Compound | Clear coat and light base coat scratches | 15–30 minutes | ★★★★☆ |
| Toothpaste (non-gel) | Surface scuffs and swirls | 5–10 minutes | ★★★☆☆ |
| Touch-Up Paint Pen | Visible color layer damage | 10 minutes + drying time | ★★★★☆ (when applied correctly) |
| Electric Polisher with Buffing Pad | Larger areas or multiple scratches | 30+ minutes | ★★★★★ |
Common Mistakes to Avoid
Even well-intentioned efforts can backfire if proper precautions aren’t taken. Steer clear of these frequent errors:
- Using household cleaners: Products like window cleaner or dish soap can strip wax and degrade paint over time.
- Over-applying pressure: Excessive rubbing during polishing generates heat and can burn through the clear coat.
- Skipping surface prep: Applying products to a dirty or oily surface reduces adhesion and effectiveness.
- Ignoring paint codes: Using mismatched touch-up paint makes scratches more noticeable, not less.
- Polishing in direct sunlight: Heat accelerates chemical reactions and can leave hazy spots or uneven finishes.
Mini Case Study: Reviving a Door Panel Scratch
Mark, a commuter in Portland, noticed a thin white line along his driver-side door after returning from work one evening. He suspected a shopping cart bump in the parking lot. The scratch was shallow—his nail didn’t catch—but it stood out against the dark blue paint, especially in afternoon light.
Instead of booking a $200 repair, Mark decided to try a DIY fix. He washed the area, used a popular scratch-removal kit with a dual-action polisher, and applied two rounds of compound over 20 minutes. After wiping down and waxing the panel, the scratch was nearly invisible. A follow-up inspection a month later showed no signs of deterioration, proving that timely, correct intervention prevented further damage.
Frequently Asked Questions
Can I use WD-40 to remove car scratches?
No. While WD-40 may temporarily fill a scratch and make it less visible, it’s not a repair solution. It attracts dust and degrades rubber and plastic trim over time. Stick to purpose-made automotive compounds.
How long does a DIY scratch repair last?
If done correctly and protected with wax or sealant, a polished scratch repair should last the life of the paint job—typically 5–10 years. However, re-exposure to scratches or environmental damage can compromise longevity.
Will these methods work on black or dark-colored cars?
Yes, but dark paints tend to show scratches and swirl marks more prominently. Extra care is needed during polishing to avoid introducing new imperfections. Use high-quality lighting when inspecting results.
Final Checklist Before You Begin
- ✅ Identify the scratch depth (clear coat vs. base coat)
- ✅ Gather all necessary tools and products
- ✅ Choose a cool, shaded workspace
- ✅ Wash and dry the affected panel thoroughly
- ✅ Test your method on a hidden area first
- ✅ Apply products in thin layers with controlled motion
- ✅ Finish with wax or sealant for protection
Take Action Today—Your Car Deserves It
Minor scratches don’t have to mean major expenses. With careful assessment and the right technique, most surface-level blemishes can be resolved in under an hour using simple, accessible tools. Regular maintenance not only keeps your car looking sharp but also preserves its resale value. Don’t wait for small flaws to worsen—address them early, protect your investment, and take pride in a well-kept finish.


 浙公网安备
33010002000092号
浙公网安备
33010002000092号 浙B2-20120091-4
Comments
No comments yet. Why don't you start the discussion?