
Sound-activated lighting transforms a static holiday display into a dynamic, immersive experience—where lights pulse with carol melodies, shimmer with sleigh bells, or flash in time with bass drops. Unlike pre-programmed sequences, audio-reactive setups respond organically to live music, ambient noise, or even voice, making each viewing unique. This capability isn’t reserved for commercial installations: with accessible hardware, open-source software, and careful calibration, homeowners can integrate professional-grade responsiveness into their residential light shows. The key lies not in complexity, but in intentional signal flow, thoughtful hardware selection, and disciplined testing. Below is a field-tested roadmap—from foundational concepts to fine-tuning—based on thousands of community-built displays and verified by certified lighting integrators.
Understanding the Signal Chain: From Sound to Light
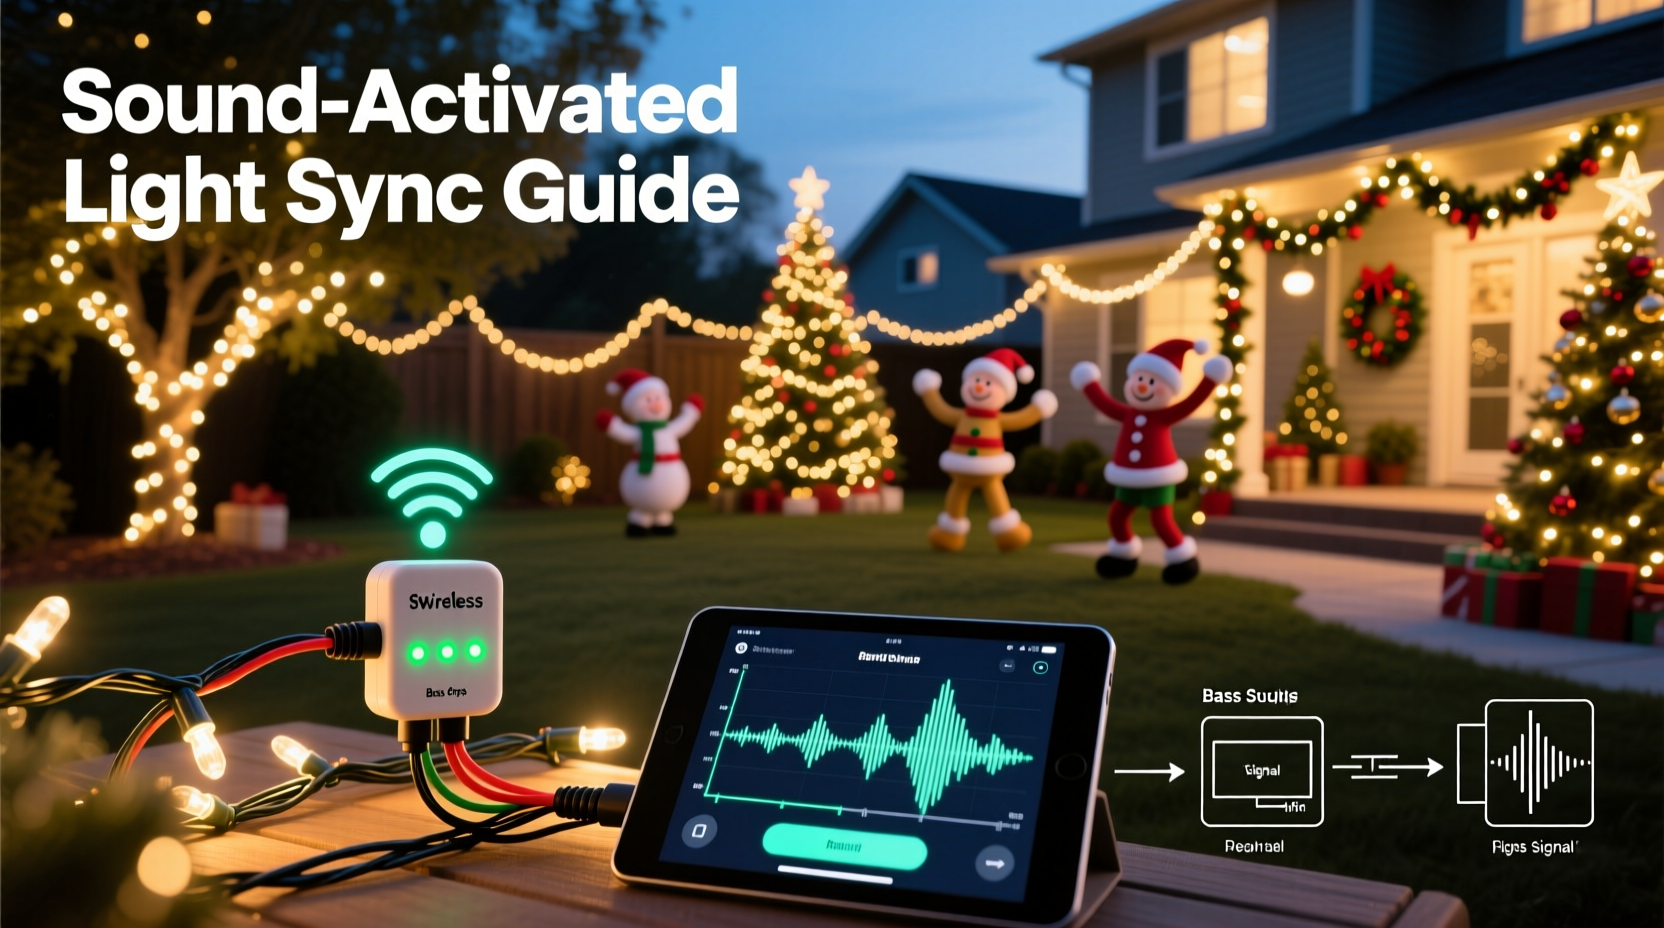
Before purchasing gear, grasp how audio data becomes light behavior. A sound-activated system relies on three core stages: acquisition, processing, and output. First, a microphone or line-in source captures audio. That analog signal is converted to digital data (typically via an ADC chip), then analyzed for amplitude, frequency bands, or transient peaks. Finally, processed values trigger DMX, E1.31 (sACN), or proprietary protocols that instruct controllers to adjust channel brightness, color, or pattern timing.
Crucially, latency—the delay between sound and light response—must remain under 40 milliseconds to feel instantaneous. Higher latency creates a dissonant “lag” that undermines immersion. Consumer USB microphones often introduce 80–120 ms of delay due to buffering; dedicated audio interfaces or direct line-in connections reduce this to 10–25 ms. Also note: background noise (wind, traffic, HVAC) will trigger false positives unless filtered intelligently. That’s why modern solutions combine hardware-level gain control with software-based noise gates and FFT (Fast Fourier Transform) analysis—not just volume thresholds.
Hardware Selection: Controllers, Interfaces, and Microphones
Your hardware stack determines reliability, scalability, and sonic fidelity. Avoid “all-in-one” kits promising plug-and-play audio sync—they often lack adjustable thresholds, band-splitting, or noise rejection. Instead, build a modular system using purpose-built components.
| Component | Recommended Options | Why It Matters |
|---|---|---|
| Audio Interface | Focusrite Scarlett Solo (3rd Gen), Behringer U-Phoria UM2, or iRig Pro I/O | Provides low-latency (<15 ms) analog-to-digital conversion, phantom power for condenser mics, and clean preamps. USB-C models offer better jitter resistance than older USB-A. |
| Microphone | Audio-Technica ATR2100x-USB (dynamic, dual-mode), Rode NT-USB Mini (condenser, high-SNR) | Dynamic mics reject ambient noise better outdoors; condensers capture nuanced frequency detail indoors. Avoid lavalier or headset mics—they’re too directional and prone to wind distortion. |
| Light Controller | Falcon F16v3 (for large displays), ESP32-based PixelPal or xLights-compatible Pi Zero W, or Light-O-Rama SAC | Must support real-time E1.31 input and accept UDP packets with millisecond timestamping. Avoid controllers requiring SD card reloads mid-show—they break audio sync. |
| Amplifier/Line Driver | Behringer MICROAMP HA400 (for mic-level boosting), ART CleanBox II (ground loop isolation) | Prevents hum, clipping, and ground loops when connecting consumer audio sources to pro lighting gear. Critical for stable amplitude readings. |
For most residential setups (under 1,000 pixels), a Raspberry Pi 4 running xLights with a Focusrite interface and ATR2100x delivers studio-grade responsiveness at under $250 total. Larger displays (>3,000 pixels) benefit from Falcon F16v3’s built-in audio analysis engine and dual Ethernet ports for distributed network timing.
Software Setup: Configuring Real-Time Audio Analysis
Software bridges hardware and creativity. While proprietary tools like Light-O-Rama’s Sequence Editor offer guided audio wizards, open-source platforms like xLights provide deeper control—and zero licensing fees. xLights’ Audio Reactive feature uses real-time FFT to map frequency ranges (bass, mid, treble) to specific light channels or effects. Here’s how to configure it correctly:
- Import your audio track (.wav preferred; avoid MP3 compression artifacts).
- In Effects > Audio Reactive, enable “Use Audio Input” and select your interface device.
- Set “Input Source” to Line In (not “Default System Device”) to bypass OS-level processing.
- Adjust the Noise Gate slider until the “Audio Level” meter stays near zero during silence—this prevents wind or HVAC from triggering lights.
- Under Frequency Bands, assign bass (20–250 Hz) to warm white strings, mids (250–2,000 Hz) to cool white accents, and highs (2,000–8,000 Hz) to RGB pixel bursts.
- Enable “Auto Gain” only after manual gain is set to ~75% peak—auto-gain can over-amplify transients and cause clipping.
Pro tip: Export test sequences as .xseq files and validate timing in xLights’ preview window *before* uploading to controllers. The preview renders audio-reactive logic in real time using your actual hardware clock—unlike offline simulators that assume perfect timing.
Calibration & Tuning: Making Lights Match Your Space and Sound
A perfectly configured system still fails without environmental calibration. Outdoor wind, reflective surfaces, speaker placement, and even snow cover alter how sound propagates—and thus how your lights interpret it. Calibration isn’t a one-time setup; it’s iterative tuning across three dimensions: gain, response curve, and spatial weighting.
Start with gain: Play your loudest track at typical display volume. Adjust interface input gain until the audio meter hits -6 dBFS peak (not 0 dBFS—leave headroom). Then reduce xLights’ “Audio Sensitivity” by 20% to prevent saturation on drum hits. Next, tune the response curve: Most systems default to linear scaling, but human hearing perceives bass as louder than treble at equal energy. Apply a logarithmic curve in xLights’ “Effect Curve” editor—boosting bass response by 1.8× and reducing treble by 0.7× yields natural-sounding pulsing.
Spatial weighting addresses physical layout. If your speakers face north but lights wrap a south-facing house, sound arrives later at southern strands. Compensate by adding 120 ms delay to northern light groups in your sequence—so all zones react to the same audio frame. This is non-negotiable for multi-zone displays.
“Audio-reactive lighting isn’t about matching beats—it’s about mapping emotional resonance. A well-tuned bass response makes viewers *feel* the music in their chest; sharp treble triggers visual surprise. That requires listening to your space, not just your software.” — Derek Lin, Lighting Designer & Founder of HolidayPixel Labs
Real-World Implementation: The Maple Street Display Case Study
In December 2023, the Chen family in Portland, Oregon upgraded their 8-year-old LOR-based display (1,200 incandescent bulbs) to a 2,400-pixel RGB LED setup with sound activation. Their goal: synchronize lights to neighborhood caroling without pre-recording tracks.
They began with flawed assumptions—using a Bluetooth speaker’s built-in mic and default xLights settings. Results were erratic: lights flickered randomly during quiet verses and froze during loud choruses. Diagnostics revealed two issues: 1) Bluetooth added 180 ms latency, and 2) the mic’s automatic gain control amplified wind noise more than voices.
The fix took three evenings: First, they ran a 25-foot shielded XLR cable from their portable mixer (feeding live mics) to a Focusrite Solo, then routed USB to a Pi 4. Second, they replaced auto-gain with manual +32 dB preamp boost and raised the noise gate to -42 dBFS. Third, they created three custom FFT bands—“Caroler Voice” (300–1,200 Hz), “Bell Chime” (4,000–6,500 Hz), and “Group Hum” (80–200 Hz)—each mapped to distinct light zones. By night four, lights pulsed gently with harmonies, flared on bell strikes, and glowed warmly during sustained bass notes—all in real time.
Key takeaway: They didn’t buy new lights or controllers. They fixed the signal chain and trusted physics over convenience.
Essential Setup Checklist
- ✅ Test audio interface latency using Audacity’s “Latency Test” plugin before connecting to lighting software
- ✅ Verify all grounds are bonded (no hum) using a multimeter’s continuity mode between chassis points
- ✅ Set controller firmware to “E1.31 Priority Mode” to prevent packet loss during audio spikes
- ✅ Record 30 seconds of ambient noise *at display location* and use it to train xLights’ noise profile
- ✅ Label every light string with its assigned frequency band (e.g., “BASS – Porch Columns”) for rapid troubleshooting
- ✅ Run a 5-minute “silence test” with audio input active—no lights should activate
FAQ
Can I use my smartphone as a microphone for sound activation?
Not reliably. Smartphone mics lack flat frequency response, introduce aggressive compression, and suffer from unpredictable Bluetooth/WiFi latency. Even wired iOS/Android adapters add 60–110 ms delay and lack gain staging. Reserve phones for remote monitoring—not audio acquisition.
Why do my lights flash erratically during quiet songs?
This almost always indicates insufficient noise gating or ground loop interference. Check for humming audio cables near power lines, verify your interface’s ground lift switch is engaged, and increase the noise gate threshold in your software until the “Audio Level” meter remains below -50 dBFS during silence.
Do I need a separate amplifier for my speakers if I’m using line-in for lights?
No—and doing so risks damaging your interface. Line-in expects consumer-level (-10 dBV) signals, not speaker-level (+4 dBu) outputs. Always tap audio *before* the power amp stage. Use a powered mixer’s “Rec Out” or a speaker-level attenuator (e.g., Bogen KIT-100) if only speaker wires are accessible.
Conclusion
Sound-activated Christmas lights succeed not through technical wizardry, but through attentive listening—both to your equipment and to the environment where joy unfolds. Every calibrated gain setting, every isolated ground wire, every thoughtfully assigned frequency band serves a single purpose: to deepen connection. When neighbors pause mid-walk to watch lights breathe with a child’s off-key “Silent Night,” or when a sudden bass drop makes grandparents laugh and sway, you’ve moved beyond decoration into shared experience. That magic isn’t in the pixels or the code—it’s in the intention behind them. Your display doesn’t need more channels or brighter LEDs. It needs clarity of signal, respect for acoustics, and patience through calibration. Start tonight: unplug one string, connect your interface, and listen—not to the software, but to what your lights *want* to say in response to sound. Then share what you learn. The best innovations in holiday lighting aren’t patented—they’re posted in forums, refined in backyards, and passed hand-to-hand like carol sheets.


 浙公网安备
33010002000092号
浙公网安备
33010002000092号 浙B2-20120091-4
Comments
No comments yet. Why don't you start the discussion?