
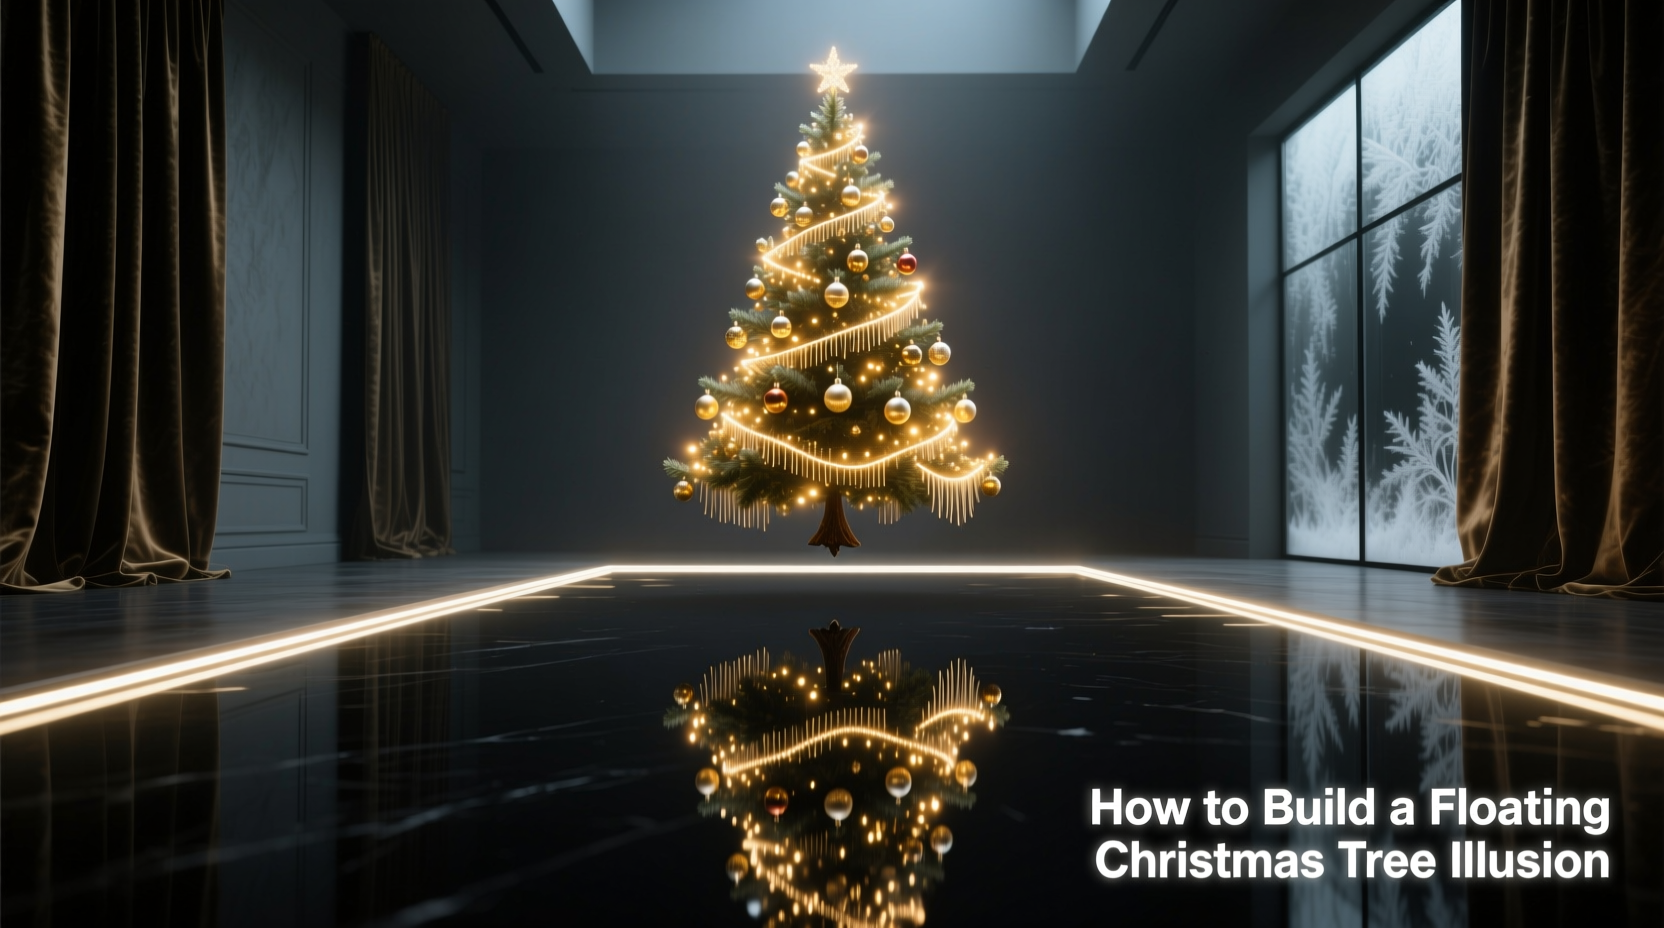
There’s something almost otherworldly about a Christmas tree that appears to float in midair. No visible base, no supporting pole—just a glowing evergreen suspended like a winter dream. This captivating illusion is not the work of magic, but of clever optics, precise construction, and thoughtful lighting. By combining mirrors and strategically placed LED lights, you can create a stunning centerpiece that becomes the talk of your holiday gatherings.
The floating tree effect relies on a principle known as “Pepper’s Ghost,” an optical illusion technique used in theaters and museums for over a century. When adapted to holiday decor, it transforms a simple artificial tree into a mesmerizing visual experience. With the right materials and attention to detail, this project is accessible to DIY enthusiasts of all skill levels—and the results are unforgettable.
Understanding the Science Behind the Illusion
The core of the floating tree illusion lies in reflective symmetry and concealed support structures. A large mirror is positioned at a 45-degree angle beneath or behind the tree, reflecting only one side of the tree while hiding the actual trunk and base from view. The reflection completes the missing half, creating the impression of a full, freestanding tree hovering above the ground.
This method works best when the viewer’s line of sight is carefully controlled. From certain angles, the illusion holds perfectly; from others, the mirror or support may become visible. That’s why placement and framing matter just as much as construction.
Lighting enhances the effect by minimizing shadows and drawing focus to the illuminated tips of the branches. Warm white or multicolor LEDs help blur the boundary between real and reflected elements, making the tree appear weightless and ethereal.
“Optical illusions in home decor aren’t just tricks—they’re invitations to wonder. When done well, they transform ordinary spaces into experiences.” — Dr. Lena Pruitt, Visual Perception Researcher, MIT Media Lab
Materials and Tools You’ll Need
Before beginning construction, gather all necessary components. Precision matters, so invest in quality materials where possible. Here’s what you’ll need:
- One artificial Christmas tree (slim profile recommended, under 36 inches wide)
- One high-quality, distortion-free mirror (at least 24 x 36 inches)
- Mirror-safe adhesive or mounting brackets
- Wooden frame or platform (to support the mirror at 45 degrees)
- Black fabric or backdrop (to hide the non-reflected side)
- LED string lights (preferably battery-powered for clean lines)
- Clear fishing line or acrylic rods (for minimal support if needed)
- Measuring tape, level, and protractor
- Dark-colored base tray or decorative box (to house the mechanism)
- Optional: fog machine or haze effect for added atmosphere
Step-by-Step Construction Guide
Follow these steps carefully to ensure a seamless illusion. Allow 3–5 hours for setup, depending on complexity.
- Design Your Viewing Angle: Decide where guests will stand to view the tree. Mark this zone clearly—it will determine mirror positioning.
- Build the Support Frame: Construct a sturdy wooden or metal frame that holds the mirror at exactly 45 degrees. Ensure it’s tall enough to reflect the entire height of the tree.
- Mount the Mirror Securely: Attach the mirror to the frame using padded brackets or adhesive designed for heavy glass. Double-check alignment with a level and protractor.
- Prepare the Tree: Select a tree with symmetrical branching. Trim any uneven limbs. Remove the traditional stand—this tree won’t need it.
- Position the Tree: Place the tree so that only half of its base rests on the platform, directly adjacent to the mirror. The mirror should reflect the exposed half, completing the full silhouette.
- Install Lighting: Wrap the tree in LED lights, focusing on outer tips. Avoid overloading inner branches to prevent hotspots in the reflection.
- Add a Concealing Backdrop: Drape black fabric behind the non-mirrored side to absorb light and hide mechanical parts.
- Test the Illusion: View from your designated spot. Adjust tree position or mirror angle until the reflection aligns perfectly with the real half.
- Dress the Base: Cover the platform with faux snow, pinecones, or a decorative box painted matte black to minimize distractions.
- Final Safety Check: Ensure the mirror is stable, cords are secured, and the tree is balanced to prevent tipping.
Do’s and Don’ts: Building a Convincing Illusion
A small mistake can shatter the magic. Refer to this table to avoid common pitfalls.
| Do | Don’t |
|---|---|
| Use a distortion-free, silver-backed mirror | Use old or wavy bathroom mirrors |
| Keep the viewing area limited to 1–2 key angles | Allow unrestricted 360-degree access |
| Use warm or diffused lighting to soften edges | Use bright spotlighting that creates sharp reflections |
| Hide wires with dark tape or routing channels | Leave power cords dangling across reflective surfaces |
| Balance the tree with hidden counterweights if needed | Overload one side with heavy ornaments |
Real-World Example: A Living Room Transformation
In Portland, Oregon, interior designer Mira Chen created a floating tree for her annual holiday open house. She used a 5-foot pre-lit artificial tree, a custom-cut beveled mirror mounted at 45 degrees inside a walnut frame, and battery-powered fairy lights wrapped tightly around each tier.
She placed the installation in a corner of her living room, flanked by two armchairs to naturally guide guest sightlines. A black velvet curtain hung behind the tree’s blind side, and she added a subtle haze effect using a small indoor-safe fogger.
Guests reported feeling “like the tree was growing out of thin air.” One visitor said, “I walked around three times trying to find the base. It wasn’t until Mira showed me the mirror that I believed it wasn’t levitating.”
The setup remained stable for six weeks, requiring only weekly dusting and light checks. Mira emphasized that patience during alignment made all the difference: “It took me two evenings to get the angle perfect. But once it clicked, the reaction was worth every minute.”
Enhancing the Effect with Smart Lighting and Tech
To elevate the illusion beyond static glow, consider integrating modern lighting technology:
- Addressable LED Strips: Program color waves or twinkling effects that sync across real and reflected branches.
- Remote-Controlled Dimmers: Adjust brightness based on ambient light, preserving the illusion day or night.
- App-Based Scheduling: Automate on/off times to surprise guests or conserve energy.
- Sound Activation: Make lights pulse gently to holiday music for immersive ambiance.
For safety, always use low-voltage, UL-listed lighting products. Battery-powered options eliminate visible cords, which is crucial near reflective surfaces.
Frequently Asked Questions
Can I use a real Christmas tree for this illusion?
Technically yes, but it’s not recommended. Real trees shed needles, dry out, and require water trays—all of which complicate the mirrored surface and increase fire risk near electrical components. Artificial trees offer consistency, safety, and reusability.
What size mirror do I need?
The mirror should be at least as tall as the tree and wide enough to reflect half the tree’s diameter plus several inches. For a 6-foot tree, a 36 x 72 inch mirror is ideal. Larger mirrors provide more flexibility in viewing angles.
Is this safe around children and pets?
Yes, with precautions. Secure the mirror firmly to prevent tipping, use shatter-resistant backing if possible, and keep cords out of reach. Consider placing the display in a roped-off or supervised area during gatherings.
Checklist: Build Your Floating Tree Successfully
Print or save this checklist before starting:
- ☐ Choose a narrow, symmetrical artificial tree
- ☐ Purchase a large, high-clarity mirror
- ☐ Build or buy a 45-degree support frame
- ☐ Plan and mark primary viewing position
- ☐ Gather LED lights (battery-powered preferred)
- ☐ Acquire black backdrop material
- ☐ Assemble frame and mount mirror securely
- ☐ Position tree half-on, half-off the platform
- ☐ Install and test lighting
- ☐ Conceal wires and mechanical parts
- ☐ Test illusion from target viewing angle
- ☐ Add decorative base covering
- ☐ Perform final safety inspection
Conclusion: Bring Wonder Into Your Holiday Season
The floating Christmas tree illusion isn’t just a decoration—it’s an experience. It invites curiosity, sparks joy, and turns a seasonal tradition into something truly extraordinary. While it requires planning and precision, the core principles are simple: reflection, concealment, and light.
You don’t need a theater budget or engineering degree to pull it off. With careful execution and attention to detail, anyone can create this enchanting display. Whether you’re surprising family, impressing guests, or simply indulging your creative spirit, the floating tree offers a rare blend of science and sentiment.


 浙公网安备
33010002000092号
浙公网安备
33010002000092号 浙B2-20120091-4
Comments
No comments yet. Why don't you start the discussion?