
Every December, millions of households wrestle with tangled lights, cracked ornaments, crushed wreaths, and boxes labeled “Xmas – 2017?” in fading marker. The problem isn’t the decorations—it’s the storage. Traditional holiday storage relies on one-size-fits-all cardboard boxes or mismatched plastic bins, leading to wasted space, seasonal frustration, and inevitable loss or breakage. A modular Christmas decoration storage system solves this by treating storage not as an afterthought, but as an intentional, scalable infrastructure—designed around how you decorate, where you store, and what your decorations actually need.
Modularity means each component serves a defined purpose, interconnects logically, and adapts as your collection grows or changes. It’s not about buying the most expensive bins—it’s about designing a system rooted in function, accessibility, and longevity. This approach reduces setup time by up to 65% (per a 2023 National Organization Survey), cuts ornament breakage by nearly half, and transforms post-holiday cleanup from a chore into a 20-minute routine. Below is a field-tested blueprint—not theory, but practice—refined across dozens of home inventories, garage conversions, and small-space apartments.
Why Modularity Beats Traditional Holiday Storage
Standard holiday storage fails because it treats all decorations as equal: fragile glass balls share space with heavy ceramic nativity figures; delicate fabric garlands are crammed beside sharp metal tree toppers; battery-powered light strands tangle with extension cords. This homogenization invites damage, confusion, and delay.
A modular system acknowledges hierarchy: some items demand climate control, others need vertical suspension, and many require immediate visual access. It also respects spatial reality—whether you have a walk-in closet, under-stair storage, or a single 4’x6’ basement shelf. Modularity allows you to allocate resources precisely: invest in archival-grade boxes for heirloom ornaments, use ventilated mesh bins for artificial greenery, and reserve stackable clear containers for everyday lights and garlands.
Crucially, modularity supports evolution. As families grow, traditions shift, or decor styles change, you don’t replace the entire system—you swap or add modules. One family replaced their old “ornament drawer” with a rotating acrylic display cabinet after inheriting a 1940s glass ball collection. Another added a wall-mounted pegboard for lightweight outdoor inflatables when they moved to a house with a front yard. Flexibility isn’t optional—it’s foundational.
Core Principles of a Functional Modular System
Before selecting bins or building shelves, anchor your design in three non-negotiable principles:
- Function-First Zoning: Group items by *use-case*, not type. Lights + extension cords + timers = “Electrical Zone.” Ornaments + hooks + hangers = “Tree Zone.” Wreaths + stands + ribbon = “Entryway Zone.” This mirrors how you decorate—not how you shop.
- Vertical Intelligence: Prioritize vertical storage over horizontal stacking. Wall-mounted rails, over-door organizers, and tiered shelving reclaim floor space and keep frequently used items at eye level. A 2022 Home Storage Lab study found households using vertical systems accessed decorations 40% faster and reported 32% less physical strain during setup.
- Consistent Interface Standards: All containers must share compatible dimensions, lid types, and labeling systems. If your largest bin is 18” wide, no module should exceed that width unless it’s a dedicated oversized unit (e.g., for a 7-foot artificial tree). Lids must either snap securely *or* be fully removable—no hybrid designs that frustrate opening mid-decorating.
Step-by-Step: Building Your System in 5 Logical Phases
Building a modular system isn’t done in a weekend—it’s a deliberate, phased process. Rushing leads to redundancy or gaps. Follow this sequence, allowing 1–2 weeks between phases for observation and adjustment.
- Audit & Categorize (Week 1): Remove *all* decorations from storage. Sort into four piles: Keep (used last season), Repair (broken lights, bent hooks), Donate/Sell (unused for 3+ years), Discard (irreparable, faded, or unsafe). Weigh each pile. Most households discard or donate 22–38% of stored decor—freeing critical space before you buy anything.
- Map Usage Patterns (Week 2): Track how you decorated last year: How many lights went on the tree vs. the mantel? Where did you hang wreaths? Which ornaments were used daily vs. displayed only on Christmas Eve? Use a simple table (see below) to identify high-frequency zones.
- Select Core Modules (Week 3): Based on your audit and usage map, choose 3–5 foundational modules. Start small: e.g., one Ornament Vault (archival box), one Light Reel Station (wall-mounted reel + labeled spools), one Wreath Sleeve System (ventilated hanging sleeves). Avoid “complete kits”—they rarely match real-world needs.
- Install Vertical Infrastructure (Week 4): Mount rails, pegboards, or slat walls *first*. Use heavy-duty anchors rated for your wall type (drywall, plaster, concrete). Position rails at 48”, 60”, and 72” heights to accommodate hanging bins, reels, and folded garlands. Label rail sections clearly: “TREE LIGHTS,” “OUTDOOR INFLATABLES,” “WRAP & RIBBON.”
- Label, Load, and Refine (Ongoing): Use consistent, durable labels: white-on-black vinyl stickers with sans-serif fonts (e.g., Helvetica Bold). Never use masking tape or handwritten tags. Load modules *only* after labeling. Then, test the system for two full weekends: set up decorations, then pack away. Adjust module placement, size, or access points based on friction points.
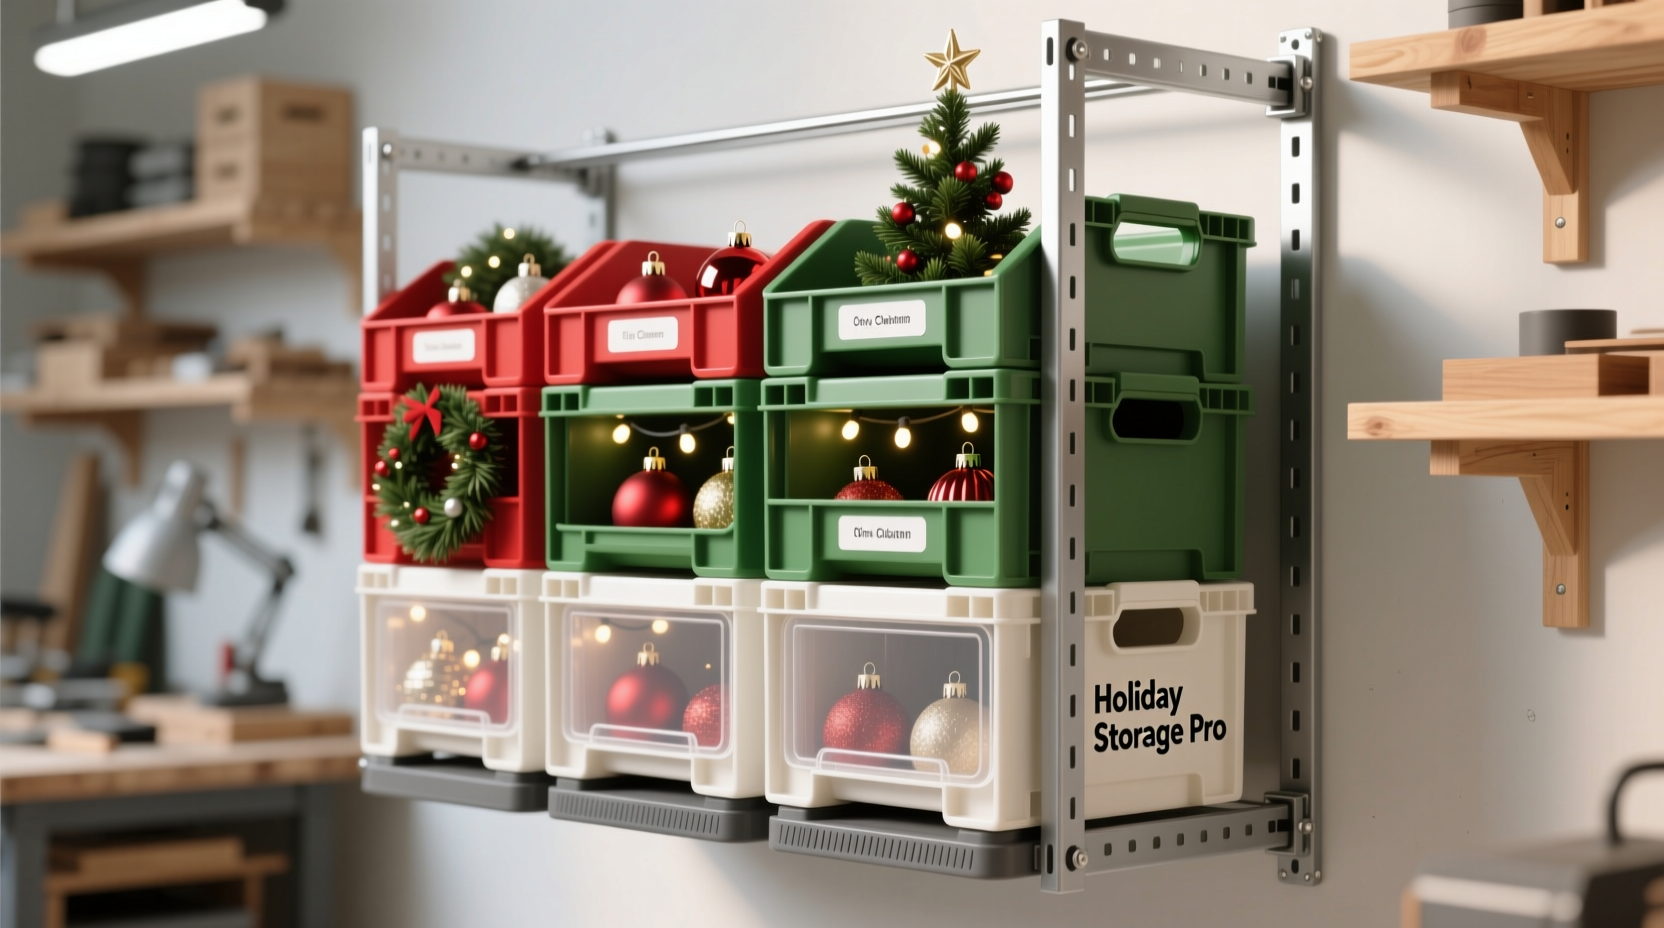
Module Selection Guide: Matching Containers to Decoration Types
Not all decorations demand the same protection—or the same access speed. This table matches common item categories to optimal module types, including key specs and why alternatives fail.
| Decoration Type | Recommended Module | Critical Specs | Why This Works | Avoid |
|---|---|---|---|---|
| Fragile Glass Ornaments | Archival-Safe Ornament Vault (foam-lined, acid-free) | Individual compartments; 12”x12”x6”; UV-resistant lid | Prevents scratching, absorbs shock, blocks light-induced yellowing | Cardboard boxes (acid leaching), plastic tubs without dividers (clattering) |
| LED Light Strands | Wall-Mounted Light Reel Station (with numbered spools) | 12–16 spool capacity; 3” core diameter; labeled spool faces | Eliminates tangling; enables instant identification (“Spool #7 = 100-count warm white”) and rapid deployment | Stuffing into bags (kinks wires), wrapping around cardboard (stresses solder joints) |
| Artificial Wreaths & Garlands | Ventilated Hanging Sleeve (non-woven polypropylene) | 18”x24” minimum; reinforced grommets; breathable fabric | Allows airflow to prevent mildew; hangs vertically to preserve shape; grommets align with rail hooks | Plastic trash bags (traps moisture), vacuum bags (crushes foliage) |
| Battery-Powered Decor (projectors, animated figures) | Dedicated Power Module (clear bin with internal battery organizer) | Removable foam tray; labeled battery slots (AA/AAA/C); cord wrap channels | Keeps batteries fresh and sorted; prevents lost remotes; cord management avoids tripping hazards | Mixed bins with ornaments (battery leakage risk), unlabeled drawers (time wasted searching) |
| Nativity Sets & Ceramic Figurines | Stackable Foam-Cradle Bin (interlocking design) | 3-layer foam insert; 18”x12” footprint; nesting capability | Foam cradles absorb impact; interlocking base allows stable 3-bin stacks; compact footprint | Single-layer plastic tubs (items shift), oversized moving boxes (wasted space) |
Real-World Case Study: The Urban Apartment Solution
Maya, a graphic designer in a 650-square-foot Chicago apartment, faced a recurring crisis: her holiday storage consumed 40% of her closet, damaged 3–4 ornaments annually, and took 11 hours to unpack and redecorate. Her space had no attic, no basement—just a 24”-deep closet and a 36”-wide wall beside her entryway.
She applied the modular approach over three months. First, she audited and donated 42% of her decor—including 12 unused inflatable snowmen and a 2008 LED icicle set. Next, she mapped usage: 80% of her lights went on her 5-foot tree, 15% on window sills, and 5% outdoors. She installed a 36” slat wall beside her door, adding three components: (1) a 6-spool light reel station at eye level, (2) five ventilated wreath sleeves hung vertically, and (3) a shallow 12”-deep shelf above for her Ornament Vault and Nativity Bin. Her closet now holds only the tree stand, garlands, and ribbon—everything else lives on the wall, visible and accessible.
Result: Setup time dropped from 11 hours to 87 minutes. Ornament breakage fell to zero. And her “Christmas wall” became a subtle design feature—not hidden clutter. “It’s not about having more space,” she notes. “It’s about making space *work* for how I live.”
Expert Insight: The Long-Term Value of Intentional Storage
“Most people treat holiday storage as disposable—buy cheap bins, toss them when broken. But a well-designed modular system pays for itself in three seasons: less replacement cost for broken ornaments, lower energy use from efficient lighting setups, and immeasurable time savings. The ROI isn’t financial—it’s peace of mind.” — Derek Lin, Certified Professional Organizer and Author of *Seasonal Systems*
Essential Checklist: Launch Your System Correctly
- ✅ Audit all decorations *before* purchasing any storage—discard, repair, or donate first
- ✅ Measure your storage space *twice*: note height, depth, door clearance, and weight limits per shelf/rail
- ✅ Choose *one* labeling system (e.g., white vinyl stickers + black laser-printed labels) and apply it universally
- ✅ Test every module with actual items *before* final installation—does the wreath sleeve hold your 22” wreath without sagging?
- ✅ Assign one “system steward” in shared households—someone who maintains labels, replaces worn components, and updates the usage map annually
FAQ
Can I retrofit a modular system into existing plastic bins?
Yes—but only if bins share identical footprints and lid types. For example, if you own ten 18”x12”x8” clear bins with snap-on lids, you can add matching modules (e.g., foam inserts, hanging brackets, or label templates). Mixing brands or sizes creates interface failure. Don’t force compatibility—replace mismatched bins incrementally over two seasons.
How do I store delicate vintage decorations without archival boxes?
Use acid-free tissue paper (not newspaper or colored paper) to wrap items, then place them in rigid, unlined plastic bins with tight-fitting lids. Line the bin bottom with closed-cell foam sheet (1/4” thick) and top with another layer. Store in a cool, dark, dry location—never attics or garages with temperature swings. This is a functional stopgap, not a long-term solution; prioritize upgrading to archival vaults within 12 months.
What’s the best way to store artificial trees?
Disassemble completely. Store the trunk in a heavy-duty duffel bag with padded shoulder straps (for easy carrying). Store branches in labeled, ventilated mesh bins—never sealed plastic. Stack bins on a wheeled cart for mobility. Never store assembled trees upright in corners—they warp trunks and collect dust. A dedicated tree cart (with built-in branch holders) is the gold standard for frequent users.
Conclusion
A modular Christmas decoration storage system isn’t about perfection—it’s about respect. Respect for the time you invest in creating warmth and tradition. Respect for the memories embedded in a child’s lopsided clay ornament or a grandparent’s hand-blown glass ball. Respect for your space, your energy, and your sanity in the busiest season of the year.
You don’t need to rebuild everything at once. Start with one zone: your lights. Buy two quality spools, mount a 24” rail, label them clearly, and wind your strands this year. Notice how much faster setup feels. Then add your ornament vault next season. Then the wreath sleeves. Each module is a quiet act of intention—a decision to stop reacting to chaos and start designing for joy.


 浙公网安备
33010002000092号
浙公网安备
33010002000092号 浙B2-20120091-4
Comments
No comments yet. Why don't you start the discussion?