
Cooking rice seems simple—rice, water, heat—but anyone who’s lifted a pot lid only to find a charred, smoky layer glued to the bottom knows it’s anything but foolproof. Burnt rice isn’t just unpleasant; it wastes ingredients, ruins meals, and turns cleanup into a chore. The good news? With the right method, tools, and attention to detail, you can consistently achieve fluffy, evenly cooked rice—no scorching, no stress.
The root of burnt rice usually lies in uneven heat distribution, incorrect water-to-rice ratios, or lack of monitoring. Whether you're using a stovetop, rice cooker, or instant pot, understanding the science behind rice absorption and heat management is key. This guide breaks down exactly how to avoid that dreaded crust at the bottom of your pot—every single time.
Understanding Why Rice Burns
Rice burns when the temperature at the base of the pot exceeds what the water can regulate through convection. Once the water evaporates or is absorbed, the direct contact between the grain and hot metal causes rapid browning and charring. This happens more often than not because of:
- Inconsistent heat: High or fluctuating burner temperatures.
- Wrong water ratio: Too little water means premature drying.
- Poor pot choice:: Thin-bottomed pots conduct heat unevenly.
- Ignoring timing: Leaving rice on heat after water is gone.
- Not rinsing rice: Excess starch increases stickiness and burn risk.
The goal is to maintain steady, controlled heat and ensure all moisture is fully utilized before residual heat finishes the job—without overheating the base.
The Right Tools Make All the Difference
Not all pots are created equal. A thin stainless steel pan heats up quickly but develops hot spots, especially on electric stoves. These spots become burn zones under prolonged heat. Investing in the right equipment drastically reduces risk.
| Pot Type | Heat Distribution | Burn Risk | Best For |
|---|---|---|---|
| Heavy-bottomed stainless steel | Excellent | Low | Stovetop cooking, versatility |
| Non-stick (high-quality) | Good | Low-Medium | Delicate rices, easy cleanup |
| Thin aluminum | Poor | High | Avoid for rice |
| Enameled cast iron | Exceptional | Very Low | Sous-vide style rice, slow simmering |
| Rice cooker (with fuzzy logic) | Automated optimal control | Negligible | Consistent daily use |
If you frequently cook rice, consider upgrading to a heavy-duty saucepan or a high-end rice cooker. Even budget models with temperature sensors outperform most stovetop attempts in consistency.
“Burnt rice is rarely about the rice itself—it's about heat control. A good pot acts like a buffer between flame and grain.” — Carlos Mendez, Culinary Instructor & Chef
Step-by-Step Guide to Perfect, Unburnt Rice
Follow this detailed process for flawless stovetop rice. Works best with long-grain white rice (like Basmati or Jasmine), but principles apply across varieties with minor adjustments.
- Rinse the rice thoroughly. Place 1 cup of rice in a bowl, cover with cold water, swirl, and drain. Repeat 3–4 times until water runs nearly clear. This removes excess surface starch that causes clumping and sticking.
- Use the correct water-to-rice ratio. For most long-grain white rice, use 1.75 cups of water per 1 cup of rice. Adjust slightly based on age and type—older rice absorbs more water.
- Choose the right pot. Use a medium-sized, heavy-bottomed saucepan with a tight-fitting lid. A 2–3 quart capacity is ideal for 1–2 cups of raw rice.
- Bring to a boil over medium-high heat. Combine rice and water in the pot. Add a pinch of salt if desired. Bring to a full boil—small bubbles breaking the surface uniformly.
- Immediately reduce to the lowest possible heat. As soon as it boils, turn the burner down to the lowest setting. You should see minimal bubbling—just enough to indicate gentle simmering.
- Cover and cook undisturbed for 17 minutes. Do not lift the lid. Steam is crucial for even cooking. Peeking releases heat and moisture, increasing burn risk.
- Turn off heat and let rest for 10 minutes. After 17 minutes, shut off the burner but leave the pot covered. Residual heat will finish cooking the rice and allow grains to firm up.
- Fluff with a fork. After resting, gently fluff the rice from top to bottom to release steam and separate grains. Avoid spoons—they compact the rice.
This method leverages the principle of “boil-simmer-steam,” minimizing direct heat exposure during critical phases. The final rest period ensures moisture equalizes throughout the pot, eliminating dry spots and preventing the need for extended cooking that leads to burning.
Real Example: From Daily Disaster to Flawless Results
Sarah, a home cook in Portland, used to burn rice at least twice a week. She relied on a thin nonstick pan and guessed water amounts. “I’d set it on medium, forget about it, and come back to smoke,” she said. After switching to a heavy-bottomed stainless pot, measuring water precisely with a marked cup, and following the 17-minute rule, her success rate jumped to 95%. “Now I make rice while working from home—set it, walk away, and return to perfect results. The 10-minute rest made the biggest difference.”
Her change wasn’t about skill—it was about system. Consistency in tools, measurements, and timing transformed a frustrating task into a reliable one.
Pro Tips to Prevent Burnt Bottoms
- Soak aromatic rice first. Basmati or jasmine benefits from a 20–30 minute soak. Reduces cooking time and improves texture.
- Use a timer religiously. Set two: one for 17 minutes (cooking), another for 10 minutes (resting).
- Check your burner compatibility. Gas allows finer control; electric may require lower settings due to slower response.
- Add a splash of oil (optional). ½ teaspoon of neutral oil per cup of rice creates a slight barrier between grain and pot.
- Don’t rush fluffing. Wait the full 10 minutes. Impatience leads to gummy or undercooked centers.
Alternative Methods That Eliminate Burn Risk
If stovetop cooking still feels unreliable, modern alternatives offer near-guaranteed success.
Rice Cooker Method
High-quality rice cookers automatically adjust temperature and switch to “keep warm” once water is absorbed. No monitoring needed. Simply add rinsed rice and water (typically 1:1.2 to 1:1.5 ratio depending on model), press start, and walk away. Fuzzy logic models adapt to rice type and ambient conditions.
Oven-Baked Rice
Preheat oven to 375°F (190°C). Combine rinsed rice and boiling water (1:1.75 ratio) in an oven-safe dish with a tight lid. Bake for 20 minutes, then let stand 10 minutes. Oven heat is uniform, eliminating hot spots. Great for large batches.
Instant Pot/Pressure Cooker
Use “Rice” preset or manual high pressure for 4 minutes, followed by a 10-minute natural release. The sealed environment prevents evaporation loss and ensures even cooking. Ideal for multitaskers.
Frequently Asked Questions
Why does my rice always burn on an electric stove?
Electric stoves retain heat longer than gas and respond slowly to adjustments. Once reduced, the coil stays hot, continuing to transfer energy. Use a lower initial setting, choose a heavy pot to buffer heat, or use a flame diffuser.
Can I fix already burnt rice?
If only the very bottom layer is scorched, carefully scoop out the unburnt portion from the top and middle. Transfer to a new pot or serving bowl. Do not scrape the bottom—burnt flavor spreads quickly. The remaining rice may still be salvageable if not contaminated by smoke taste.
Does rinsing really prevent burning?
Indirectly, yes. Rinsing removes excess starch that makes rice sticky and prone to forming a dense layer at the bottom. Less adhesion means less opportunity for burning. It also promotes even water absorption, reducing dry pockets.
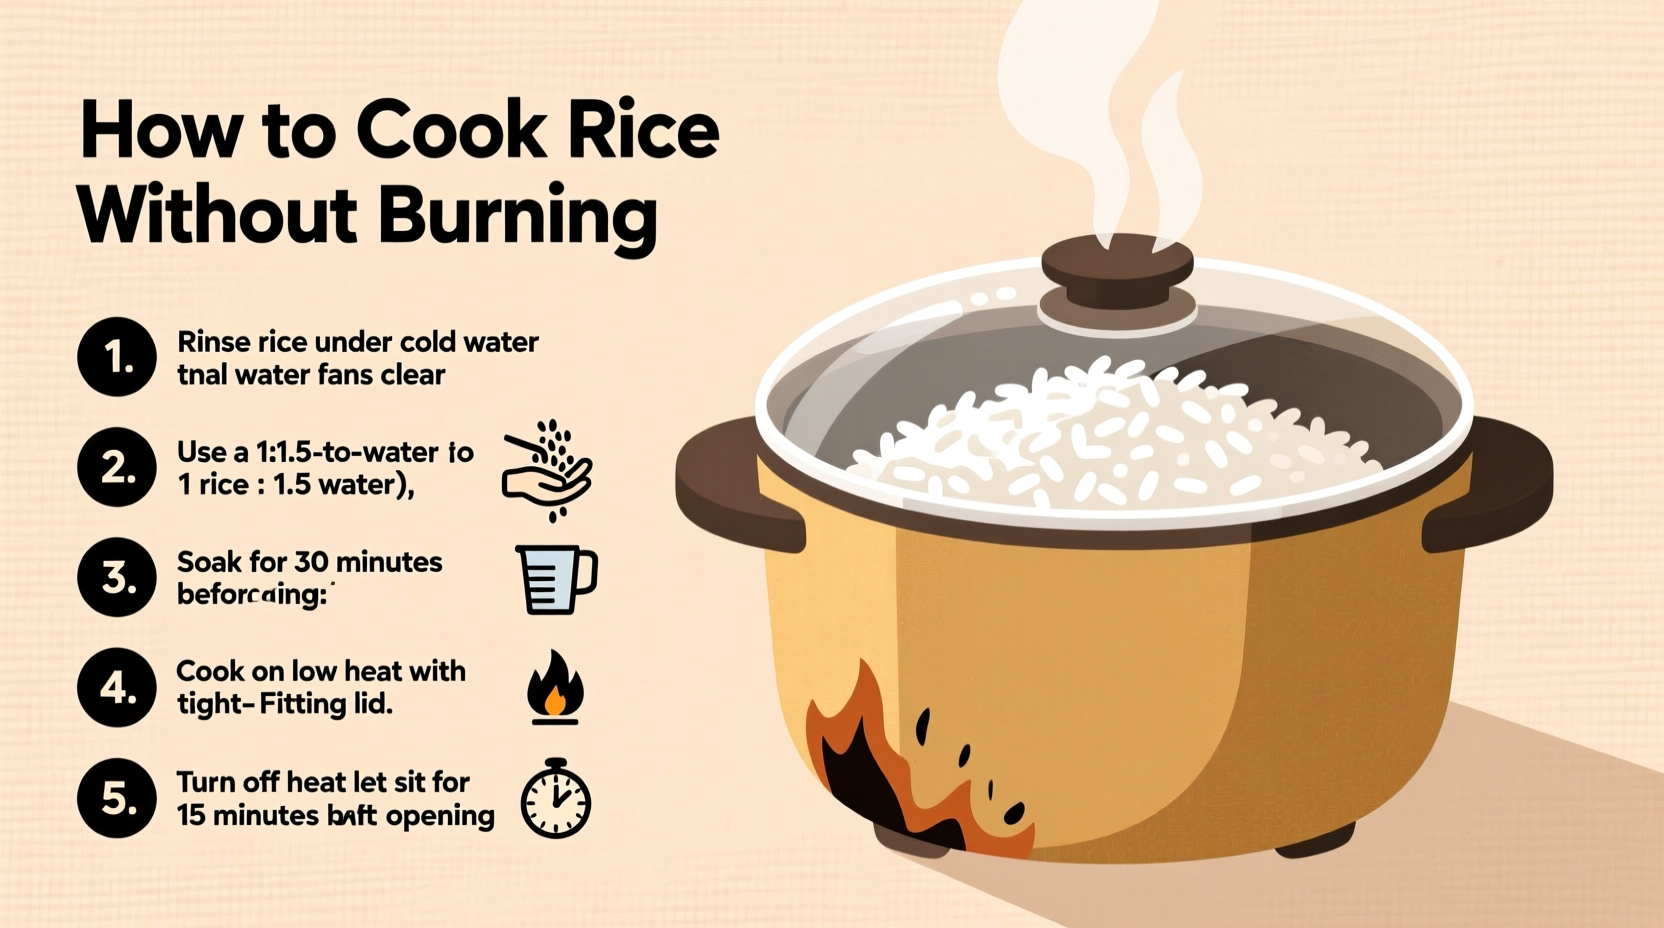
Checklist: How to Cook Rice Without Burning It
- ✅ Rinse rice until water runs clear
- ✅ Use a heavy-bottomed pot with tight lid
- ✅ Measure water precisely (start with 1.75:1 for white rice)
- ✅ Bring to boil, then immediately reduce to lowest heat
- ✅ Cook covered for exactly 17 minutes (no peeking!)
- ✅ Turn off heat and let sit, covered, for 10 minutes
- ✅ Fluff gently with a fork before serving
- ✅ Clean pot promptly—soak if any residue remains
Final Thoughts: Mastery Over Mistakes
Burning rice isn’t a reflection of your cooking ability—it’s a systems issue. With the right tools, ratios, and rhythm, perfectly cooked rice is repeatable, not rare. The methods outlined here eliminate guesswork and empower consistency. Whether you’re feeding a family, meal prepping, or hosting guests, you deserve results that match your effort.


 浙公网安备
33010002000092号
浙公网安备
33010002000092号 浙B2-20120091-4
Comments
No comments yet. Why don't you start the discussion?