
Transforming a Christmas tree into a luminous work of art begins with thoughtful lighting. While traditional multicolored or solid white lights remain popular, a growing trend among decorators is the use of gradient lighting—where colors transition smoothly from one shade to another across the tree. This technique adds depth, elegance, and a modern flair to holiday decor. Whether you're aiming for a soft ombre effect from cool blue to deep violet or a festive progression from red to gold, mastering gradient lighting can elevate your tree from ordinary to extraordinary.
A well-executed gradient doesn’t happen by chance. It requires planning, the right materials, and an understanding of light behavior on three-dimensional forms. Unlike flat surfaces, a Christmas tree presents unique challenges: branches overlap, depth varies, and light reflects unevenly. But with careful execution, the result is a dynamic, visually harmonious centerpiece that captures attention and evokes seasonal wonder.
Understanding Gradient Lighting on Trees
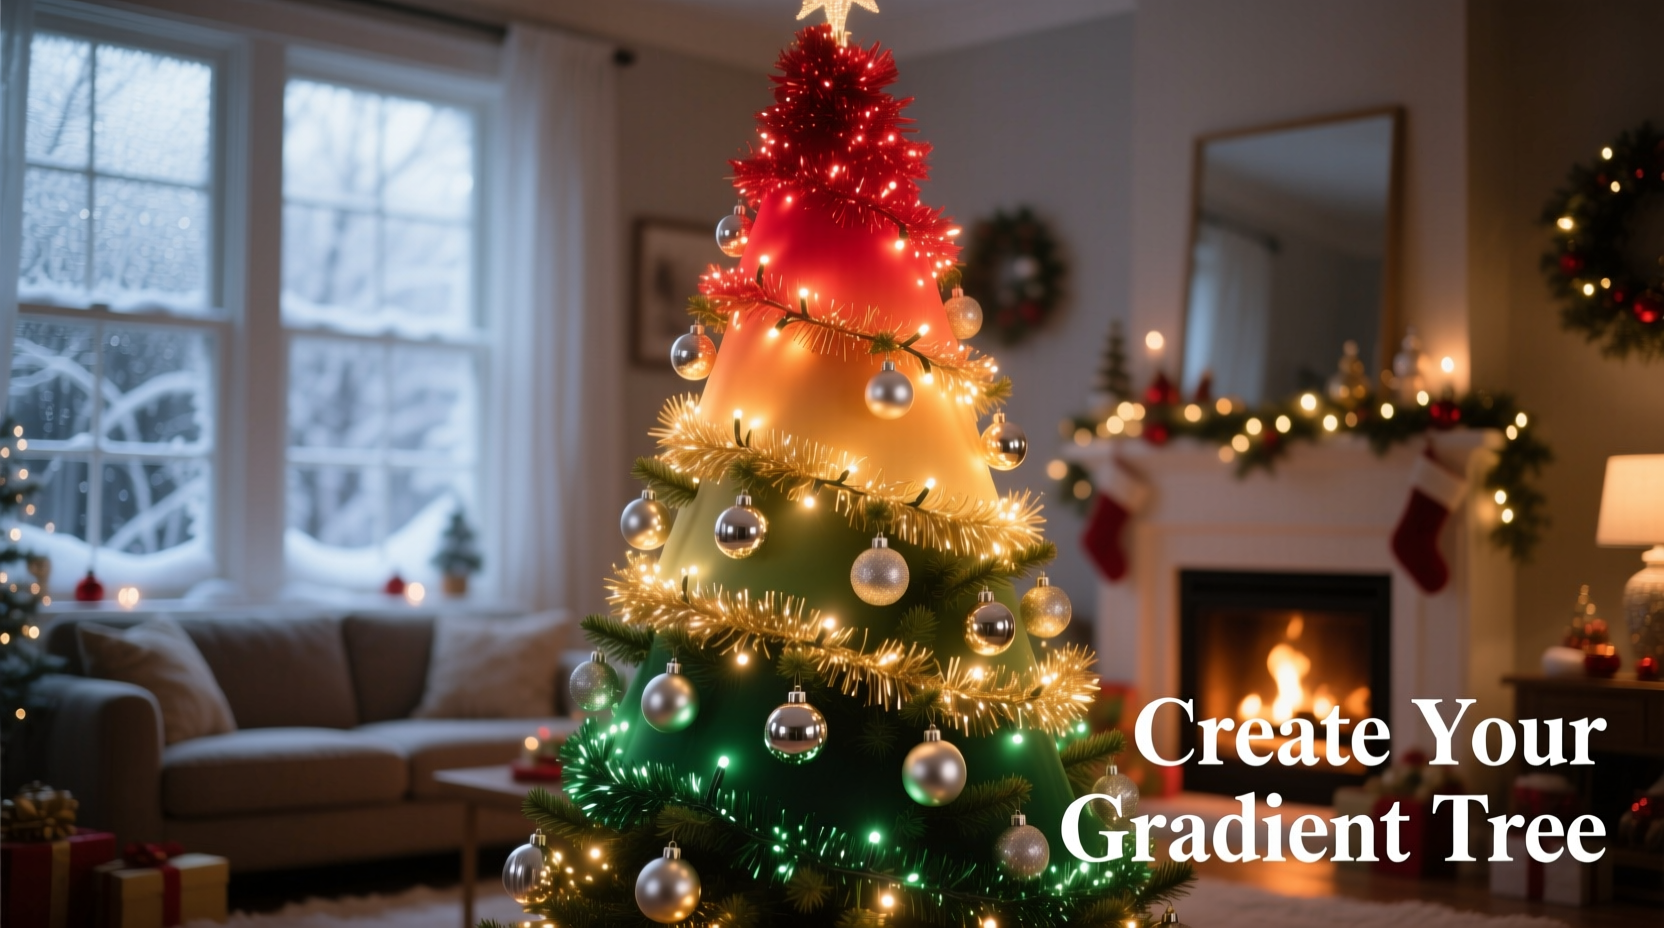
Gradient lighting involves arranging colored lights so they shift gradually in hue, brightness, or saturation. On a Christmas tree, this typically means transitioning from one color at the base to another at the top—or from darker tones inside the tree to lighter ones on the outer edges. The goal is to create a seamless visual flow, avoiding abrupt changes or clusters of single colors.
This technique works best with LED string lights, which offer consistent color output, energy efficiency, and cooler operation. RGB (red-green-blue) LEDs are especially useful because they allow custom color blending and programmable sequences. However, even fixed-color LEDs can achieve beautiful gradients when grouped and placed intentionally.
The science behind effective gradients lies in human perception. Our eyes detect color shifts more easily when hues are adjacent. Therefore, spacing and sequencing matter. A jump from bright red to royal blue may appear jarring, but introducing intermediate shades like magenta or burgundy softens the transition.
“Lighting a tree with a gradient isn’t just about color—it’s about guiding the viewer’s eye through space and emotion.” — Daniel Reyes, Professional Holiday Lighting Designer
Step-by-Step Guide to Installing a Gradient Light Scheme
Creating a gradient effect requires preparation, patience, and precision. Follow this timeline to ensure a polished result.
- Plan Your Color Palette (1–2 hours)
Choose 3–5 colors that blend well together. Use a color wheel to identify analogous colors (those next to each other), such as green → teal → blue, or warm tones like gold → amber → crimson. Avoid complementary colors (opposite on the wheel) unless intentionally creating contrast. - Measure and Test Lights (30 minutes)
Determine how many strands you’ll need based on tree height and density. A general rule: 100 lights per foot of tree height. Test all strings to confirm color accuracy and functionality. Note any variations in brightness or tint between batches. - Divide Lights into Gradient Zones (20 minutes)
Group your light strands according to their position in the gradient. For example, if going from deep purple at the base to soft pink at the top, assign darkest strands to lower sections, medium to middle, and lightest to upper branches. - Begin Wiring from Bottom to Top (2–3 hours)
Start at the trunk base. Attach the first strand of the darkest color, wrapping it around the innermost lower branches. Move outward slightly with each loop to maintain coverage without clustering. After completing a section, switch to the next lighter color, overlapping slightly where the two meet to avoid gaps. - Blend Transition Areas (Ongoing during installation)
In zones where colors meet, interweave a few bulbs from each adjacent strand to soften the boundary. For example, place two pink bulbs among purple ones before fully switching over. This mimics natural light diffusion. - Adjust and Evaluate (30–60 minutes)
Once fully lit, view the tree from multiple angles and distances. Turn off room lights to assess visibility and balance. Reposition any hotspots or dim areas. Consider stepping outside and viewing through a window to simulate how neighbors might see it.
Choosing the Right Lights and Equipment
Not all Christmas lights are suitable for gradient designs. Here’s what to look for:
- Color Accuracy: Choose high-CRI (Color Rendering Index) LEDs that reproduce true hues without green or yellow casts.
- Consistent Spacing: Opt for commercial-grade strings with uniform bulb spacing (typically 4–6 inches apart).
- Dimmability: Dimmable LEDs allow you to adjust intensity across zones, enhancing the gradient effect.
- Plug-and-Play vs. Smart Lights: Smart RGB strips offer programmable gradients but require controllers and apps. Fixed-color strings are simpler and more reliable for beginners.
If using smart lights, consider systems like Philips Hue, LIFX, or addressable LED strips with DMX control. These allow precise color placement and dynamic effects like slow fades or pulsing transitions. However, they demand technical setup and may not be ideal for outdoor trees unless properly weatherproofed.
Recommended Equipment Checklist
- LED string lights in 3–5 gradient-compatible colors
- Extension cords rated for indoor/outdoor use
- Zip ties or twist ties for securing wires
- Ladder or step stool (for taller trees)
- Gloves (to protect hands from sharp branches)
- Voltmeter (optional, to check circuit load)
- Controller unit (if using smart lights)
Do’s and Don’ts of Gradient Tree Lighting
| Do’s | Don’ts |
|---|---|
| Use analogous colors for smooth transitions | Mix warm and cool whites in the same gradient |
| Test all lights before installation | Overload electrical circuits |
| Layer lights from inside out for depth | Clump all one color in a single section |
| View the tree from afar to assess balance | Ignore manufacturer wattage limits |
| Label strands by color/zone during prep | Use different brands with inconsistent color temps |
One common mistake is assuming that more lights equal better results. In reality, overcrowding can wash out the gradient and create glare. Aim for even coverage rather than maximum density. Also, avoid placing too many warm-toned lights (like red or gold) near the top—this can make the tree feel top-heavy visually.
A Real Example: The Coastal Blue Ombre Tree
In Portland, Oregon, homeowner Lisa Tran redesigned her front-yard Douglas fir using a gradient inspired by ocean depths. She began with navy blue lights at the base, transitioning through aquamarine and seafoam green to icy white at the crown. Her goal was to evoke a moonlit seascape.
Lisa used four types of waterproof LED strings, purchasing all from the same batch to ensure color consistency. She divided the 8-foot tree into five horizontal bands and assigned colors accordingly:
- Bottom 1 ft: Deep navy
- Next 2 ft: Medium blue
- Middle 2 ft: Teal
- Upper 2 ft: Pale turquoise
- Top 1 ft: Cool white
To blend transitions, she overlapped strands by 6–8 inches and twisted adjacent wires together. She also tucked some clear fairy lights into the outer tips for added sparkle without disrupting the gradient. The result received neighborhood acclaim and was featured in a local holiday tour.
Lisa’s key insight? “I thought I needed special equipment, but regular LED strings worked fine. The secret was patience in placement—not speed.”
Frequently Asked Questions
Can I create a gradient with non-smart, single-color lights?
Yes. Many professional displays use fixed-color LEDs arranged manually. The key is selecting hues that naturally blend and placing them in sequence. Analogous colors on the color wheel (like red-orange-yellow) work best.
How do I prevent my gradient from looking patchy?
Patchiness usually comes from uneven spacing or inconsistent bulb brightness. To avoid this, test all strings beforehand, maintain consistent wrap density (about 3–5 wraps per foot of branch), and blend transition zones by mixing a few bulbs from adjacent colors.
Is it safe to mix indoor and outdoor lights on the same tree?
Only if the entire setup is rated for the environment. Never use indoor-only lights outdoors, even under cover. Moisture and temperature fluctuations can damage internal wiring. If part of the tree is exposed, treat the whole installation as outdoor-rated.
Final Tips for Lasting Impact
A gradient-lit Christmas tree stands out not because it’s flashy, but because it feels intentional. The most memorable displays combine technical care with artistic vision. Consider the mood you want to convey—serene, joyful, elegant—and let that guide your palette.
For longevity, label and store each color strand separately after the season. Wrap them around cardboard reels to prevent kinks. Keep documentation of your layout (a simple sketch or photo) to simplify reassembly next year.
Finally, don’t underestimate the power of subtlety. Sometimes the most striking gradients are those that surprise viewers only upon closer inspection—a gentle shift in tone that feels organic, not forced.
“A great lighted tree doesn’t shout. It invites the eye to linger, to follow the glow deeper into its form.” — Daniel Reyes
Bring Your Vision to Life
Creating a gradient color scheme on a Christmas tree using lights is more than decoration—it’s storytelling with illumination. With careful planning, the right tools, and attention to detail, you can craft a display that becomes a cherished tradition. Whether you’re illuminating a living room centerpiece or a yard tree visible from the street, your gradient design has the power to inspire wonder and warmth.
Start small if needed. Try a two-color fade on a tabletop tree before scaling up. Document your process, refine your technique, and most importantly—enjoy the glow. The holidays are about moments of beauty shared with others. Let your tree be one of them.


 浙公网安备
33010002000092号
浙公网安备
33010002000092号 浙B2-20120091-4
Comments
No comments yet. Why don't you start the discussion?