
A splitting zipper is more than just an inconvenience—it can render a jacket, backpack, or pair of pants unusable at the worst possible moment. Many people assume the only solution is to replace the entire zipper or at least the slider, but that’s not always necessary. With a few household tools and some careful adjustments, you can often realign and stabilize a misbehaving zipper without removing or replacing any parts.
This guide walks through practical, field-tested methods to fix a zipper that separates when zipped up. Whether it's a winter coat that won’t stay closed or a tent zipper that keeps coming undone, these techniques can restore function quickly and affordably.
Understanding Why Zippers Split
Zippers don’t split because they’re inherently flawed—they fail due to wear, misalignment, or mechanical imbalance. The two sides of a zipper interlock through a precise mechanism inside the slider. When this alignment breaks down, the teeth no longer mesh properly, causing gaps or complete separation.
Common causes include:
- Worn or loose slider: Over time, the internal spring tension weakens, reducing grip on the teeth.
- Misaligned tape: Fabric on one side stretches or shifts, pulling the zipper tracks out of sync.
- Damaged or bent teeth: A single malformed tooth can prevent proper closure.
- Pulling from uneven angles: Yanking the pull tab sideways stresses the mechanism.
The good news? In many cases, the issue isn’t irreversible damage—it’s mechanical slippage. That means correction is possible without disassembling the zipper or sourcing replacement parts.
Step-by-Step Guide: Fixing a Splitting Zipper Without Replacing the Slider
Follow this sequence to diagnose and correct zipper separation using minimal tools. Most fixes take under 15 minutes and require only pliers, a ruler, and a steady hand.
- Inspect the zipper fully. Run the slider up and down slowly. Note where separation begins. Is it near the bottom, middle, or top? Does it happen consistently in one spot?
- Check for visible damage. Look closely at each tooth. Are any missing, bent, or flattened? If so, straighten them gently with needle-nose pliers.
- Close the zipper completely. Even if it splits immediately, zip it shut and observe how the slider behaves. Does it wobble? Does one side lift before the other?
- Test tension at the base. Hold both fabric tapes taut just below the slider. If the zipper stays closed under tension but opens when released, the slider likely lacks clamping force.
- Squeeze the slider gently. Using needle-nose pliers, apply light pressure to the body of the slider—specifically the front and back plates—along the axis of the zipper chain. Do not crush; aim for slight compression to increase internal friction.
- Re-zip and retest. After adjusting, run the slider up and down several times. Check whether the gap has reduced or disappeared.
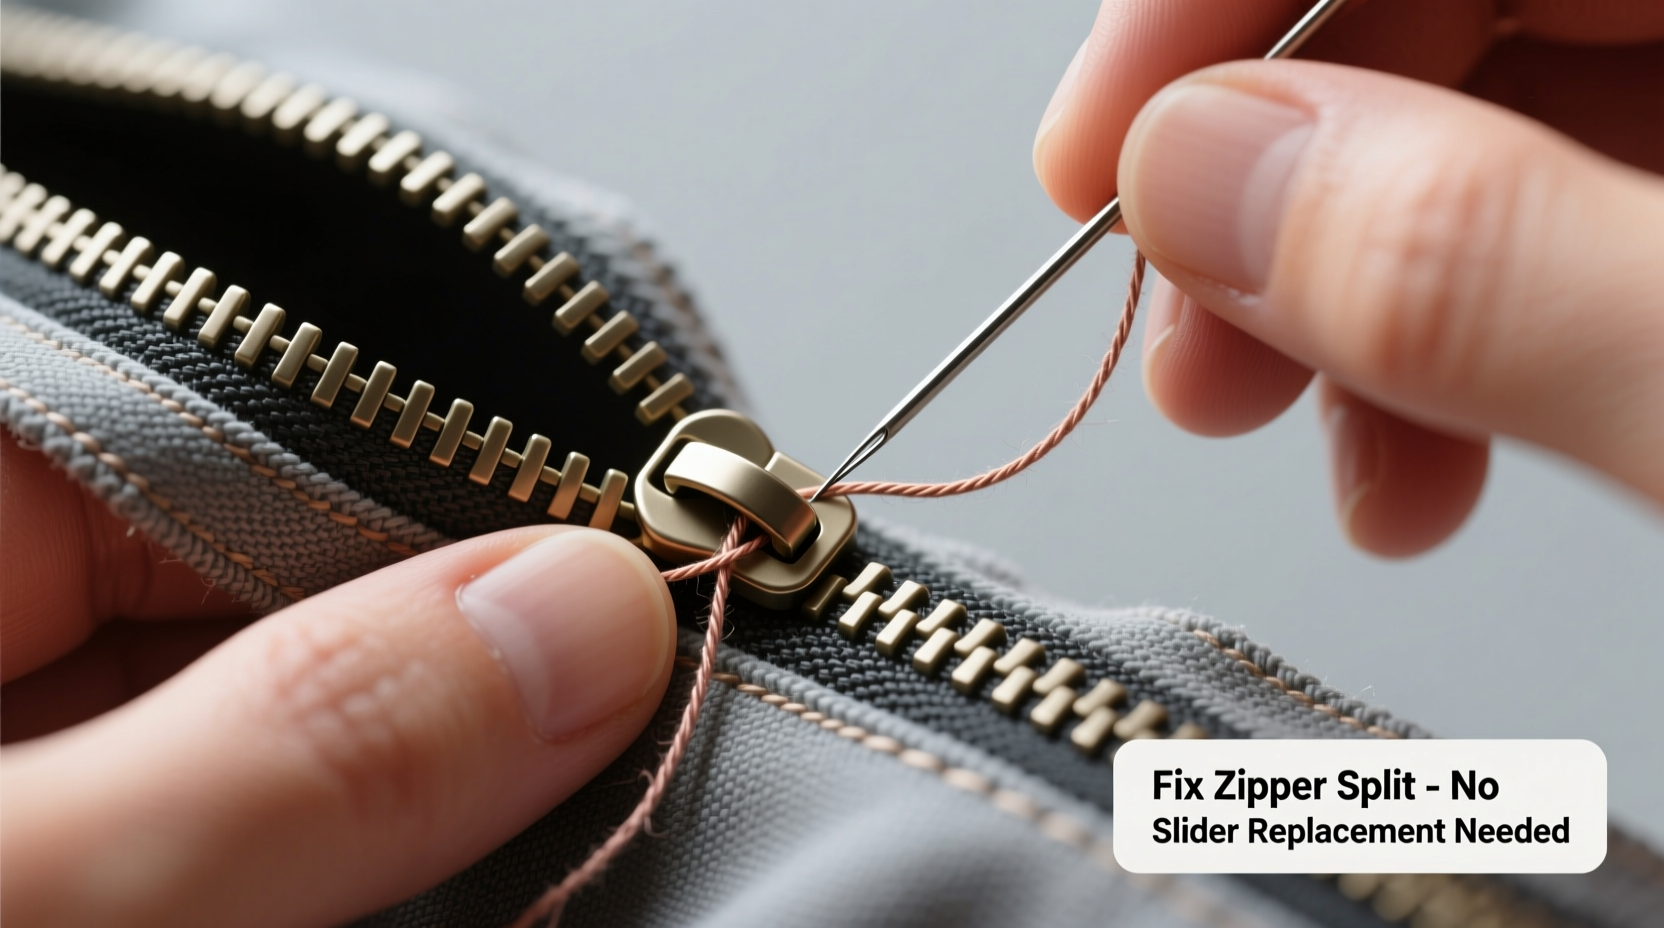
- Secure alignment with a stop bead (optional). If the zipper still slips, consider adding a temporary lower stop using a small crimp bead or even a drop of super glue at the end of the track to prevent over-travel.
This method works best on coil zippers (common in jackets and bags) and less so on metal-tooth varieties, which may require more precise realignment.
When Squeezing the Slider Works—and When It Doesn’t
Adjusting slider tension is effective when the mechanism is intact but loose. However, excessive squeezing can deform the slider irreversibly, making it too tight or too narrow to move smoothly.
“Many people ruin functional sliders by over-compressing them. Apply incremental pressure—test after every adjustment.” — Marcus Tran, Outdoor Gear Technician
If the slider becomes stiff or jams after squeezing, open it slightly by inserting a thin blade (like a utility knife tip) into the channel and prying gently. Always prioritize small corrections over aggressive force.
Alternative Methods to Stabilize a Loose Zipper
If simple compression doesn’t solve the problem, try these alternative approaches that maintain functionality without replacing hardware.
Use a Keyring or DIY Pull Tab Lock
One low-tech but highly effective fix is securing the pull tab after zipping. Attach a small keyring or safety pin through the hole in the pull tab and anchor it to a nearby seam or buttonhole. This prevents the slider from sliding down under movement or wind pressure.
This technique is especially useful for sleeping bags, puffer jackets, and children’s clothing where full mechanical repair isn’t urgent.
Add Temporary Friction with Nail Polish
A thin coat of clear nail polish applied to the teeth just behind the slider can create enough resistance to keep the zipper closed. As the polish dries, it forms a subtle adhesive bond between the interlocked coils.
Important: Only apply polish to the closed section of the zipper—not along the path the slider must travel. Let it dry completely before unzipping.
Reinforce Alignment with Heat (For Coil Zippers)
On nylon coil zippers, minor tape misalignment can be corrected with heat. Use a hairdryer to warm the fabric tapes near the zipper base while holding them in perfect alignment. Then cool under tension. The heat relaxes the fibers, allowing them to reset in a straighter configuration.
Do not use direct flame or iron contact—this risks melting the coil structure.
Do’s and Don’ts of Zipper Repair Without Replacement
| Action | Recommended? | Reason |
|---|---|---|
| Squeeze slider with pliers | ✅ Yes (gently) | Increases clamping force without disassembly |
| Apply super glue inside slider | ❌ No | Risks permanent jamming and reduces mobility |
| Use a second pull tab as weight | ✅ Yes | Extra mass can reduce accidental opening |
| File down protruding teeth | ⚠️ Caution | May weaken structure; only if tooth is visibly deformed |
| Stitch a manual stop below slider | ✅ Yes | Prevents over-travel and maintains tension |
Always test the zipper’s movement after each modification. A successful repair allows smooth operation while keeping the chain securely interlocked.
Mini Case Study: Reviving a Winter Jacket Zipper
Lena, a hiker from Colorado, noticed her insulated winter jacket began splitting at the chest after two seasons of heavy use. Each time she zipped it up, the lower half would gradually open during trail hikes, exposing her to cold winds.
Instead of buying a new jacket or scheduling a tailor visit, she tried the slider-squeezing method. Using fine-tipped pliers, she compressed the slider body slightly from both front and back. After three small adjustments and testing between each, the zipper stayed closed under normal movement.
To prevent recurrence, she added a small cord lock above the slider as a secondary hold. The total fix took 12 minutes and cost nothing. Her jacket remained fully functional for another 18 months of outdoor use.
This case illustrates how minor mechanical tweaks can extend the life of high-value outerwear—especially when replacements are expensive or environmentally costly.
Frequently Asked Questions
Can I fix a separating zipper without tools?
Yes, in some cases. If the issue is minor slack, you can sometimes improve grip by threading a thin ribbon or cord through the pull tab and tying it off at the top stop. This adds downward tension that helps keep the slider engaged. While not a permanent fix, it works temporarily for light-duty zippers like those on casual hoodies.
Why does my zipper work fine when new but start splitting later?
New zippers have tight tolerances and strong internal springs. Over time, repeated use wears down the slider’s gripping surfaces, and fabric stress distorts the tape alignment. Environmental exposure—such as moisture, UV light, or sand—can accelerate this degradation. Regular maintenance slows the process significantly.
Is it safe to use pliers on a plastic zipper slider?
Exercise extreme caution. Plastic sliders crack easily under pressure. Instead of squeezing, try wrapping thread tightly around the base of the slider to add external compression. Secure with a knot or drop of fabric glue. This increases friction without risking breakage.
Checklist: How to Fix a Splitting Zipper (Quick Reference)
- ✅ Inspect zipper for dirt, debris, or bent teeth
- ✅ Clean track with soft brush and mild detergent
- ✅ Straighten any deformed teeth with needle-nose pliers
- ✅ Test zipper under tension to assess slippage point
- ✅ Gently compress metal slider to increase grip (avoid crushing)
- ✅ Re-test movement and adjust incrementally
- ✅ Add external lock (keyring, cord lock, or stitch) if needed
- ✅ Avoid glues or solvents inside the slider mechanism
Following this checklist ensures a systematic approach, minimizing the risk of accidental damage while maximizing the chance of success.
Conclusion: Small Fixes, Big Results
A zipper that splits doesn’t mean the end of a garment’s life. Often, the fault lies not in broken parts but in lost tension and alignment—issues that can be corrected with precision and patience. By learning how to adjust a slider, reinforce weak points, and stabilize movement without replacement, you gain control over everyday breakdowns that most people surrender to.
These skills save money, reduce waste, and empower smarter ownership of clothing and gear. Next time a zipper starts playing games, don’t reach for the trash bin—reach for your pliers and give it a second chance.


 浙公网安备
33010002000092号
浙公网安备
33010002000092号 浙B2-20120091-4
Comments
No comments yet. Why don't you start the discussion?