
Hanging paper snowflakes is a cherished winter tradition. Whether decorating for the holidays, welcoming the first frost, or simply adding whimsy to a child’s room, these intricate cutouts bring charm and seasonal joy. Yet, the experience often ends in frustration: tape peels paint, leaves sticky residue, or fails entirely when static dissipates. For many, the aftermath—ghostly outlines on glass, torn paper, or flakes tumbling mid-season—outweighs the fleeting beauty.
The solution lies not in abandoning the tradition but in rethinking the method. With the right materials, techniques, and timing, it’s possible to display delicate paper snowflakes securely, cleanly, and beautifully—without damaging windows or relying on unreliable static. This guide presents tested, practical strategies that preserve both your décor and your surfaces.
Why Traditional Methods Fail
Tape and static are the two most common ways people attach paper snowflakes to windows. Both have significant drawbacks.
Clear tape seems convenient, but over time, adhesive breaks down, especially under temperature fluctuations from sunlight or indoor heating. The result? Sticky residue that attracts dust and is difficult to remove without solvents. Worse, removing aged tape can lift paint from window frames or leave cloudy film on glass—even on tempered or treated surfaces.
Static cling relies on the natural electrical charge between thin plastic or paper and smooth glass. While appealing because it’s residue-free, static is highly unstable. Humidity, air currents, surface oils, and even minor vibrations can neutralize the charge within hours or days. A snowflake may stay put for a festive evening but fall by morning.
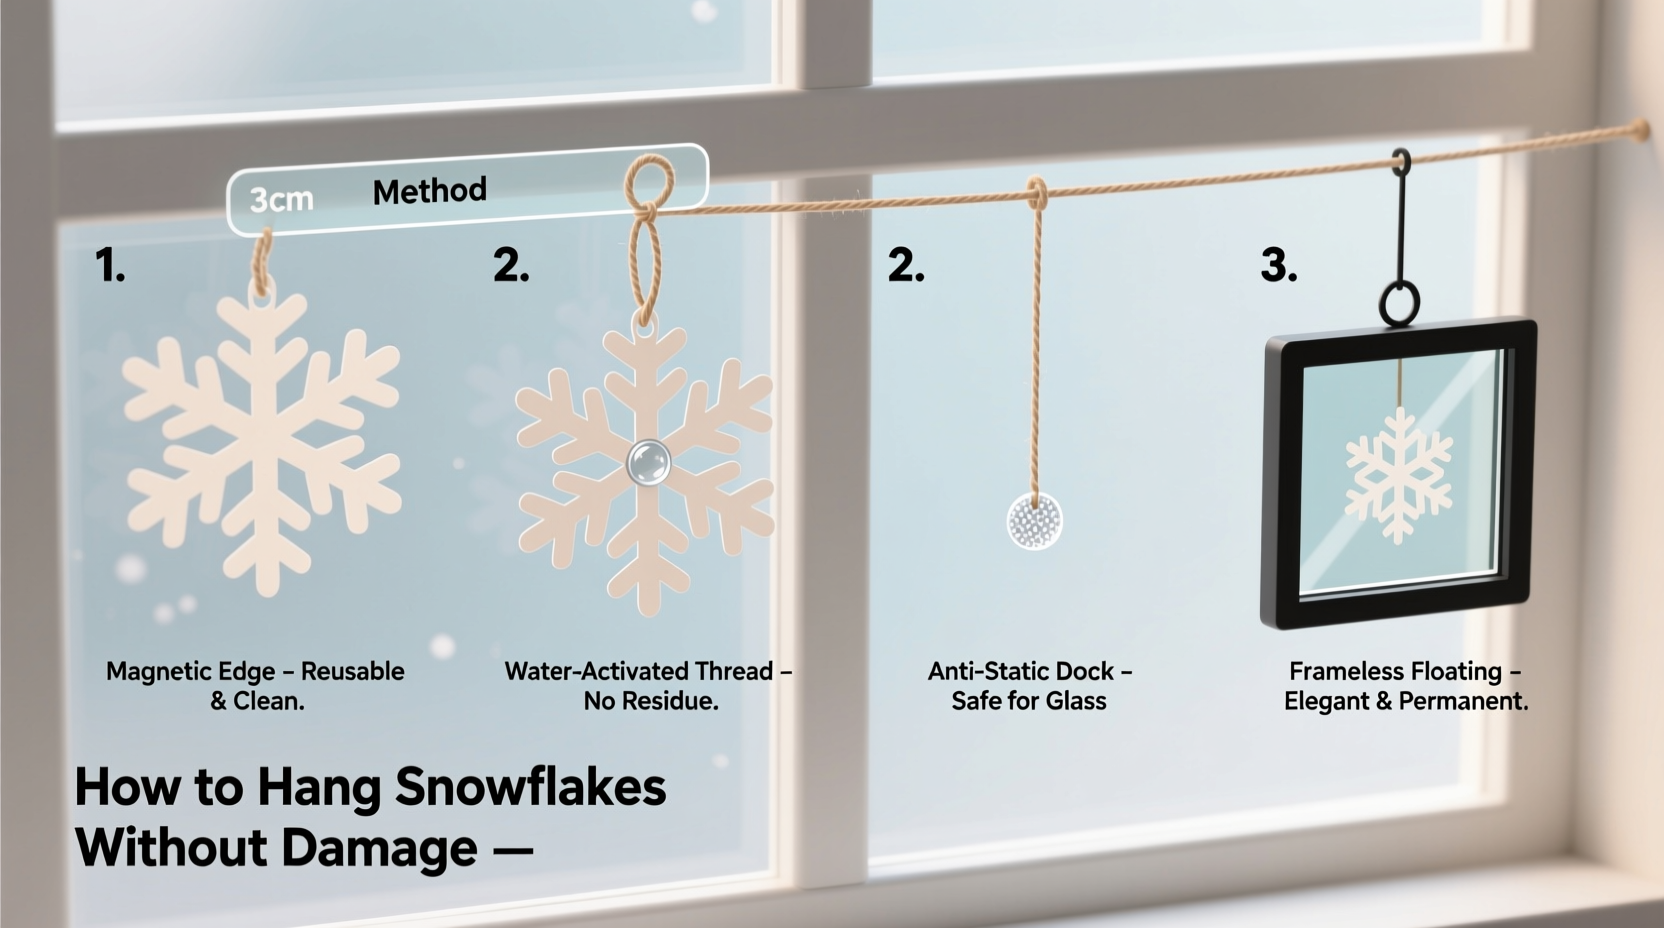
Better Alternatives: Damage-Free Hanging Techniques
Success begins with choosing the right hanging method—one that balances security, invisibility, and removability. Below are four reliable alternatives, each suited to different environments and levels of permanence.
1. Gel Mounting Squares (Repositionable)
Gel squares—small, transparent adhesive dots made from reusable polymer—are designed for mounting lightweight items without residue. Originally used in photo framing and craft displays, they bond gently to glass and paper alike.
To use, press a pea-sized gel square onto each corner of the snowflake (for larger flakes) or one in the center (for smaller ones). Press the snowflake firmly against the clean window surface. The bond forms instantly and holds reliably through temperature shifts. When it’s time to remove, simply peel the snowflake away. The gel lifts cleanly from both paper and glass, leaving no trace.
“Gel mounting products revolutionized how museums handle temporary paper exhibits. They’re engineered for reversibility—exactly what home decorators need.” — Dr. Lila Tran, Conservator at the National Craft Archive
2. Washi Tape (Low-Tack & Decorative)
Unlike standard tapes, washi tape uses a light adhesive formulated for temporary use on delicate surfaces. It removes cleanly from glass and painted frames when pulled slowly at a 180-degree angle.
For snowflakes, apply small strips (about 1/2 inch long) to the back corners. Fold the excess to create a tab, then stick the tab to the window. This “floating” effect keeps the tape discreet while allowing airflow behind the paper, reducing moisture buildup. Choose festive patterns to complement your décor—washi adds aesthetic value while functioning as a hanger.
3. Water-Activated Paper Glue Dots
These tiny, pre-cut adhesive circles activate with a drop of water. Place a dot on the back of the snowflake, dampen it lightly with a fingertip or brush, wait 10 seconds, then press to the window. The bond sets quickly and remains invisible.
Removal is simple: moisten the edge of the snowflake with a damp cloth, wait 30 seconds, then gently peel. No scraping, no solvents. These are ideal for renters or families who change décor frequently.
4. Magnetic Static Cling Film (For Frequent Rotation)
A more advanced option involves applying a thin, transparent magnetic film to the window. Cut the snowflake slightly larger than a business card, mount it on a matching-sized piece of flexible magnetic sheet, and place it against the film. The magnetic attraction holds the snowflake securely, yet allows daily repositioning.
This system works best in classrooms or playrooms where children rotate artwork weekly. The initial setup takes effort, but long-term maintenance is effortless.
Step-by-Step: How to Hang Snowflakes Without Damage
Follow this sequence to ensure secure, clean installation every time:
- Clean the Window Surface: Use a vinegar-water solution (1:1) and a lint-free cloth to wipe the glass. Avoid commercial cleaners with ammonia, which can leave a slippery film.
- Dry Thoroughly: Residual moisture prevents adhesion. Let the area air-dry or buff with a dry microfiber cloth.
- Prepare the Snowflake: If using gel squares or glue dots, apply them now. For washi tape, cut and fold tabs in advance.
- Position Carefully: Hold the snowflake in place with both hands. Align it before making contact. Once bonded, shifting reduces hold strength.
- Press Firmly: Apply even pressure for 10–15 seconds across all attachment points. This ensures full surface contact.
- Wait Before Adjusting: Allow 1 hour for bonds to stabilize, especially with water-activated dots.
- Inspect Daily for First 48 Hours: Check for sagging, peeling, or warping due to humidity.
Material Comparison: Hanging Methods at a Glance
| Method | Hold Duration | Residue Risk | Best For |
|---|---|---|---|
| Gel Mounting Squares | 4–8 weeks | None | Medium-term displays, rentals |
| Washi Tape | 2–6 weeks | Very Low | Festive homes, kids’ rooms |
| Water-Activated Glue Dots | 6–10 weeks | None (if removed properly) | Humid climates, frequent changes |
| Static Cling (untreated) | Hours to 3 days | None | Short events, photography |
| Magnetic System | Indefinite (with maintenance) | None | Classrooms, rotating art |
Avoiding Common Mistakes
Even with better materials, improper technique can lead to failure. Here are key pitfalls and how to avoid them:
- Using Dirty Glass: Oils from fingerprints block adhesion. Always clean before attaching.
- Overloading with Adhesive: Excess gel or tape increases visibility and makes removal harder.
- Hanging in Direct Sunlight: UV rays degrade paper and heat weakens adhesives. Choose north-facing or shaded windows.
- Ignoring Humidity: Bathrooms and kitchens have high moisture, which shortens the life of paper and glue. Opt for living rooms or bedrooms instead.
- Peeling Too Quickly: Remove attachments slowly and at a shallow angle to prevent tearing or residue.
Real-World Example: A Teacher’s Winter Classroom Makeover
Ms. Elena Ruiz, a third-grade teacher in Vermont, faced a recurring problem each December. Her students spent hours crafting elaborate snowflakes, only to see them fall within days. “We used static sheets at first,” she said. “But by Tuesday afternoon, half were on the floor. Kids were heartbroken.”
The following year, she switched to repositionable gel squares. She taught her class to clean the windows with vinegar spray and apply one square per flake. The results lasted the entire winter term. “Parents commented on how professional it looked,” she recalled. “And cleanup took ten minutes—no scrubbing, no stress.”
Her success led the school to adopt the method district-wide for seasonal displays.
Checklist: Pre-Hanging Preparation
Before you begin, gather and verify the following:
- ✅ Clean, dry microfiber cloths
- ✅ Vinegar-water cleaning solution (in a spray bottle)
- ✅ Gel mounting squares or low-tack tape
- ✅ Finished paper snowflakes (fully dried if recently crafted)
- ✅ Step stool or ladder (for high windows)
- ✅ Notepad (to sketch layout if desired)
- ✅ Timer (to monitor drying or activation times)
FAQ: Common Questions Answered
Can I reuse gel squares after removing a snowflake?
Yes, most gel mounting products can be reused 2–3 times if kept clean. Store them on a wax paper sheet between uses. Avoid touching the sticky side with fingers, as oils reduce effectiveness.
What if my snowflake tears during removal?
If the paper rips, moisten the remaining fragment with a cotton swab dipped in water. Wait 30 seconds, then gently lift with tweezers. Any leftover adhesive residue can be wiped with a damp cloth—no chemicals needed.
Are there any eco-friendly options?
Absolutely. Choose biodegradable glue dots made from plant-based adhesives or washi tape produced with sustainable paper. Some brands offer compostable packaging as well. Avoid PVC-based tapes and synthetic gels labeled “non-biodegradable.”
Final Thoughts: Preserve Beauty Without the Mess
Hanging paper snowflakes should enhance your space, not compromise it. The goal isn’t just decoration—it’s creating moments that last, without hidden costs to your windows or peace of mind. By moving beyond tape and unreliable static, you protect your home while honoring the craftsmanship behind each delicate cut.
Whether you’re a parent helping a child hang their first snowflake, a teacher building classroom spirit, or someone who finds joy in seasonal rituals, the right method transforms a simple act into a lasting expression of care. Try one of the residue-free techniques outlined here. Document your results. Share what works in your environment.


 浙公网安备
33010002000092号
浙公网安备
33010002000092号 浙B2-20120091-4
Comments
No comments yet. Why don't you start the discussion?