
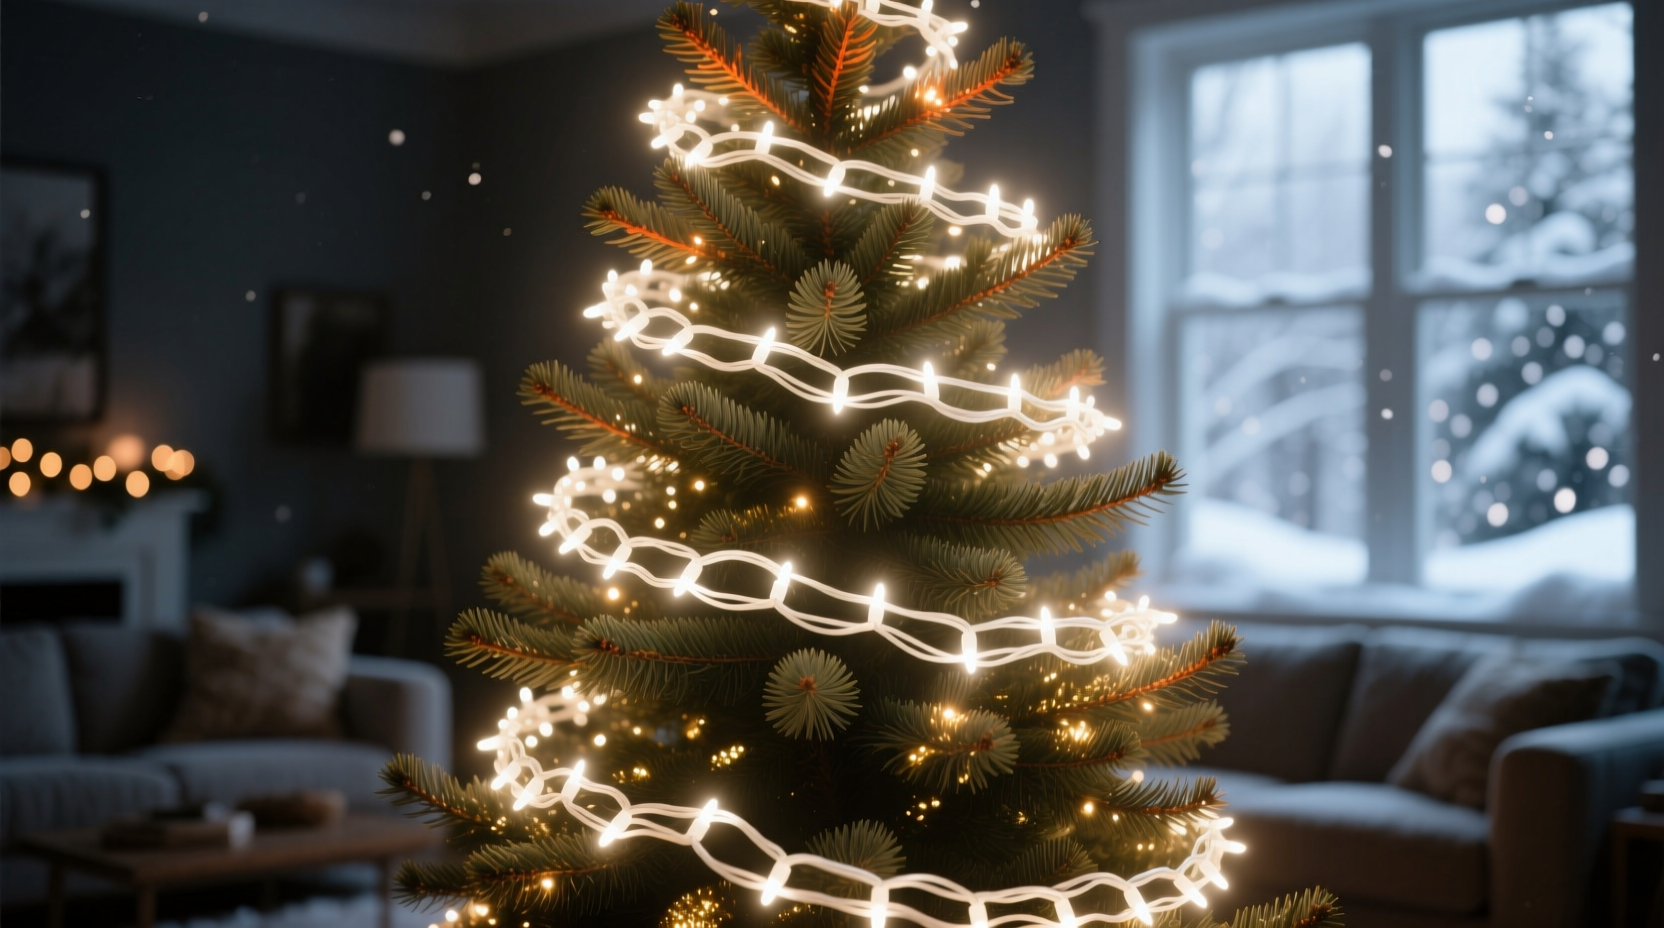
Stringing lights on a Christmas tree is more than decoration—it’s an art form that balances aesthetics, safety, and function. When done poorly, overlapping cords create tangled hotspots that pose fire risks, while uneven distribution leaves dark gaps that ruin the visual harmony. But when layered with intention, multiple strands can produce a luminous, three-dimensional glow that elevates any holiday display. Achieving this requires more than just draping wires; it demands planning, pattern discipline, and attention to detail. Whether you're decorating a towering spruce in a public atrium or a modest tabletop fir at home, mastering light layering transforms your tree from ordinary to extraordinary.
Understand the Risks of Poor Light Layering
Before applying lights, it's essential to recognize what goes wrong when strands are applied haphazardly. Overlapping cords trap heat, especially with incandescent bulbs, increasing the risk of insulation melting or even ignition. The National Fire Protection Association (NFPA) reports that between 2016 and 2020, U.S. fire departments responded to an average of 7,640 home fires per year involving decorations, with Christmas trees accounting for 250 annually. Many of these incidents stem from electrical malfunctions due to overloaded circuits or damaged wiring caused by friction and compression from tangled cords.
Beyond safety, poor layering leads to visual imbalance. Concentrated clusters of light—hotspots—draw the eye unnaturally, while sparse areas—dead zones—make the tree look unfinished. These inconsistencies break the illusion of depth and warmth that well-lit trees provide. To avoid both hazards and aesthetic flaws, adopt a systematic approach from the start.
Plan Your Lighting Strategy Before You Begin
Successful lighting begins with strategy, not execution. Start by measuring your tree’s height and circumference at its widest point. For every foot of tree height, plan for approximately 100 lights if using mini LEDs. That means a 6-foot tree needs about 600 bulbs for base coverage—but for layered depth, double that number across two or three separate strands.
Choose strands with consistent bulb spacing (ideally 4–6 inches apart) and consider color temperature. Warm white (2700K–3000K) creates a cozy ambiance, while cool white (4000K+) feels modern but can appear harsh if overused. Mixing temperatures carelessly results in visual discord. Stick to one type unless aiming for a deliberate gradient effect.
Use clips—not staples or nails—to secure strands. Plastic tree branch clips distribute weight evenly and reduce bark damage. Plan your route: begin at the trunk and work outward, then top to bottom, ensuring each layer wraps in a slightly different orientation to minimize overlap.
“Lighting a tree isn’t about covering branches—it’s about sculpting light. Think like a stage designer, not a decorator.” — Daniel Reyes, Lead Display Designer, New York Botanical Garden Holiday Exhibit
Step-by-Step Guide to Layering Multiple Strands
Follow this sequence to achieve balanced, safe illumination across all levels of your tree:
- Prepare the Tree Structure: Fluff branches evenly, rotating the tree as you go to ensure symmetry. Remove any obstructive ornaments temporarily.
- Install the Base Layer (Trunk-to-Tip Spiral): Begin at the top near the trunk. Attach the first strand and spiral downward at a 45-degree angle, moving outward gradually. Keep tension gentle and guide wires along thicker branches.
- Add the Second Layer (Reverse Spiral): Use a second identical strand. Start again at the top but spiral in the opposite direction. This crisscross pattern fills gaps left by the first pass and diffuses brightness.
- Apply Accent Layer (Inner Depth Lighting): For fullness, weave a third, dimmer strand deep within inner branches. Use warm fairy lights on battery packs to highlight volume without adding cord congestion.
- Test and Adjust: Plug in each layer separately. Walk around the tree under low ambient light. Identify bright clusters or shadows and reposition sections as needed.
- Final Dressing: Once satisfied, reinstall ornaments, starting from the interior and working outward to avoid displacing wires.
Do’s and Don’ts of Multi-Strand Wiring
Avoid common pitfalls by following best practices. The table below summarizes key actions to take—and those to avoid—when layering lights.
| Do | Don't |
|---|---|
| Use UL-listed lights rated for indoor use | Daisy-chain more than three strands together |
| Space layers at different depths (outer, mid, inner) | Wrap lights tightly around branches like a hose |
| Label plugs and keep spare fuses on hand | Hide plugs behind the tree where they’re inaccessible |
| Use extension cords rated for the total wattage | Run cords under rugs or across high-traffic areas |
| Check connections daily during display season | Leave lights unattended or on overnight |
Real Example: Transforming a Problematic Tree Display
The community center in Burlington, Vermont, struggled for years with their 12-foot Douglas fir. Despite using over 2,000 lights, visitors complained the tree looked patchy—bright at the front but dark on the sides. Staff had simply draped strands from top to bottom without considering perspective, resulting in heavy frontal clustering and minimal side coverage.
In 2022, they hired a local lighting consultant who implemented a three-layer rotational method. First, she divided the tree into four quadrants. She applied the first strand spiraling clockwise down the north face, the second counterclockwise on the east, and so on—ensuring no single plane carried excess wire. A final inner ring of micro-LEDs was woven into the core to eliminate shadowing. The result? A uniformly radiant tree visible from every angle, with zero cord tangling after three months of display. Energy use dropped 30% by switching to LED strands, and maintenance time halved due to easier access and modular design.
Essential Checklist for Tangle-Free, Even Lighting
Before plugging in your tree, run through this checklist to ensure a professional result:
- ✅ Measured tree dimensions and calculated required number of bulbs
- ✅ Selected compatible, UL-certified light strands with uniform spacing
- ✅ Inspected all cords and bulbs for damage or wear
- ✅ Acquired enough branch clips (at least 50 for a 6+ foot tree)
- ✅ Planned spiral direction and layer sequence in advance
- ✅ Tested each strand individually before installation
- ✅ Identified power source location and verified circuit capacity
- ✅ Cleared workspace and ensured stable ladder or platform
- ✅ Removed fragile ornaments prior to wiring
- ✅ Scheduled a post-installation walkaround test in low light
FAQ: Common Questions About Layering Tree Lights
How many light strands should I use on a large tree?
For a full, lush tree over 7 feet tall, use at least three strands: two primary layers in opposing spirals and one accent layer for depth. Aim for 100–200 lights per foot of height depending on desired brilliance. Always stay within the manufacturer’s daisy-chaining limits—typically three sets per outlet.
Can I mix LED and incandescent lights on the same tree?
It’s not recommended. LEDs draw far less power and generate almost no heat, while incandescents can overheat nearby materials. Mixing types creates inconsistent thermal loads and complicates troubleshooting. If you must combine them, keep them on separate circuits and never interconnect the strands.
What’s the best way to store light strands after the holidays?
Use cardboard spools or specialized light reels. Wrap slowly, avoiding kinks. Never yank strands off the tree—this stretches wires and loosens sockets. Label each reel by length, color, and location used. Store in a climate-controlled space away from rodents, which may chew insulation.
Mastering the Art of Balanced Illumination
Layering lights on a full tree is a blend of technical precision and creative vision. It’s not merely about quantity, but about how light interacts with form. By treating each strand as part of a larger system—rather than an isolated addition—you create dimension, rhythm, and safety. The most memorable trees aren’t the brightest; they’re the ones that glow with even, inviting warmth from every angle. Avoiding tangles and dead zones isn’t just practical—it’s fundamental to achieving that magic.
Professionals know that repetition breeds reliability. The same spiral technique applied consistently across layers builds predictability, reduces errors, and simplifies future setups. With practice, the process becomes intuitive. You’ll begin to see the tree not as a static object, but as a living canvas shaped by light.


 浙公网安备
33010002000092号
浙公网安备
33010002000092号 浙B2-20120091-4
Comments
No comments yet. Why don't you start the discussion?