
A beautifully lit centerpiece can transform an ordinary holiday dinner into a memorable experience. Unlike traditional candlelit arrangements, a battery-powered centerpiece offers consistent light, enhanced safety, and greater design flexibility—especially when children or pets are present. Creating one doesn’t require advanced crafting skills or expensive materials. With thoughtful planning and attention to detail, you can craft a stunning focal point that enhances your festive decor while staying practical for everyday use during the season.
Selecting the Right Components
The foundation of any successful battery-powered centerpiece lies in choosing the right components. These include the light source, power supply, decorative elements, and structural base. Each plays a critical role in both aesthetics and functionality.
Battery-operated LED lights are ideal due to their low heat output, energy efficiency, and long lifespan. Options range from string lights with warm white or multicolor bulbs to fairy lights, puck lights, or even programmable mini LEDs. When selecting lights, consider brightness level, bulb spacing, and wire color—clear or green wires blend better with natural arrangements.
Batteries come in various forms: AA, AAA, or button cell types. Lights with built-in battery boxes are easiest to integrate. Look for models with on/off switches and, if possible, timer functions to automate lighting cycles. For longer runtime, opt for high-capacity alkaline or rechargeable batteries.
Designing Your Centerpiece Theme
Before gathering supplies, decide on a theme. This ensures cohesion and simplifies material selection. Popular themes include rustic woodland, modern minimalist, vintage glamor, or traditional red-and-green.
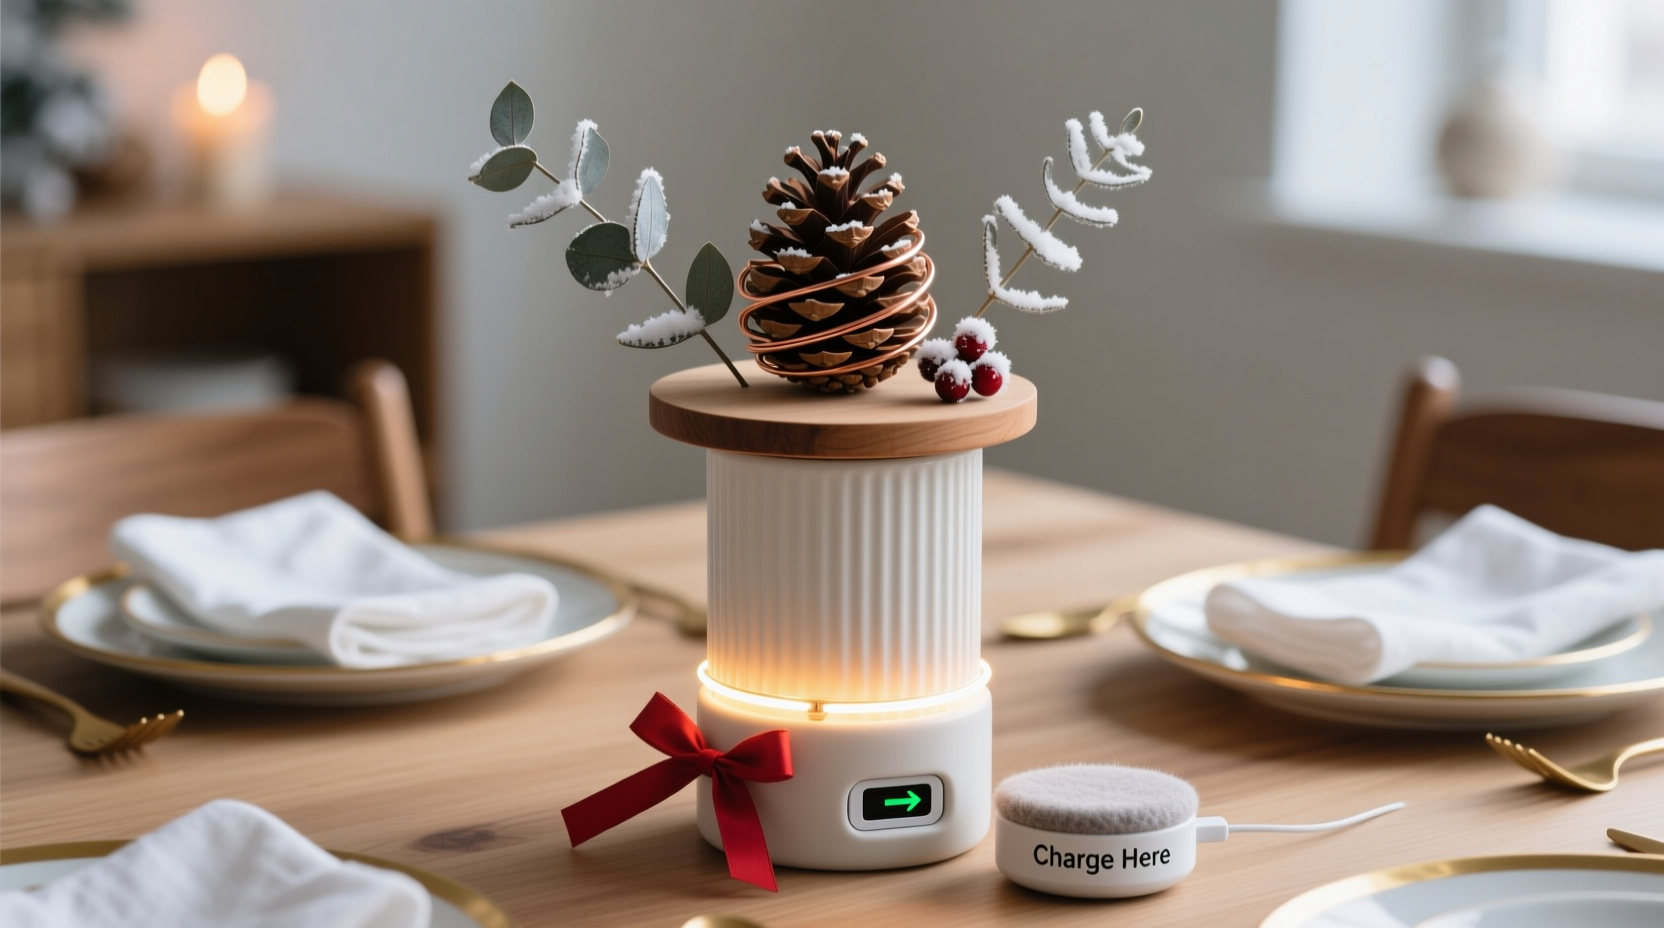
A rustic arrangement might feature pinecones, dried oranges, cinnamon sticks, and sprigs of evergreen, illuminated subtly by warm white fairy lights. A modern look could use geometric shapes, frosted glass containers, and cool white LEDs. Vintage styles often incorporate mercury glass vases, antique ornaments, and soft golden glows.
Consider the size of your table. The centerpiece should allow guests to see across the table without obstruction—ideally no taller than 12 inches unless placed at the ends of a long table. Width should leave at least 18 inches between place settings.
“Lighting is not just functional—it’s emotional. A well-lit centerpiece creates warmth and invites conversation.” — Clara Mendez, Interior Stylist & Holiday Decor Consultant
Step-by-Step Assembly Guide
Follow this timeline to assemble a safe, attractive, and durable centerpiece over the course of two to three hours.
- Day 1: Gather Materials (30 minutes)
Collect all components: LED string lights, battery pack, container or tray, natural or artificial decor, floral foam (if needed), scissors, tape, and optional waterproof lining. - Step 1: Prepare the Base (20 minutes)
Choose a shallow wooden tray, ceramic dish, or clear vase. If using fresh greenery, line the base with damp paper towels and cover with sheet moss or floral foam to retain moisture. For dry arrangements, skip moisture control and secure items with hot glue or adhesive putty. - Step 2: Position the Lights (30 minutes)
Weave the string lights through the arrangement. Begin at the battery box, placing it discreetly at one end where it can be easily accessed. Coil excess wire neatly beneath foliage. Avoid sharp bends in the wiring to prevent damage. Secure strands with thin floral wire or clear tape where necessary. - Step 3: Add Decorative Elements (45 minutes)
Layer in pinecones, ornaments, berries, or candles (battery-powered only). Tuck smaller items around light clusters to maximize glow reflection. Cluster larger pieces toward the center or ends for visual balance. - Step 4: Final Adjustments (15 minutes)
Turn on the lights to evaluate brightness and coverage. Adjust placement of bulbs or objects blocking illumination. Ensure the switch remains accessible and batteries can be replaced without dismantling the piece.
Safety and Longevity Best Practices
Even though battery-powered lights generate minimal heat, safety should never be compromised. Always inspect wires for fraying or exposed conductors before use. Never mix old and new batteries, as this can reduce performance and increase leakage risk.
Place the centerpiece away from high-traffic areas to avoid tipping. If using near food, ensure all materials are non-toxic and surfaces are easy to wipe down. Avoid placing directly on polished wood tables without a protective mat to prevent condensation damage.
To extend the life of your display, turn off the lights when not in use. Most quality LED strings last 30,000–50,000 hours, but unnecessary runtime shortens overall usability. Store components separately after the holidays: wrap lights carefully around a cardboard spool, label battery types, and keep decor in labeled bins.
| Do | Don't |
|---|---|
| Use timers to limit daily operation | Leave lights on unattended for days |
| Choose warm white for cozy ambiance | Use flashing modes during dinner |
| Secure loose wires with tape or clips | Run cords under heavy objects |
| Replace batteries promptly when dimming occurs | Mix battery chemistries (e.g., alkaline + lithium) |
Real Example: A Family’s First DIY Holiday Centerpiece
The Reynolds family wanted a personalized touch for their Christmas Eve dinner. With two young children, open flames were out of the question. They chose a long wooden trough planter as their base and filled it with fresh cedar cuttings from their backyard. Using a 20-light warm white LED string powered by three AA batteries, they coiled the wire throughout the greens, tucking in pinecones dipped in gold paint and small red velvet bows.
The battery box was attached with Velcro underneath one end. They added five miniature battery-operated tea lights in glass holders for extra flicker effect. The entire project cost under $25, mostly spent on lights. The centerpiece stayed lit from 5 PM to 10 PM each evening via a timer function, conserving battery life. After the holidays, they reused the wooden tray for a spring herb garden, and the lights adorned their mantel the following year.
Checklist: Building Your Battery-Powered Centerpiece
- ☐ Choose a theme and color scheme
- ☐ Measure table dimensions for appropriate scale
- ☐ Purchase battery-powered LED lights with accessible switch
- ☐ Select a stable, aesthetically pleasing base container
- ☐ Gather natural or artificial decorative elements
- ☐ Test lights and confirm battery life
- ☐ Assemble base layer (moss, foam, or liner)
- ☐ Weave lights securely through arrangement
- ☐ Place battery pack for easy access
- ☐ Add final decor and test illumination
- ☐ Turn on and adjust positioning as needed
- ☐ Create a usage schedule (on/off times)
- ☐ Plan for post-holiday storage
Frequently Asked Questions
Can I leave my battery-powered centerpiece on overnight?
While LED lights are generally safe, it's best not to leave them on unattended for extended periods. Use a timer to limit operation to 4–6 hours per night, especially if placed near flammable materials like dried botanicals. This also preserves battery life.
How long do batteries typically last in these displays?
Lifespan varies by light type and usage. On average, AA-powered string lights last 24–48 hours continuously. Models with timers (e.g., 6 hours on, 18 off) can run 7–10 days on a single set. Rechargeable batteries offer eco-friendly reuse but may have slightly shorter runtime per charge.
Can I use real candles with a battery-powered centerpiece?
No. Combining real flames with any decorative arrangement—even if primarily battery-lit—increases fire risk significantly. All lighting elements should be electric. Opt for flameless candles with realistic flicker effects if you desire that aesthetic.
Enhancing Versatility and Reuse
Design with repurposing in mind. A winter-themed centerpiece can transition into a New Year’s celebration by swapping out pinecones for metallic balls and changing the light color to blue or silver. Remove seasonal items and reuse the base structure for Easter nests, autumn pumpkins, or summer florals.
Invest in neutral-toned lights and containers that match multiple palettes. Clear vases, burlap-wrapped trays, or brushed metal bowls adapt easily. Store lights properly to avoid tangled wires—a common reason people abandon reuse.
“Sustainability starts with intention. Design once, enjoy year-round.” — Jordan Lee, Sustainable Home Designer
Conclusion
Crafting a battery-powered centerpiece for your dining table is more than a decoration project—it’s an investment in atmosphere, safety, and seasonal joy. With accessible materials and careful planning, you can create a piece that draws admiration, fosters warmth, and becomes a cherished part of your holiday tradition. Whether you're hosting a grand feast or enjoying a quiet family meal, the gentle glow of a handmade display adds a personal touch no store-bought item can replicate.


 浙公网安备
33010002000092号
浙公网安备
33010002000092号 浙B2-20120091-4
Comments
No comments yet. Why don't you start the discussion?