
Thrifting is more than just a budget-friendly way to refresh your wardrobe—it’s a sustainable, creative path to unique style. But even the most promising finds can fall short if they don’t fit well or carry that “used” look. The secret? Tailoring. With a few strategic adjustments, you can transform an overlooked secondhand garment into something that looks custom-made and effortlessly luxurious.
High-end clothing isn’t defined by brand labels alone. What sets designer pieces apart is precision in proportion, clean finishes, and a silhouette that flatters the body. These qualities aren’t exclusive to runway fashion—they’re achievable through thoughtful alterations. Whether you sew yourself or visit a local tailor, understanding what changes matter most can dramatically upgrade your thrifted items.
Why Fit Is the Foundation of Luxury
Luxury garments are engineered for the human form. A perfectly tailored jacket drapes over the shoulders without pulling. Trousers break cleanly at the ankle. Dresses skim the body rather than clinging or gaping. These subtle details signal craftsmanship—and they’re entirely replicable on secondhand clothing.
Ill-fitting clothes, no matter how stylish, undermine even the finest fabrics. A blouse that gapes at the back or pants that pool at the ankles suggest carelessness. Conversely, when a garment fits precisely, it commands attention. It doesn’t matter where it came from—people respond to fit first.
“Fit is the single most powerful factor in perceived quality. A $200 coat that fits poorly looks cheaper than a $50 one that fits perfectly.” — Marcus Tran, Menswear Tailor & Style Consultant
The good news? Most off-the-rack and vintage garments have built-in seam allowances—typically 1 to 1.5 inches along side seams and hems—that allow for meaningful adjustments without compromising structure.
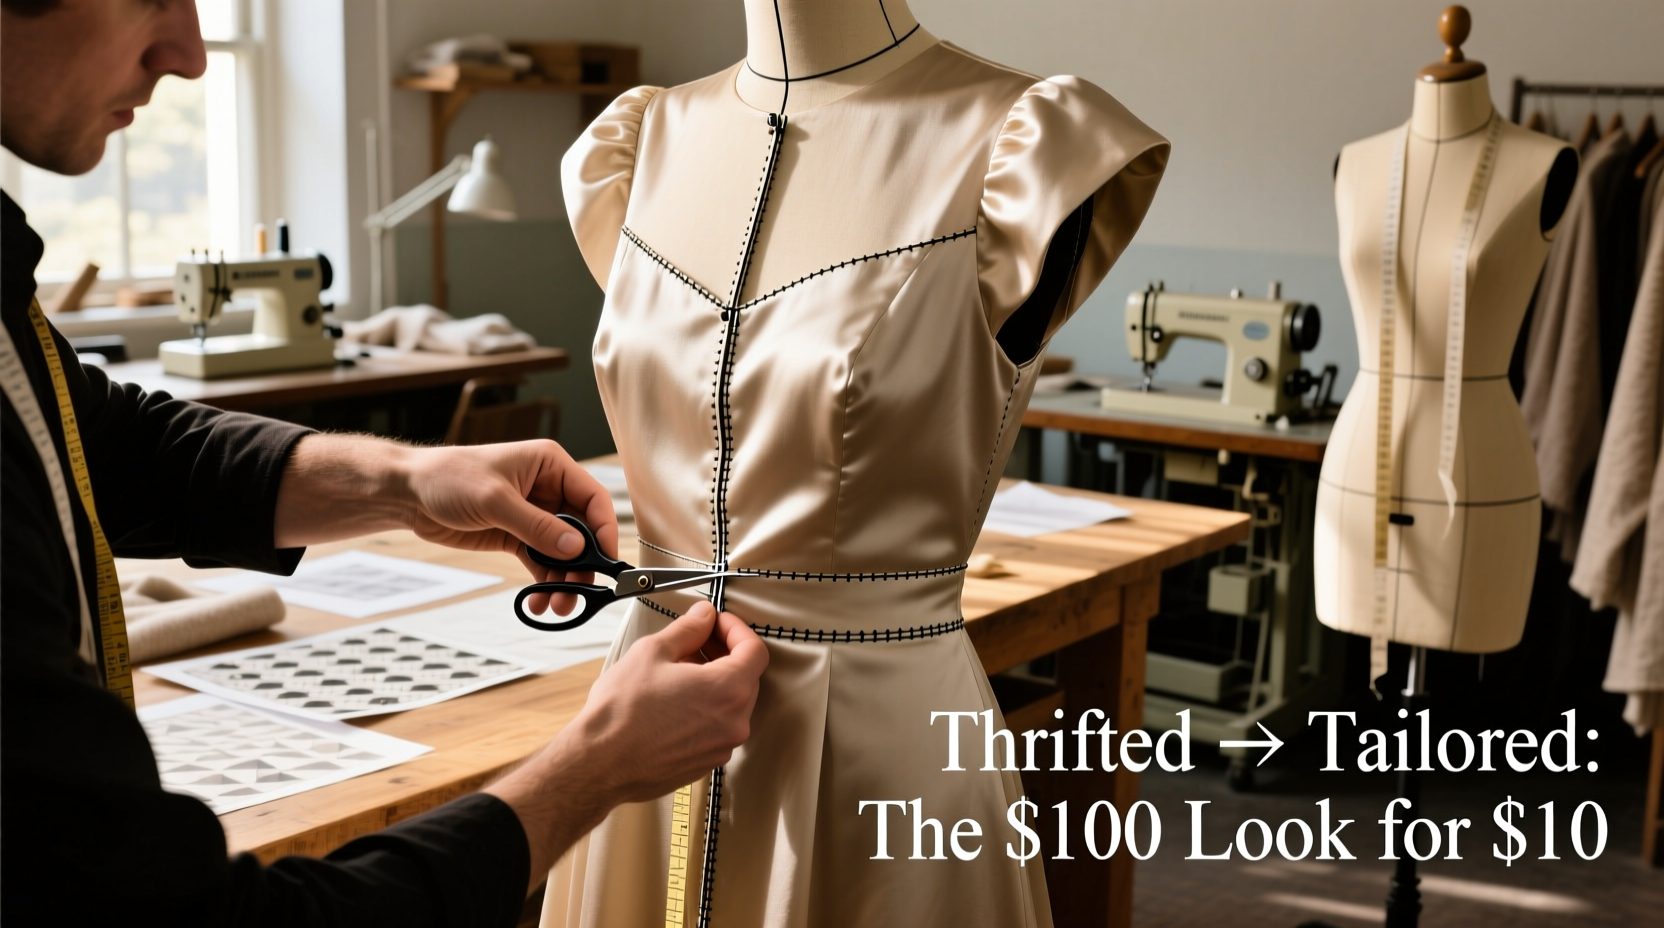
Essential Tailoring Adjustments That Elevate Any Garment
Not every alteration requires advanced skills. Focus on high-impact changes that mimic designer-level refinement. These five modifications consistently turn average finds into polished staples.
1. Hemming for Proportion
A clean hemline makes an immediate difference. Skirts grazing the floor or jeans dragging behind you disrupt visual flow. Conversely, a precise break—whether it’s a trouser resting lightly on dress shoes or a midi skirt hitting mid-calf—creates balance.
For wool trousers or coats, consider a blind hem stitch to preserve a seamless appearance. Lightweight fabrics like silk or rayon benefit from rolled hems. If you're not sewing, many dry cleaners offer hemming services for under $15.
2. Taking In Side Seams
This is the most common fix for oversized silhouettes. Jackets, blazers, and dresses often need slight narrowing through the torso. Always start conservatively—a ½-inch adjustment can make a noticeable difference.
When altering structured garments (e.g., those with padding or lining), preserve internal components. Remove lining carefully, adjust outer fabric, then reattach. Misaligned linings ruin the illusion of luxury.
3. Shortening Sleeves and Shoulders
Sleeves ending at the wrist bone create elegance. Too-long sleeves bunch over hands, suggesting poor fit. While full shoulder reductions are complex, shortening sleeve length without touching the shoulder cap maintains natural drape while improving proportion.
4. Nipping the Waist
Darting or tapering the waistline instantly adds shape. Even straight-cut dresses gain definition when gently cinched. For non-stretch fabrics, add darts at the back or sides. Stretch knits can be taken in with minimal disruption.
5. Finishing Raw Edges
Exposed seams or fraying fabric scream \"unfinished.\" High-end garments use French seams, bias binding, or serging to enclose raw edges. A quick zigzag stitch or iron-on tape can achieve a cleaner interior—especially important if a jacket might be worn open.
| Alteration | Time Required | DIY-Friendly? | Cost at Tailor |
|---|---|---|---|
| Hem pants/skirt | 30–45 min | Yes | $10–$20 |
| Take in jacket sides | 1.5–2 hrs | Moderate | $35–$60 |
| Shorten sleeves (unlined) | 45 min | Yes | $20–$30 |
| Add waist darts | 1 hr | Yes | $25–$40 |
| Full shoulder adjustment | 3+ hrs | No | $75+ |
Advanced Touches That Mimic Designer Details
Beyond basic fit, luxury garments excel in finishing techniques. Recreating these details—even partially—adds authenticity to your transformed pieces.
Rolling the Lapel Correctly
On blazers and coats, the lapel should roll smoothly from collar to button. If it stands up awkwardly or gaps, the roll point may be misaligned. A tailor can adjust canvas or stitching to restore a natural curve. This subtle fix elevates the entire jacket.
Replacing Buttons and Trims
Plastic buttons cheapen wool coats. Swap them for horn, corozo, or covered buttons. Sew buttons with a shank or thread stem to allow fabric movement. Similarly, replacing frayed belt loops or broken zippers with premium hardware (e.g., YKK zippers) improves both function and feel.
Pressing and Steaming Like a Pro
No alteration works without proper pressing. Use a clapper or tailor’s ham to shape curves. Steam pleats and creases into place rather than ironing aggressively. Wrinkles disappear, but so does lifeless flattening when done correctly.
Real Example: Transforming a Thrifted Wool Coat
Emily, a graphic designer in Portland, found a camel wool coat at a charity shop for $18. It had great fabric and color—but the shoulders sagged, the sleeves hung past her fingertips, and the waist gaped.
She took it to a local tailor with a clear request: reshape the silhouette without losing the coat’s classic structure. The tailor:
- Took in the side seams by ¾ inch through the body
- Added two soft darts at the back waist
- Shortened sleeves to expose her watch face
- Replaced missing buttons with matte horn versions
- Pressed lapels to roll naturally
Total cost: $68. The result? A coat indistinguishable from a $400 boutique piece. Emily now wears it to client meetings and has been asked where she bought it twice.
“I stopped seeing thrift stores as places to find bargains and started seeing them as sourcing grounds for custom pieces.” — Emily R., after her coat transformation
Step-by-Step Guide: How to Assess and Alter a Thrifted Find
Follow this sequence to evaluate and refine any secondhand garment:
- Inspect Fabric and Structure: Check for mold, odors, or irreversible stains. Feel the weight—luxury wools and silks have substantial drape. Look inside for seam allowances and lining integrity.
- Try It On and Pin: Wear the item with similar underlayers you’d normally pair with it. Use fashion pins to simulate tighter fits. Mark where fabric pulls or gaps.
- Prioritize Key Areas: Focus on shoulders, waist, sleeve length, and hemline. Fix one issue at a time to avoid over-altering.
- Decide DIY vs. Professional: Simple hems and tucks can be done at home. Structured garments with interfacing or lining require expert handling.
- Test and Refine: After alteration, wear the piece for a full day. Sit, walk, raise your arms. Make micro-adjustments if needed.
Tailoring Checklist: Before You Alter
Use this checklist to ensure you’re making smart, lasting improvements:
- ✅ Fabric is in good condition with no major damage
- ✅ Seam allowances exist (at least ½ inch)
- ✅ Lining isn’t fused or brittle
- ✅ Buttonholes aren’t stretched or torn
- ✅ You’ve tried the garment on with appropriate layers
- ✅ You’ve pinned mock adjustments to test fit
- ✅ You know whether the change is reversible
- ✅ You’ve cleaned the garment before altering (pre-shrinking)
Frequently Asked Questions
Can I alter stretchy or delicate fabrics like silk or jersey?
Yes, but with caution. Use fine needles and low tension. Silk benefits from French seams or bias binding to prevent fraying. Jersey can be altered with a stretch stitch or serger. If unsure, consult a specialist—delicate fabrics are costly to repair if damaged.
How much should I spend on tailoring versus the cost of the garment?
A general rule: tailoring should not exceed 50% of what a comparable new item would cost. However, exceptions apply for high-quality materials (e.g., cashmere, real leather). If the fabric itself is valuable, investing more in labor makes sense.
What if I don’t know how to sew?
You don’t need to. Local tailors, dry cleaners with alteration services, or even skilled friends can help. Bring clear references—photos of desired fits or similar garments—to communicate your vision. Many tailors welcome collaboration.
Conclusion: Turn Secondhand Into Statement-Worthy
Tailoring is the ultimate equalizer in fashion. It doesn’t matter where a garment began its life—if it fits impeccably, moves gracefully, and finishes cleanly, it will be perceived as high-end. Thrifted clothes carry history, character, and sustainability; tailoring gives them dignity and modern relevance.
Start small: hem a pair of trousers, take in a blazer, replace a button. Each adjustment builds confidence and sharpens your eye for detail. Over time, you’ll develop a wardrobe that looks curated, intentional, and far more expensive than it cost.


 浙公网安备
33010002000092号
浙公网安备
33010002000092号 浙B2-20120091-4
Comments
No comments yet. Why don't you start the discussion?