
A cluttered tangle of cords behind your desk isn’t just unsightly—it’s a productivity killer. Every time you need to unplug a device, trace a power adapter, or add new equipment, the mess grows worse. The good news? You don’t need specialized tools, expensive cable management kits, or hours of free time to fix it. With smart strategies and a few everyday items, you can transform that chaotic jungle into a streamlined system that works quietly in the background.
The goal isn’t perfection—it’s function. A well-managed cable setup reduces stress, improves airflow to electronics, and makes troubleshooting easier. Whether you’re working from home, gaming, or running a small office, a clean back-end setup pays dividends in both efficiency and peace of mind.
Assess Your Current Setup
Before making any changes, take stock of what you're dealing with. Stand behind your desk and observe the layout. Identify every cord: power cables, HDMI, USB, Ethernet, audio jacks, charging wires, and peripherals. Label each one mentally or use sticky notes temporarily to note its purpose.
Ask yourself three key questions:
- Which devices are essential and used daily?
- Which cables can be eliminated (e.g., unused chargers, old adapters)?
- Are there opportunities to consolidate or reduce redundancy?
This audit often reveals forgotten gadgets sucking power or obsolete cords taking up space. Unplug and remove anything nonessential. Recycle old or damaged cables responsibly through e-waste programs.
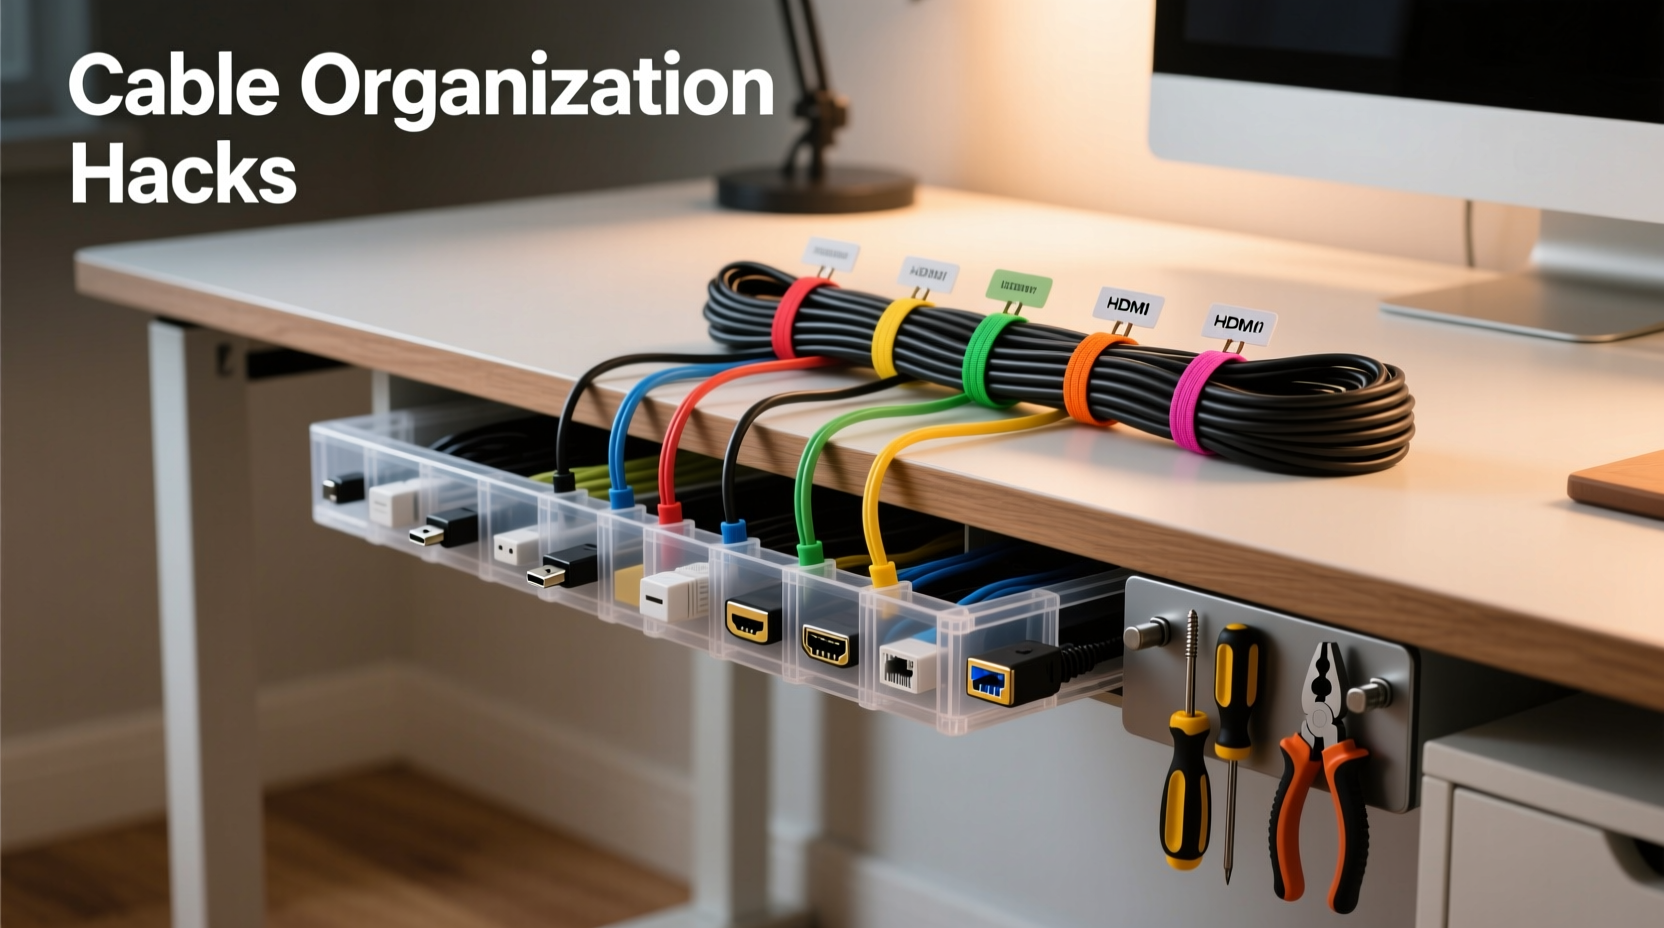
Use What You Already Have: Tool-Free Cable Management
You likely already own household items capable of effective cable organization. The trick is repurposing them creatively.
Elastic Hair Ties: Old-school fabric-covered hair elastics are perfect for bundling cords together. Slide one onto a group of cables near the plug end to keep them grouped but easily separable.
Clothespins: Clip them to the edge of your desk and use them to hold individual cords in place. Wooden ones can be painted to match your decor; spring-loaded metal ones offer stronger grip.
Paper Clips (Large): Straighten one end and hook it through a desk grommet or shelf edge. Use the open loop to thread a cable through and secure it loosely in place.
Old Gift Ribbon or Fabric Scraps: Wrap longer cables neatly and tie them with soft cloth strips. Unlike zip ties, these won’t damage insulation and can be reused indefinitely.
These methods avoid permanent modifications and require no tools—ideal for renters or anyone avoiding drills and adhesives.
Step-by-Step: Organize in Under 30 Minutes
Follow this realistic, actionable sequence to declutter your desk cables quickly and safely.
- Unplug everything. Yes, all of it. This gives you full access and prevents confusion during reconnection.
- Lay out devices on the desk surface. Group related items: monitor with video cables, speakers with audio cords, etc.
- Clean and sort cables. Wipe down connectors with a dry microfiber cloth. Discard frayed or malfunctioning wires.
- Measure and coil excess length. Use the over-under coiling method (alternating loops) to prevent kinks and extend cable life.
- Reconnect one device at a time. Plug in essentials first, routing each cable deliberately along a path (side, back, or under desk).
- Bundle similar cables. Group power cords separately from data cables to reduce interference.
- Secure with low-adhesion solutions. Use reusable velcro strips, clips, or twist ties to anchor bundles to desk legs or edges.
- Test everything. Ensure monitors display, peripherals respond, and charging functions work.
By working systematically, you avoid the common pitfall of reconnecting incorrectly or damaging ports. Patience here saves frustration later.
Smart Routing Strategies
How you route cables determines long-term success. Even neatly bundled wires become messy again if they dangle or cross unpredictably.
Choose one primary pathway: vertical down the back leg, horizontal across the rear beam, or through a grommet hole if available. Stick to that path consistently.
If your desk has no built-in channels, simulate one using adhesive-backed hook-and-loop tape. Apply short strips along the underside of the desktop or on the back panel. Route bundles along these guides like train tracks.
For floor-to-desk runs, run cords along baseboards using flat cable raceways—or hide them behind furniture skirts. Avoid crossing walkways where tripping hazards exist.
| Routing Method | Best For | Tool Required? | Durability |
|---|---|---|---|
| Adhesive Velcro Strips | Temporary or rental setups | No | Medium (removable) |
| Cable Sleeves (fabric) | Bundling multiple cords | No | High (reusable) |
| Zip Ties | Permanent installations | Scissors only | Very High |
| Metal Cable Clips | Securing single lines to surfaces | Screwdriver (optional) | High |
| Over-Under Coiling | Storage and strain relief | No | High (protects wire integrity) |
Real Example: Sarah’s Home Office Transformation
Sarah, a freelance graphic designer, worked at a secondhand desk with no cable management features. Her setup included a dual-monitor rig, drawing tablet, external hard drive, laptop charger, speaker system, and Wi-Fi router—all plugged into a single overloaded power strip. Behind the desk, cables twisted like spaghetti, making it impossible to disconnect one device without disturbing five others.
She spent 25 minutes one Saturday following the step-by-step guide above. Using only reusable velcro ties from an old fitness tracker, two clothespins, and fabric hair ties, she grouped her power cables, separated HDMI and USB lines, and routed everything down one leg of the desk. She labeled each plug with a tiny masking tape tag.
The result? She reduced cable sprawl by 70%, gained confidence when switching devices, and even noticed better ventilation around her CPU. Most importantly, she didn’t buy a single new product or use tools beyond scissors.
“Cable management isn’t about aesthetics alone—it’s digital hygiene. A clean backend means fewer crashes, easier upgrades, and less mental clutter.” — Jordan Lee, IT Support Specialist & Workspace Ergonomics Consultant
Checklist: Maintain a Tidy Cable System
To keep your newly organized setup functional, follow this ongoing checklist:
- ✅ Unplug and assess cables every 3 months
- ✅ Remove any unused or redundant devices
- ✅ Re-coil cables using the over-under method
- ✅ Check for wear, fraying, or overheating signs
- ✅ Update labels if device roles change
- ✅ Dust around ports and connectors monthly
- ✅ Rotate reusable ties or clips to prevent material fatigue
Regular maintenance prevents gradual regression into chaos. Think of it like backing up files—small efforts now prevent big headaches later.
Common Mistakes to Avoid
Even well-intentioned organization can go wrong. Here are frequent errors and how to sidestep them:
- Using zip ties too tightly: They can compress insulation and cause long-term damage. Opt for velcro or reusable plastic ties instead.
- Bundling power and data cables together: Electromagnetic interference from power lines may disrupt USB or audio signals. Keep them separated when possible.
- Ignoring weight distribution: Heavy transformers should rest on the desk or floor, not dangle from ports, which strains connectors.
- Overlooking airflow: Don’t wrap cables tightly around equipment. Leave space for heat to dissipate, especially near routers or power supplies.
- Labeling too late: Tag cables while setting up. Waiting until they’re tangled makes identification difficult.
Frequently Asked Questions
Can I manage cables without drilling holes or using strong adhesives?
Absolutely. Adhesive velcro, magnetic clips, over-the-edge hooks, and fabric sleeves allow robust organization without permanent alterations. These are ideal for apartments or leased spaces.
How do I label cables effectively without buying special tags?
Use colored masking tape and a fine-tip marker. Assign colors by device type (e.g., blue for monitors, green for audio). Write initials like “MBP” for MacBook Pro or “SPKR” for speakers. Replace every few months as tape degrades.
What’s the best way to handle future expansion?
Leave one-third of your power strip outlets and cable pathways open. Use modular solutions like expandable cable sleeves or stackable cord organizers so additions integrate smoothly.
Final Thoughts: Simplicity Wins
Organizing cables behind your desk doesn’t require technical expertise or a hardware store run. It requires intention, a few minutes of focused effort, and a commitment to simplicity. The most effective systems aren’t the fanciest—they’re the ones you can maintain without thinking too hard.
Start small. Clear one corner. Bundle two cords. Build momentum. Once you experience the calm of a tidy workspace, you’ll wonder why you waited so long. And the best part? You did it without losing your tools—or your sanity.


 浙公网安备
33010002000092号
浙公网安备
33010002000092号 浙B2-20120091-4
Comments
No comments yet. Why don't you start the discussion?