
Splinters are an everyday nuisance—especially for active individuals, gardeners, woodworkers, or parents of curious children. While tweezers are the go-to tool for removal, they’re not always available. More importantly, improper removal attempts can lead to infection, inflammation, or deeper embedding of the foreign object. The good news is that several safe, effective alternatives exist using common household items. These methods prioritize hygiene, minimize pain, and increase the likelihood of complete removal—all without tweezers.
Understanding the type of splinter, its depth, and your skin’s reaction helps determine the best course of action. Whether it’s a tiny wood sliver under the fingertip or a deep thorn in the foot, knowing alternative techniques empowers you to act quickly and confidently.
Understanding Splinters: Types and Risks
A splinter is any small foreign body embedded in the skin. Common types include:
- Wood splinters – Most frequent; often from furniture, decks, or firewood.
- Thorns – Found in plants like roses or blackberries; may break into fragments.
- Glass shards – Sharp and dangerous; require careful handling.
- Metal slivers – From tools or wire; higher risk of rust and infection.
- Cactus needles – Extremely fine and numerous; difficult to see but painful.
The primary risks of untreated splinters include:
- Infection (bacterial entry through broken skin)
- Granuloma formation (chronic inflammation around the object)
- Migration deeper into tissue
- Scarring or nerve irritation in sensitive areas
According to the American Academy of Dermatology, minor splinters should be removed promptly to reduce complications. Delaying treatment increases the chance of the body walling off the object, making extraction harder later.
“Leaving a splinter in place invites bacteria and can lead to cellulitis, especially in diabetic patients or those with compromised immunity.” — Dr. Lena Torres, Board-Certified Dermatologist
Step-by-Step Guide: Removing a Splinter Without Tweezers
Not having tweezers doesn’t mean you're helpless. Below is a proven, hygienic process using accessible materials. Follow these steps carefully:
- Wash Your Hands and the Affected Area
Use soap and warm water to clean both your hands and the skin around the splinter. This reduces contamination risk. - Soak the Area (5–15 minutes)
Submerge the affected area in warm water. You may add a tablespoon of white vinegar or Epsom salt to help soften the skin and encourage the splinter to rise. This step is especially useful for superficial or partially embedded splinters. - Use a Warm Compress if Soaking Isn’t Possible
If the splinter is on a part of the body hard to soak (like the back), apply a clean cloth soaked in warm water for 10-minute intervals. Repeat 2–3 times. - Apply Adhesive Tape for Surface-Level Splinters
Place a piece of duct tape, packing tape, or even strong medical tape over the area. Press down firmly, then peel off quickly in the direction the splinter entered. This works best for tiny, shallow splinters—especially cactus spines or fiberglass particles. - Try the Baking Soda Paste Method
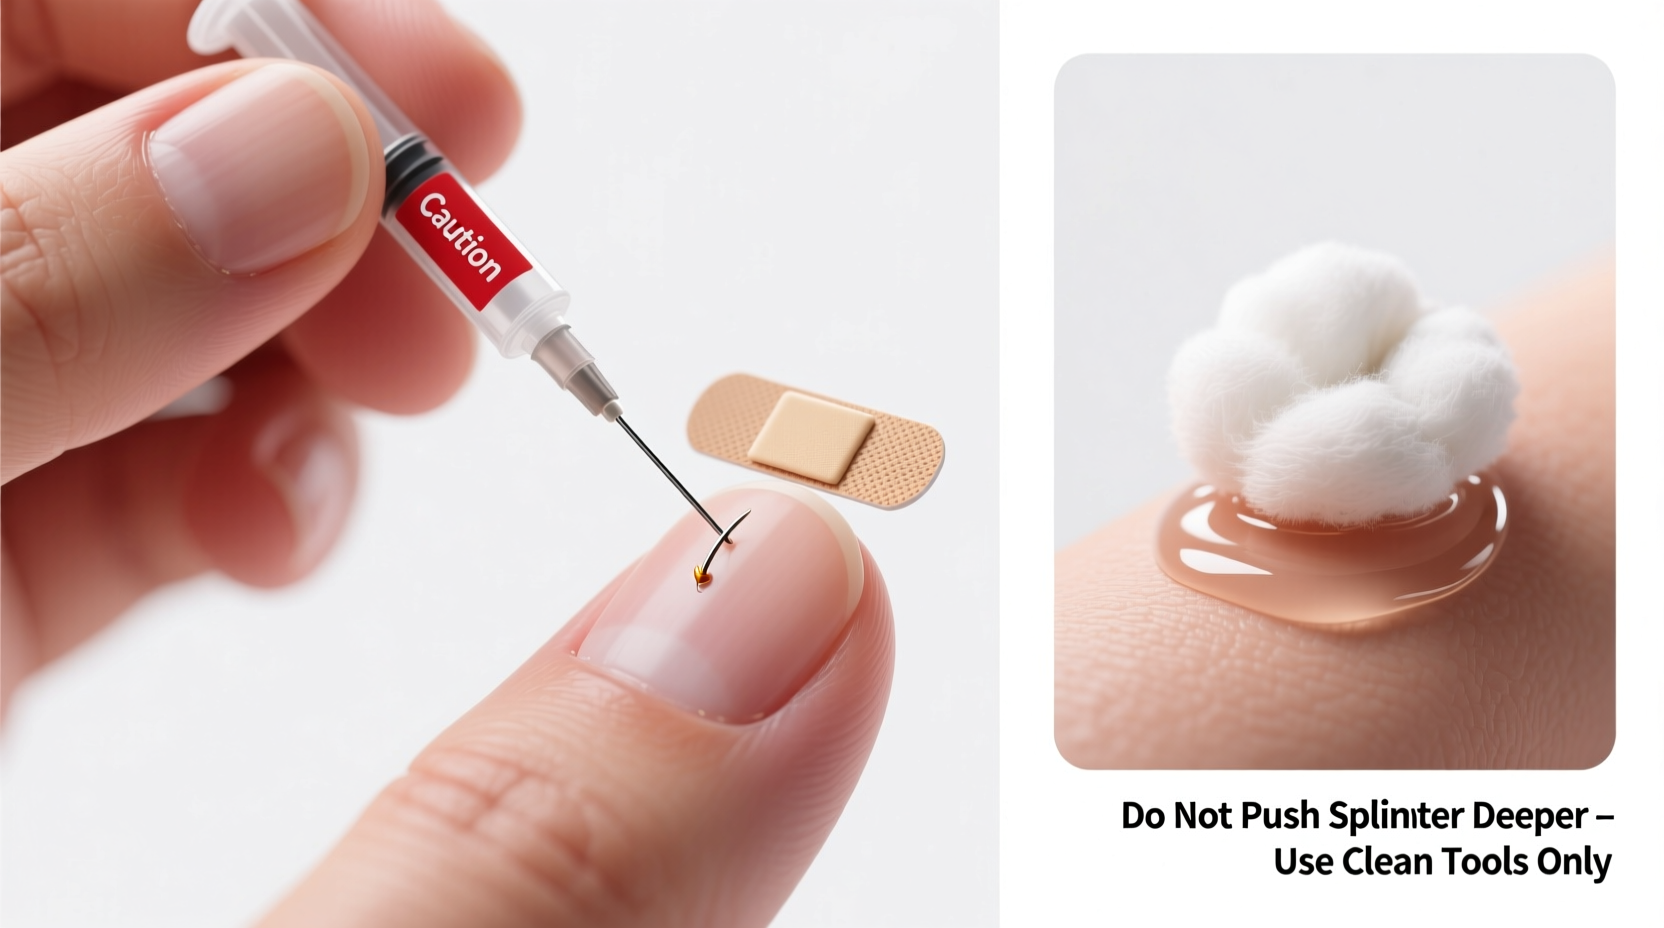
Mix 1 teaspoon of baking soda with a few drops of water to form a thick paste. Apply it over the splinter site, cover with a bandage, and leave for 24 hours. The paste helps draw the splinter toward the surface by creating mild osmotic pressure. - Use a Needle (Sterilized) for Deeper Objects
If the splinter is visible but stuck beneath the skin, sterilize a sewing needle with rubbing alcohol or flame. Gently lift the skin above the splinter just enough to expose it. Do not dig—only lift. Once exposed, you may be able to pull it out with clean fingers or reapply tape. - Rinse and Disinfect After Removal
Once the splinter is out, wash the area again with soap and water. Apply antiseptic (like hydrogen peroxide or iodine) and cover with a clean bandage.
Alternative Methods Compared: Effectiveness and Safety
Different splinters respond better to different treatments. The table below compares popular non-tweezer methods based on splinter type, required time, and success rate.
| Method | Best For | Time Required | Success Rate | Notes |
|---|---|---|---|---|
| Tape Pull | Surface-level splinters (cactus, fiberglass) | 1–2 minutes | High | Use strong adhesive; avoid on sensitive skin |
| Baking Soda Paste | Partially embedded wood or thorn fragments | 12–24 hours | Moderate to High | Safe for children; requires patience |
| Warm Soak | Shallow wooden splinters | 10–15 minutes | Moderate | Combine with tape for better results |
| Vinegar Soak | Wood splinters (acid softens fibers) | 15–30 minutes | Moderate | Can sting open wounds; avoid on cuts |
| Needle Lifting | Visible but trapped splinters | 5–10 minutes | High | Risk of infection if unsterile; not for deep objects |
| Potato Slice | Very shallow splinters | Several hours to overnight | Low to Moderate | Folk remedy; limited scientific backing |
While some methods like potato slices are popular in home remedies, their effectiveness lacks clinical support. Stick to techniques backed by dermatological principles—osmosis, gentle traction, and skin softening—for reliable results.
Mini Case Study: A Gardener’s Thorn Incident
Maria, a landscape designer in Oregon, was pruning rose bushes when a thorn pierced her palm near the base of her thumb. She couldn’t locate tweezers in her shed, and the thorn was partially buried. Attempting to pull it out with her fingers only caused more pain and pushed it deeper.
She returned home, washed the area, and soaked her hand in warm water with Epsom salt for 12 minutes. Seeing no movement, she applied a baking soda paste, covered it with gauze, and waited. The next morning, the thorn had surfaced enough to grasp with clean fingers. She removed it completely, disinfected the site, and avoided infection.
This case illustrates the importance of patience and avoiding forceful extraction. Maria’s decision to use gradual drawing methods instead of digging prevented tissue damage and potential scarring.
Checklist: Safe Splinter Removal Without Tweezers
Follow this actionable checklist to ensure a safe, effective process:
- ✅ Wash hands and affected skin with soap and water
- ✅ Identify splinter type and depth (visible? painful? swollen?)
- ✅ Choose appropriate method based on location and material
- ✅ Sterilize any tools (needle, pin) with alcohol or heat
- ✅ Soak or apply drawing agent (tape, paste, vinegar)
- ✅ Wait patiently—don’t rush or dig aggressively
- ✅ Remove only when splinter is accessible
- ✅ Clean area post-removal and apply antiseptic
- ✅ Monitor for signs of infection (redness, pus, increasing pain)
- ✅ Seek medical help if unsuccessful after 2 days or if symptoms worsen
When to Avoid Home Removal and See a Doctor
While most minor splinters can be managed at home, certain situations require professional care:
- The splinter is near the eye, under a fingernail, or in a joint
- It’s made of glass, metal, or heavily contaminated material
- The site becomes increasingly red, swollen, or oozes pus
- You suspect tetanus exposure (especially with rusty metal and outdated vaccination)
- The splinter breaks during removal attempts
- Pain persists or worsens after 48 hours
In such cases, a healthcare provider may use sterile instruments, local anesthesia, or imaging (like ultrasound) to locate and extract the object safely. They may also prescribe antibiotics or recommend a tetanus booster.
Frequently Asked Questions
Can I use glue to remove a splinter?
Yes. Applying a layer of white school glue (PVA) over the splinter, letting it dry completely (about 15–20 minutes), then peeling it off can pull out very fine, surface-level splinters. This method is particularly useful for children afraid of pain. However, it’s ineffective for deeper or larger objects.
Is it safe to leave a splinter in if it’s not hurting?
No. Even painless splinters pose infection risks. Over time, the body may encapsulate the object, leading to chronic inflammation or abscess formation. It’s best to remove all foreign bodies unless advised otherwise by a doctor.
What if the splinter is too deep to see?
If you feel something inside but can’t see it, avoid probing. Try soaking and drawing methods for up to 48 hours. If there’s no improvement, consult a clinician. Ultrasound-guided removal is sometimes used in urgent care settings.
Conclusion: Act Quickly, Act Safely
Removing a splinter without tweezers is entirely possible with the right knowledge and household items. The key lies in combining hygiene, patience, and science-backed techniques. Whether you use adhesive tape, baking soda paste, or warm soaks, the goal is to encourage natural expulsion without damaging surrounding tissue.
Never underestimate the risks of leaving a foreign object in the skin. Infections can escalate quickly, especially in vulnerable populations. By mastering these alternative methods, you protect yourself and your family from unnecessary complications.


 浙公网安备
33010002000092号
浙公网安备
33010002000092号 浙B2-20120091-4
Comments
No comments yet. Why don't you start the discussion?