
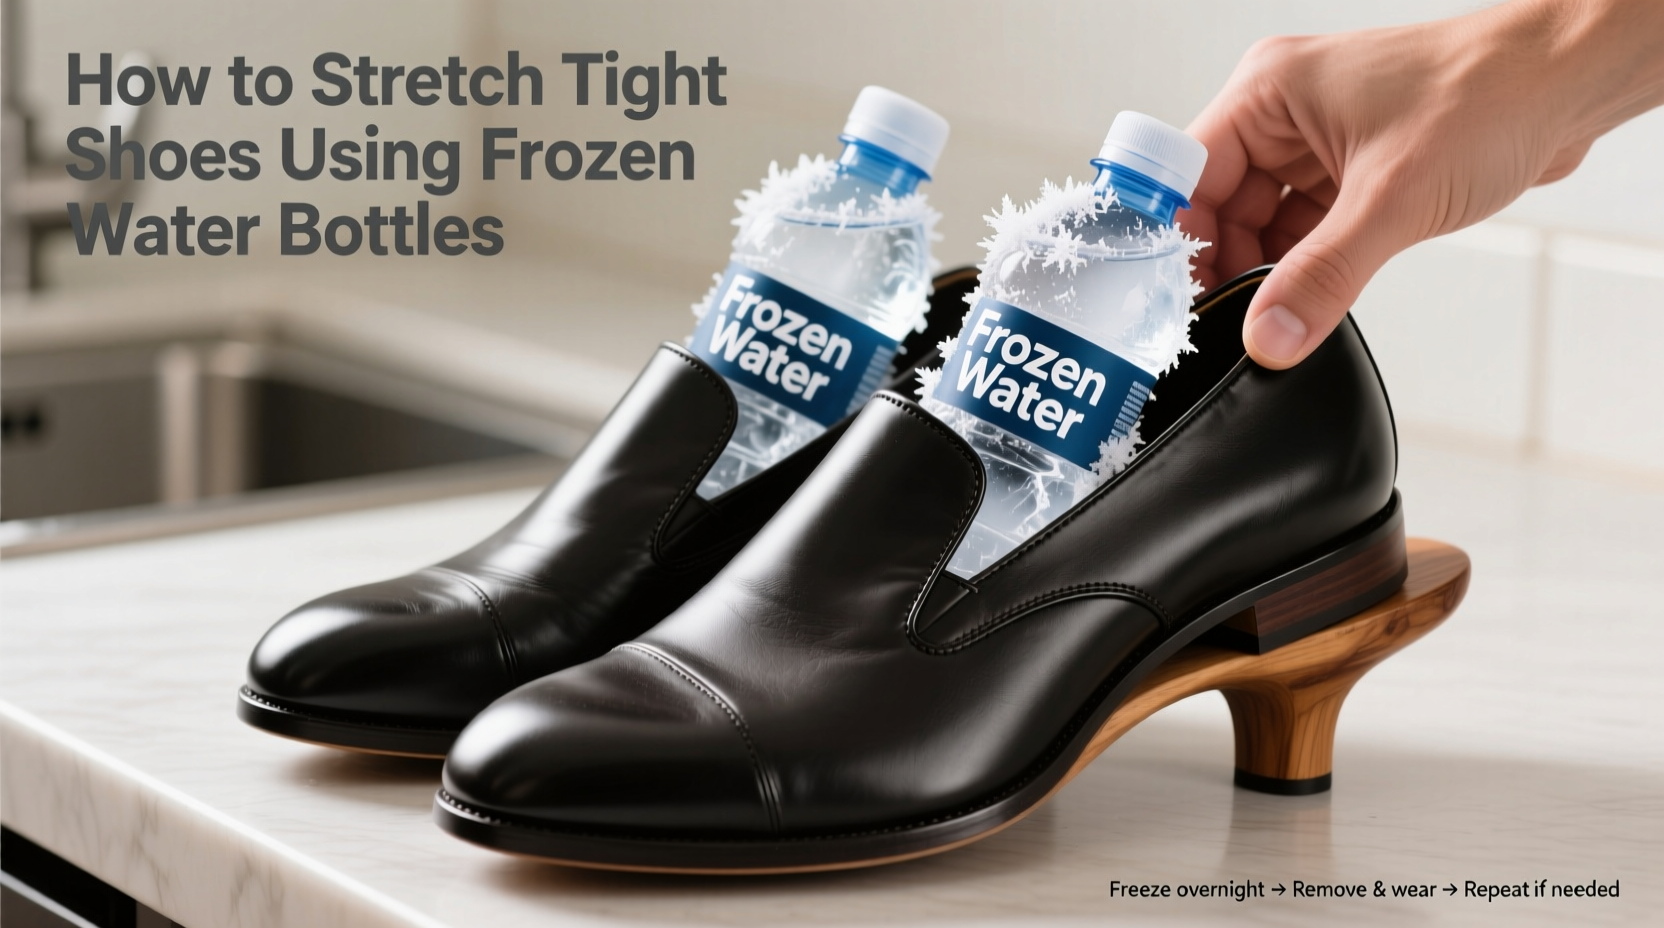
Tight shoes can turn a simple walk into an ordeal. Whether they’re new leather oxfords, snug boots, or slightly narrow sneakers, discomfort from ill-fitting footwear is a common problem. While professional stretching services exist, they often come with delays and added costs. Fortunately, there’s a practical, science-backed solution you can perform at home: using frozen water bottles to gently expand your shoes. This method leverages the natural expansion of water as it freezes, applying consistent pressure from the inside to loosen tight areas—without damaging the material.
This technique works especially well for leather, canvas, and synthetic uppers that have some flexibility. Unlike chemical sprays or aggressive mechanical stretchers, freezing offers a controlled, gradual expansion that preserves the shoe’s structure. With the right approach, you can gain just enough room in the toe box, instep, or heel to make your favorite pair wearable again.
The Science Behind the Freeze-and-Expand Method
Water expands by approximately 9% when it transitions from liquid to solid. This physical property is usually a nuisance—think burst pipes in winter—but it becomes an asset when repurposed for shoe stretching. By filling sealable plastic bottles with water and placing them inside tight shoes, then freezing them, the expanding ice applies outward pressure on the inner walls of the shoe. Over several hours, this force subtly widens compressed fibers and softens stiff materials, particularly around the toe area where most constriction occurs.
The effectiveness depends on several factors: the shoe’s material, construction, and the volume of water used. Leather responds best because it’s porous and malleable when moistened. Suede and nubuck also benefit, though extra care is needed to avoid surface spotting. Synthetic fabrics may resist expansion more than natural ones, but repeated applications can still yield results.
“Controlled expansion using ice mimics professional techniques but at a fraction of the cost. It’s one of the safest DIY methods when done correctly.” — Dr. Lena Peterson, Footwear Materials Scientist, Textile Research Institute
Step-by-Step Guide: Stretching Shoes with Frozen Water Bottles
Follow this detailed process to maximize results while minimizing risk to your footwear. The entire procedure takes 6–12 hours, depending on freezer strength and shoe thickness.
- Choose the Right Bottle Size: Select small, flexible plastic bottles (500ml or smaller) that fit snugly into the toe box of your shoe. Ideal candidates are disposable water bottles or reusable squeeze bottles with tapered ends.
- Fill Partially with Water: Fill each bottle about two-thirds full. Never fill completely—leave space for expansion to prevent cracking or leakage.
- Seal Tightly: Screw caps on securely. Double-check for leaks by holding upside down over a sink.
- Insert Into Shoes: Place one bottle per shoe, positioning the neck toward the toe area. Push gently until fully seated. If necessary, use a spoon handle to guide it deeper without puncturing.
- Position Horizontally: Lay the shoes flat in the freezer with the bottles parallel to the sole. Avoid stacking or tilting, which can cause uneven pressure.
- Freeze for 4–6 Hours: Allow sufficient time for complete freezing. Thicker shoes may require up to 8 hours.
- Remove and Thaw: Take shoes out of the freezer. Let them sit at room temperature for 30–45 minutes until the ice melts and bottles can be removed easily.
- Test Fit: Wear the shoes with thick socks immediately after thawing while the material remains slightly softened. Walk around for 10–15 minutes to help mold the shape to your foot.
- Repeat if Necessary: For stubborn tightness, repeat the process once or twice more over consecutive days.
Do’s and Don’ts: Best Practices for Safe Freezing
To ensure success and protect your shoes, follow these guidelines carefully. Missteps like overfilling or improper placement can lead to warped soles or cracked uppers.
| Do | Don’t |
|---|---|
| Use BPA-free plastic bottles with flexible walls | Use glass containers (risk of shattering) |
| Fill bottles only ⅔ full to allow expansion | Overfill bottles—this increases rupture risk |
| Target specific tight zones by adjusting bottle position | Force bottles into areas causing visible bulging |
| Combine with moisture-wicking socks during test wear | Wear shoes immediately after removing from freezer—they’ll be icy and slippery inside |
| Apply leather conditioner after stretching to restore suppleness | Use heat sources like hairdryers to speed thawing—rapid temperature changes weaken adhesives |
Real Example: Reviving Winter Boots After Seasonal Storage
Sarah, a hiker from Vermont, stored her waterproof leather hiking boots in a garage bin over summer. When she retrieved them in November, they felt tighter across the instep, likely due to humidity shifts and slight compression during storage. She tried wearing them with thick wool socks, but persistent pressure on her arches made long walks painful.
Instead of buying new boots, Sarah decided to try the frozen water bottle method. She used two 350ml squeeze bottles filled halfway with water, inserted them into the toe boxes, and placed the boots horizontally in her freezer overnight. After thawing and drying, she wore the boots indoors with hiking socks for 20 minutes. The second application, focused higher in the midfoot area, created noticeable relief. Within 48 hours, the boots fit comfortably again—even on extended trails.
“I was skeptical at first,” Sarah said, “but seeing the bottles expand inside the shoe really showed me how much force ice creates. Now I prep all my seasonal footwear this way.”
When This Method Works Best (and When It Won’t)
Not all shoes respond equally to freezing. Understanding material limitations helps set realistic expectations.
- Best Candidates: Full-grain leather, suede, canvas, and knit uppers with structured heels. These materials retain memory but can be reshaped with moisture and pressure.
- Moderate Success: Synthetic blends and mesh athletic shoes. May require multiple cycles and work better when combined with heat (e.g., wearing after removal while warm).
- Poor Candidates: Vulcanized rubber soles bonded to fabric (like some skate shoes), rigid orthopedic models, or glued constructions near the toe cap. Ice expansion can delaminate layers or distort shape permanently.
Shoes with removable insoles offer an advantage—you can lift the insert slightly to accommodate the bottle neck. In contrast, cemented or stitched constructions (e.g., Goodyear welted) tolerate internal stress better than glued-on soles.
Enhancing Results: Combining Methods for Maximum Comfort
While freezing alone can add 3–5mm of width, pairing it with complementary techniques improves longevity and fit precision.
After removing the bottles, consider these enhancements:
- Moisture Activation: Dampen the interior lightly with a water-mist spray before inserting bottles. Moisture opens leather pores, increasing responsiveness to expansion.
- Heat Assistance: Once thawed, wear the shoes with thick socks and apply a low-heat hairdryer (on cool setting) to warm areas needing molding. Move the dryer continuously to avoid scorching.
- Shoe Trees or Stuffing: Insert cedar shoe trees or rolled towels after stretching to maintain the new shape during rest periods.
- Conditioning: Apply a pH-balanced leather balm 24 hours post-treatment to replenish oils drawn out during freezing.
“Think of shoe care as cumulative maintenance. One stretch fixes immediate discomfort; consistent shaping prevents recurrence.” — Marcus Tran, Master Cobbler, Boston Shoe Hospital
Frequently Asked Questions
Can I use saltwater instead of plain water?
No. Salt lowers the freezing point of water, meaning it won’t solidify fully in a standard home freezer (-18°C / 0°F). This reduces expansion force and diminishes effectiveness. Stick to pure water.
How many times can I repeat the process?
Two to three cycles are generally safe for most shoes. Beyond that, structural fatigue may occur, especially in glued areas. Always inspect stitching and sole attachment between attempts.
Will this method work on pointed-toe dress shoes?
Yes, but with caution. Pointed toes concentrate pressure, so use smaller bottles (250ml) and monitor for creasing or tip deformation. Limit expansion to 4-hour freezes and check progress frequently.
Final Checklist Before You Begin
Ensure you’re prepared for optimal results:
- ✅ Identify the tightest area (toe, instep, heel)
- ✅ Gather two flexible, sealable plastic bottles
- ✅ Clean the shoe interior and remove insoles if possible
- ✅ Fill bottles ⅔ full with water and secure lids
- ✅ Position bottles precisely in targeted zones
- ✅ Freeze undisturbed for 4–8 hours
- ✅ Thaw completely before testing fit
- ✅ Condition leather afterward to maintain durability
Conclusion: A Simple Fix for a Common Problem
Tight shoes don’t have to mean wasted money or discarded favorites. Using frozen water bottles is a proven, accessible way to reshape footwear safely and effectively. Rooted in basic physics and refined through generations of informal cobbler wisdom, this method empowers anyone to extend the life and comfort of their shoes—at no cost beyond a few hours in the freezer.
The key lies in patience and precision: gradual expansion beats brute force every time. By respecting material limits and following best practices, you preserve both function and appearance. Whether reviving old boots or breaking in new ones, this technique deserves a place in every household’s repair toolkit.


 浙公网安备
33010002000092号
浙公网安备
33010002000092号 浙B2-20120091-4
Comments
No comments yet. Why don't you start the discussion?