
Doc Martens are iconic—bold, durable, and endlessly stylish. But their rugged construction comes at a price: an infamous break-in period that often leads to blisters, sore heels, and discomfort. Many people love the look but dread the wear. The truth is, you don’t have to choose between fashion and foot health. With the right techniques, you can style your Docs confidently while minimizing or even eliminating blister formation.
This guide breaks down proven strategies for breaking in your Doc Martens comfortably, choosing the right fit, styling them without friction, and maintaining long-term comfort. Whether you’ve just unboxed a fresh pair of 1460s or are struggling through week two of painful wear, these steps will help you transition from agony to effortless style.
The Science Behind Blisters in New Boots
Blisters form when repeated friction, pressure, or heat causes layers of skin to separate and fill with fluid. In new boots like Doc Martens, stiff leather and rigid soles create hotspots—especially around the heel, ankle, and toes—where movement rubs against sensitive skin. The problem isn’t just the material; it’s also how the boot fits and responds to your foot’s natural shape.
Traditional Dr. Martens are made with thick, full-grain leather that hasn’t been pre-conditioned for flexibility. When brand new, they’re essentially molded cardboard on your feet—protective but unforgiving. Without proper preparation, every step can cause micro-tears in the skin, leading to painful blisters.
“Most blister issues stem not from poor quality but from skipping the conditioning and gradual wear-in process.” — Jordan Lee, Footwear Specialist & Retail Consultant
Step-by-Step Break-In Timeline (3–4 Weeks)
Rushing the break-in process is the fastest way to develop blisters. A structured timeline allows the leather to adapt gradually to your foot’s contours. Follow this realistic schedule for optimal results:
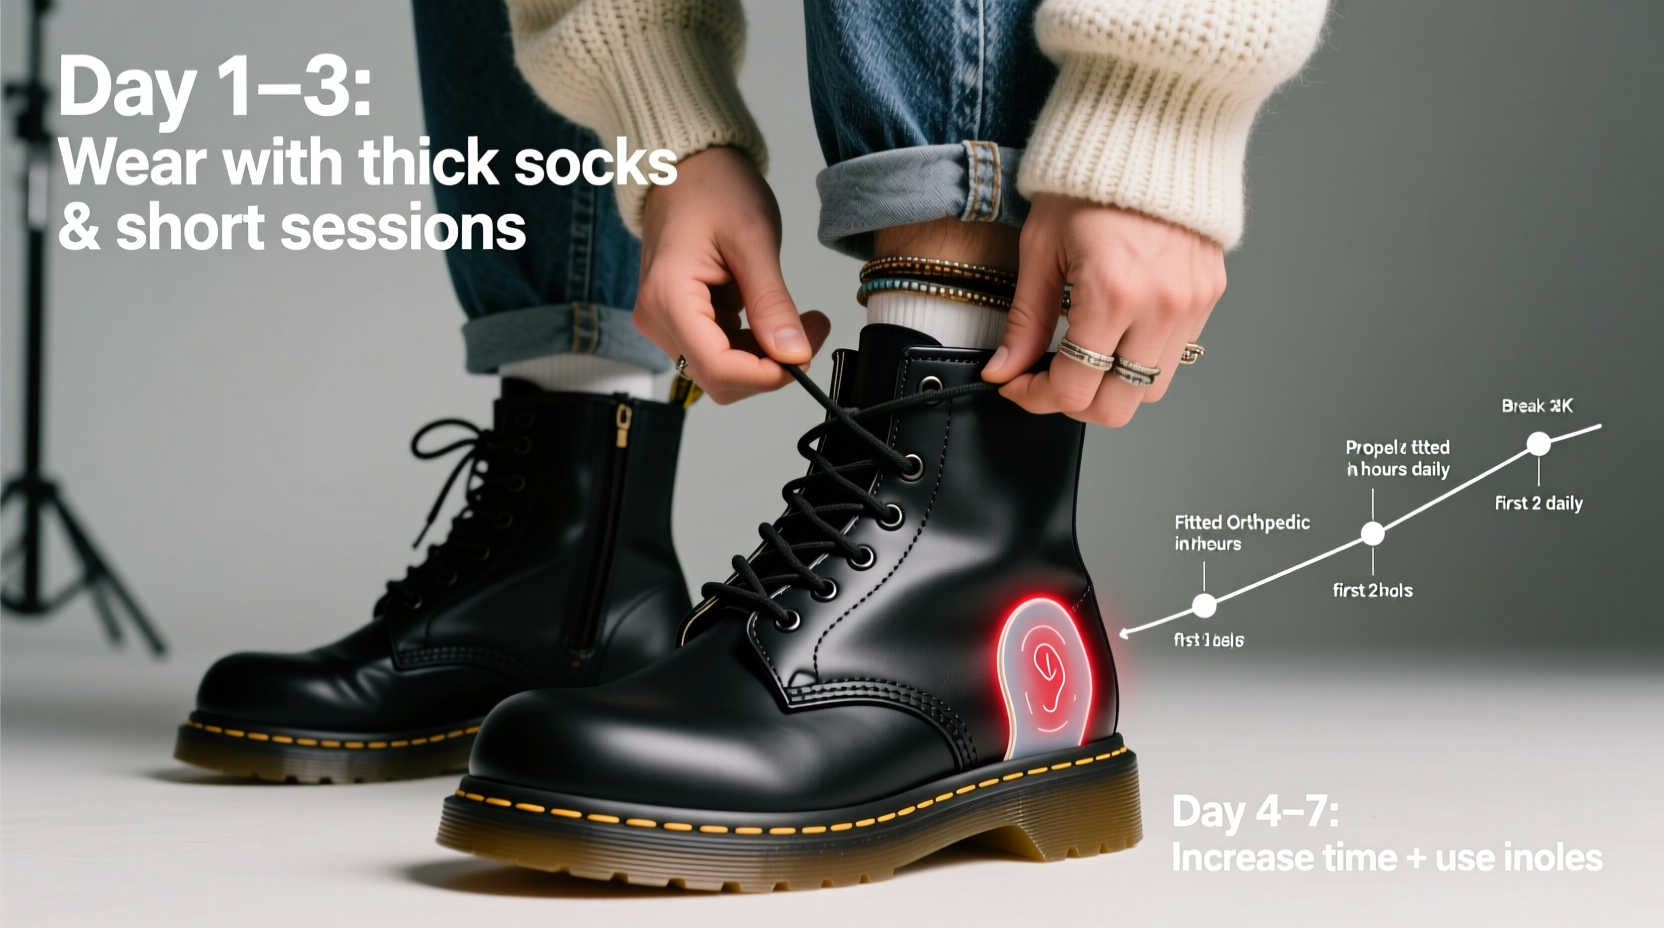
- Week 1 – Indoor Wear (5–10 minutes/day): Start by wearing your Docs around the house with thick socks. Focus on walking, bending, and flexing your feet to initiate softening.
- Week 2 – Short Outdoor Walks (15–20 minutes): Take them outside on flat terrain. Pay attention to pressure points. Return home at the first sign of redness or discomfort.
- Week 3 – Moderate Use (30–45 minutes): Increase duration during errands or casual outings. Pair with moisture-wicking socks to reduce sweat-related friction.
- Week 4 – Full Integration: By now, the leather should begin conforming. You can wear them all day if no persistent hotspots remain.
Choosing the Right Fit: The Foundation of Blister Prevention
No amount of conditioning can fix a poorly fitting boot. Doc Martens should feel snug but not tight across the ball of the foot, with minimal heel slippage (under ½ inch). Too loose? Friction builds. Too tight? Pressure sores develop.
When trying on Docs:
- Wear the same type of sock you plan to use daily.
- Walk up and down a slight incline to test heel lift.
- Check toe box space—your toes should touch the front only when standing on tiptoes.
- Remember: Leather stretches slightly widthwise but not lengthwise.
| Fitting Issue | Signs to Watch For | Solution |
|---|---|---|
| Too Tight | Pain across instep, numb toes, creasing at top | Size up or stretch with shoe trees |
| Too Loose | Heel slipping, side-to-side movement, rubbing at ankle | Size down or use heel grips |
| Correct Fit | Snug midfoot, slight heel lift initially, no pinching | Proceed with gradual break-in |
Proactive Styling Tips to Avoid Blisters
How you style your Docs directly impacts comfort. Even well-broken-in boots can cause blisters if worn incorrectly. Here’s how to maintain both fashion and function:
- Always wear appropriate socks: Opt for seamless, moisture-wicking materials like merino wool or synthetic blends. Avoid cotton—it retains sweat and increases friction.
- Double-layer socks for high-risk days: On long walks or events, consider liner socks under regular ones to reduce direct skin contact.
- Lace them properly: Use the “ladder lacing” technique to lock the heel in place and minimize slippage. Skip the bottom eyelets if pressure builds on the toes.
- Style with ankle coverage: Pair Docs with crew socks or tights instead of low-cut styles that expose vulnerable skin to rubbing.
- Avoid wet conditions early on: Wet leather stiffens as it dries, restarting the break-in cycle and increasing blister risk.
Conditioning and Softening Techniques
Leather conditioning accelerates the break-in process by restoring oils lost during tanning and manufacturing. Untreated leather remains stiff and abrasive. Proper care makes it supple and responsive.
Recommended Method:
- Clean the surface with a damp cloth and let dry completely.
- Apply a small amount of leather conditioner (e.g., Dr. Martens Wonder Balsam or Lexol) using circular motions.
- Let absorb for 20 minutes, then buff lightly with a soft cloth.
- Wear the boots immediately after application to mold the softened leather to your foot.
Repeat every 7–10 days during the first month. Over-conditioning can weaken stitching, so moderation is key.
“Conditioning isn’t optional—it’s maintenance. Think of it like moisturizing your skin; dry leather cracks and irritates just like dry skin.” — Lena Torres, Shoemaking Artisan
Real-Life Example: Sarah’s Smooth Transition
Sarah, a college student in Manchester, bought her first pair of black 1460s for a music festival. Excited, she wore them for eight hours straight—only to finish the day with two large blisters and a limp. Discouraged, she nearly returned them. Instead, she followed a structured approach:
- She applied Wonder Balsam nightly for a week.
- Wore them indoors with thick hiking socks for short intervals.
- Used heel grips to reduce slippage.
- Applied blister patches preemptively on high-friction zones.
By week three, she walked 5 miles at a city tour with zero discomfort. Today, those Docs are her go-to pair—scuffed, comfortable, and fully styled into her wardrobe.
Do’s and Don’ts of Breaking In Doc Martens
| Do’s | Don’ts |
|---|---|
| Wear thick, non-slip socks | Go sockless during break-in |
| Use a shoe stretcher or cedar trees | Force stretch with freezing water bags |
| Apply leather conditioner weekly | Use petroleum jelly or coconut oil (can degrade glue) |
| Start with short outdoor sessions | Wear them all day on day one |
| Treat hotspots early with moleskin | Ignore redness or swelling |
FAQ: Common Concerns About Doc Martens and Blisters
Can I speed up the break-in process safely?
Yes, but cautiously. Combining leather conditioning, indoor wear, and using boot stretchers can reduce the timeline. However, aggressive methods like wearing them in the rain or using heat guns may damage the sole or leather. Gradual adaptation is still the safest path.
Why do my heels slip even after breaking them in?
Some heel lift is normal in new Docs due to the air-cushioned sole and stiff upper. It typically decreases after 3–4 weeks. If it persists, try adding gel heel grips or switching to a different lacing pattern to secure the back of the foot.
Are vegan Doc Martens easier to break in?
Often, yes. The vegan leather (typically polyurethane-based) tends to be lighter and more flexible than traditional bovine leather. While durability differs, many users report less initial stiffness and faster comfort development.
Essential Checklist for Pain-Free Doc Martens
- ✅ Measure your foot before purchasing
- ✅ Buy the correct size (snug but not tight)
- ✅ Use high-quality leather conditioner weekly
- ✅ Wear moisture-wicking, seamless socks
- ✅ Begin with 10-minute indoor sessions
- ✅ Progress slowly to full-day wear
- ✅ Address hotspots immediately with padding
- ✅ Style with ankle coverage to prevent chafing
- ✅ Maintain cleanliness and dryness
- ✅ Store with shoe trees to preserve shape
Conclusion: Style Shouldn’t Hurt
Doc Martens were built for rebellion, not pain. With thoughtful preparation, consistent care, and smart styling choices, you can enjoy their bold aesthetic without sacrificing comfort. Blisters aren’t a badge of honor—they’re a signal that something needs adjustment. Listen to your feet, respect the break-in process, and treat your boots like the investment they are.


 浙公网安备
33010002000092号
浙公网安备
33010002000092号 浙B2-20120091-4
Comments
No comments yet. Why don't you start the discussion?