
For many, the holiday season is more than just a time for tradition—it's an opportunity to express personality, passion, and playfulness. For gamers and tech enthusiasts, incorporating favorite pastimes into seasonal decor makes celebrations even more meaningful. One of the most engaging ways to do this is by using game controller themes as the foundation for custom Christmas tree ornaments. From nostalgic nods to retro consoles to sleek tributes to modern gaming gear, themed ornaments let you celebrate your love of gaming in a festive, artistic way.
These ornaments aren’t just novelty items—they’re conversation starters, personalized keepsakes, and a bridge between childhood nostalgia and adult hobbies. Whether you're crafting for your own tree or creating gifts for fellow geeks, designing game controller-themed ornaments combines creativity, craftsmanship, and fandom into one delightful holiday project.
Selecting Your Game Controller Inspiration
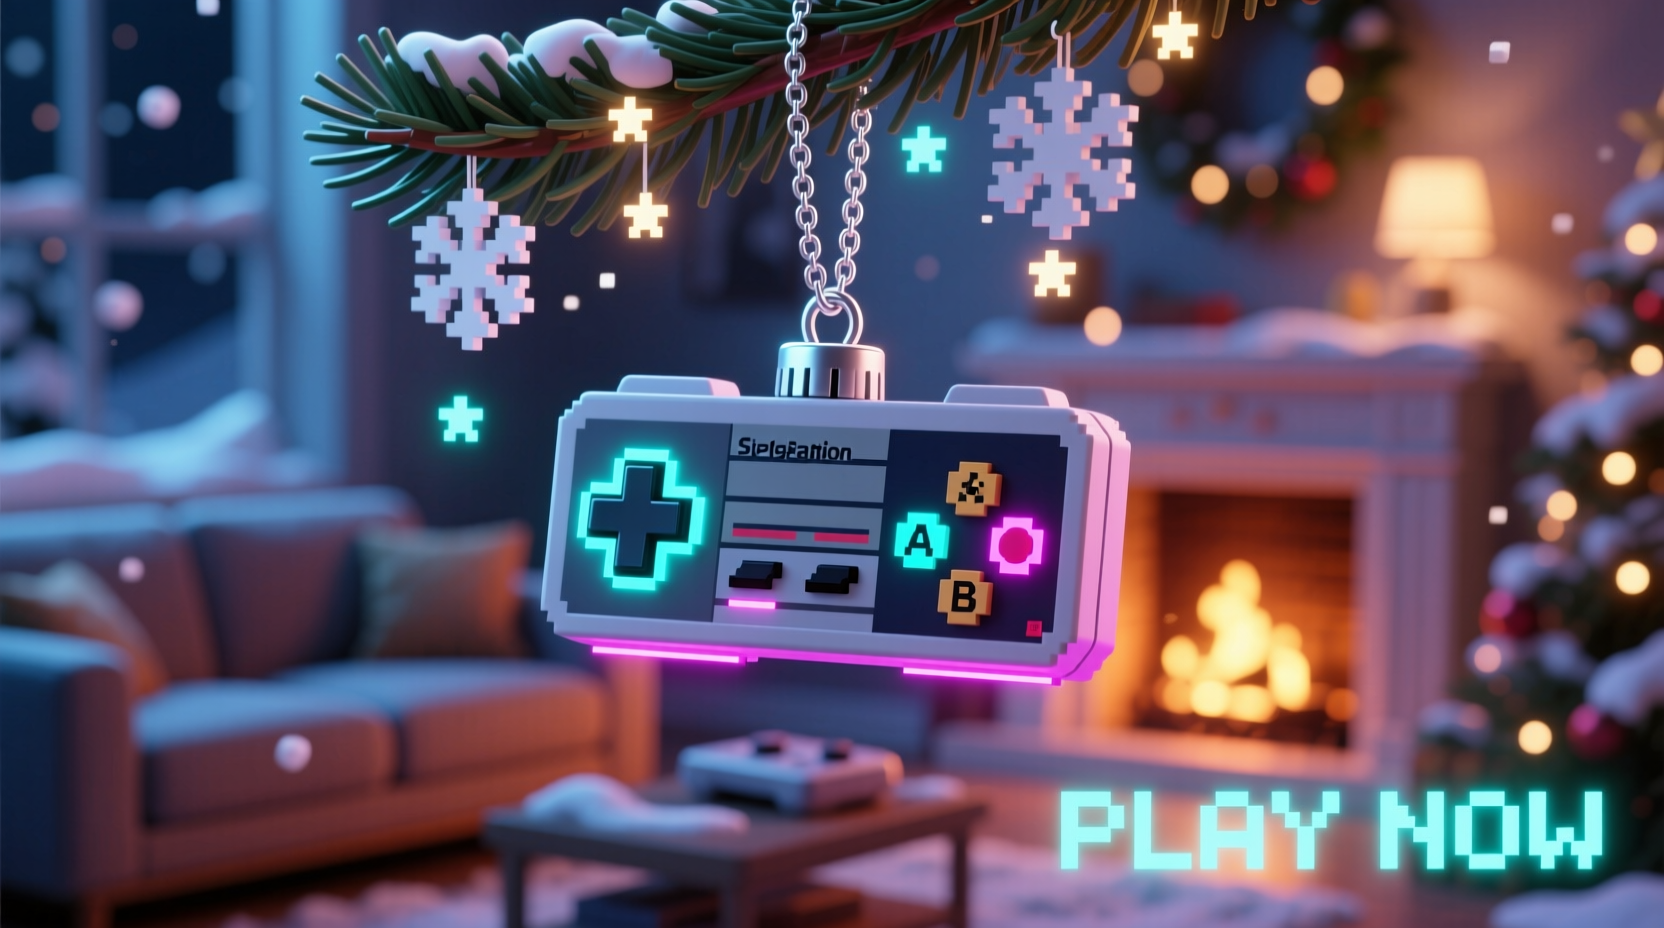
The first step in creating compelling ornaments is choosing which controller—or controllers—to feature. The design possibilities vary widely depending on era, console, and aesthetic. Consider these popular options:
- Nintendo Entertainment System (NES) – Iconic brick-red D-pad and simple button layout.
- Super Nintendo (SNES) – Color-coded A/B/X/Y buttons and ergonomic curves.
- Sony PlayStation DualShock – Analog sticks, shoulder buttons, and the classic triangle-circle-cross-square face.
- Xbox Controllers – Modern symmetry, textured grips, and signature green accents.
- Sega Genesis – Six-button variants and bold branding for ’90s throwbacks.
- Handheld Devices – Game Boy, PSP, or Nintendo Switch Joy-Cons offer compact inspiration.
Each has distinct visual cues that can be simplified into ornament form. Choose based on personal connection, color palette compatibility with your tree, or variety if you’re making a set.
Materials and Tools for Crafting Controller Ornaments
Creating durable, attractive ornaments requires thoughtful material selection. Depending on your skill level and desired finish, choose from accessible craft supplies or advanced fabrication tools.
| Material | Best For | Pros | Cons |
|---|---|---|---|
| Foam board or EVA foam | Beginner-level cutouts | Inexpensive, easy to cut and paint | Less durable; not water-resistant |
| Wood (basswood, plywood) | Laser-cut or hand-carved designs | Durable, professional finish, takes paint well | Requires precision tools and sanding |
| Polymer clay | 3D miniatures or sculpted buttons | High detail, oven-bake hardening | Can crack if too thin; needs baking access |
| Resin | Clear domes, embedded electronics, glossy finish | Glass-like look, preserves small parts | Messy; requires molds and ventilation |
| 3D-printed filament | Exact replicas or modular pieces | Precise, customizable, scalable | Requires printer and modeling software |
Beyond materials, gather essential tools: scissors or X-Acto knives, rulers, glue (E6000 or wood glue), acrylic paints, fine brushes, hole punches or drills for hanging, and ribbon or metallic cord. For digital creators, vector design software like Inkscape or Adobe Illustrator helps prepare files for laser cutting or 3D printing.
Step-by-Step Guide to Making a Classic NES-Themed Ornament
Follow this detailed process to create a nostalgic NES controller ornament—perfect for beginners and scalable for advanced makers.
- Design the Template: Sketch a 3.5-inch wide NES controller outline. Include the rectangular body, central D-pad, two large action buttons, and “Start” and “Select” labels. Print or trace onto cardboard to make a stencil.
- Cut the Base: Transfer the template to your chosen material—foam board or thin wood works best. Carefully cut along the lines using a sharp blade or scroll saw.
- Sand and Prime: Smooth rough edges with fine-grit sandpaper. Apply a white base coat to help colors appear vibrant.
- Paint Key Elements:
- Body: Brick red (testors or acrylic craft paint).
- D-pad: Gray with black outlines.
- Buttons: Red circles labeled “A” and “B”.
- Labels: Use a tiny brush or print miniature decals.
- Add Details: Outline seams and buttons with a black fine-tip paint pen. Optional: glue on tiny plastic domes for button texture.
- Drill Hanging Hole: Near the top edge, drill a small hole (1/16 inch). Thread with green or gold ribbon.
- Seal the Ornament: Apply a clear matte or gloss sealant to protect against dust and handling.
This method can be adapted for other controllers—just adjust proportions and button layouts accordingly.
“Personalized ornaments that reflect hobbies deepen emotional connections during the holidays. A game controller isn’t just plastic and circuits—it’s where memories are made.” — Dr. Lena Tran, Cultural Anthropologist specializing in modern traditions
Display Strategies and Thematic Tree Pairings
An ornament is only as impactful as its presentation. Integrate your game controller pieces into a cohesive tree theme that balances geek culture with seasonal charm.
Consider these thematic pairings:
- Retro Gaming Tree: Entirely pixel-inspired. Use 8-bit character ornaments, cartridge-shaped tags, and string lights that mimic CRT scan lines. Hang controller ornaments alongside mini joysticks and power-up symbols.
- Modern Tech Glam: Combine sleek black and chrome with blue LED lighting. Feature PS5 or Xbox Series X replicas, USB-drive snowflakes, and circuit-board-patterned ribbons.
- Family Fusion Tree: Blend gaming elements with traditional decor. Place one or two controller ornaments among red balls and gold stars—subtle but meaningful.
- Color-Coded Console Display: Dedicate sections of the tree to different generations—NES (red), SNES (purple), N64 (gray), Switch (neon). Helps tell the story of gaming evolution.
Arrange ornaments thoughtfully. Larger pieces go toward the bottom; smaller ones fill gaps. Use ornament stands or clear hooks to display double-sided versions showing front and back designs.
Mini Case Study: The Garcia Family’s Gaming Heritage Tree
The Garcias of Austin, Texas, transformed their holiday tradition after rediscovering an old Super Nintendo in the attic. Inspired, they built a “Legacy of Play” tree featuring handmade ornaments representing each console their family had owned since 1991.
They started with a SNES controller ornament crafted from birch wood, painted with non-toxic acrylics, and sealed for longevity. Their son, a 3D printing hobbyist, designed miniature replicas of the original NES, Wii Remote, and PlayStation 2. Each was labeled with the year it entered the household and a short note: “First multiplayer Mario Kart victories!” or “Used until the joystick broke in 2007.”
They paired the ornaments with RGB string lights programmed to cycle through console startup sounds at intervals. Visitors could scan a tag on the tree stand to hear voice recordings of family members sharing favorite gaming memories.
What began as a quirky idea became a cherished annual ritual. “It’s not just about games,” says Maria Garcia. “It’s about time spent together. The tree reminds us how much we’ve played, laughed, and grown side by side.”
Checklist: Creating Your Own Game Controller Ornament Collection
Use this checklist to ensure a smooth, successful crafting experience:
- ✅ Choose 1–3 controller models to replicate.
- ✅ Gather materials based on complexity (beginner vs. advanced).
- ✅ Create or download accurate templates/silhouettes.
- ✅ Cut bases and allow time for drying/sanding.
- ✅ Paint with layered coats for clean finishes.
- ✅ Add fine details with pens, decals, or micro-components.
- ✅ Drill or punch holes for hanging before final sealing.
- ✅ Seal with protective varnish or resin dome.
- ✅ Label or tag with console name and year (optional). <10>✅ Test hang on tree for balance and visibility.
Repeat for each variant. Store extras in compartment boxes with anti-static padding for future use.
Frequently Asked Questions
Can I use real broken controllers to make ornaments?
Yes—disassembled real controllers make striking upcycled ornaments. Remove batteries and wiring, keep the shell, and attach a hanger. Ideal for larger centerpieces. Ensure no sharp edges remain and seal exposed circuits to prevent dust buildup.
Are these safe to use around young children?
If using small parts, magnets, or fragile materials, reserve detailed ornaments for higher branches or display shelves. Opt for soft felt or silicone versions for kids’ trees. Always supervise play near decorated trees.
How do I preserve these ornaments for long-term use?
Store in acid-free tissue paper inside rigid containers. Avoid temperature extremes like attics or garages. For resin or polymer clay pieces, wipe gently with a dry cloth annually. Re-seal wooden ornaments every 2–3 years to maintain luster.
Conclusion: Turn Play Into Celebration
Game controller-themed Christmas ornaments are more than decorative novelties—they’re emblems of joy, challenge, and shared experience. By transforming familiar gaming icons into festive art, you honor the role technology and play have in shaping identity and connection. These ornaments invite storytelling, spark nostalgia, and remind us that holiday spirit isn’t confined to carols and candles—it thrives in the glow of a screen and the click of a button.
Whether you’re a lifelong gamer, a parent introducing your kids to your favorite titles, or simply someone who values individuality in tradition, there’s value in bringing what you love into the heart of your celebrations. Start small—a single NES replica—and build from there. Let your tree reflect not just the season, but the stories that define you.


 浙公网安备
33010002000092号
浙公网安备
33010002000092号 浙B2-20120091-4
Comments
No comments yet. Why don't you start the discussion?