
Christmas light displays have evolved from simple sequences of blinking bulbs into immersive, synchronized spectacles set to music and motion. As technology advances, so do the ways we interact with these displays. One of the most exciting innovations is using gaming controllers—devices already familiar to millions—to control dynamic holiday lighting. Whether you're a hobbyist building a backyard display or a professional designing a public installation, integrating gamepad input adds an engaging, responsive layer to your show.
This approach combines the tactile precision of gaming hardware with programmable lighting systems, allowing for real-time interaction, custom choreography, and even audience participation. With tools like Arduino, Raspberry Pi, DMX protocols, and software such as Xlights or Vixen Lights, syncing controller inputs to lighting effects is not only possible but increasingly accessible.
Why Use Gaming Controllers for Light Shows?
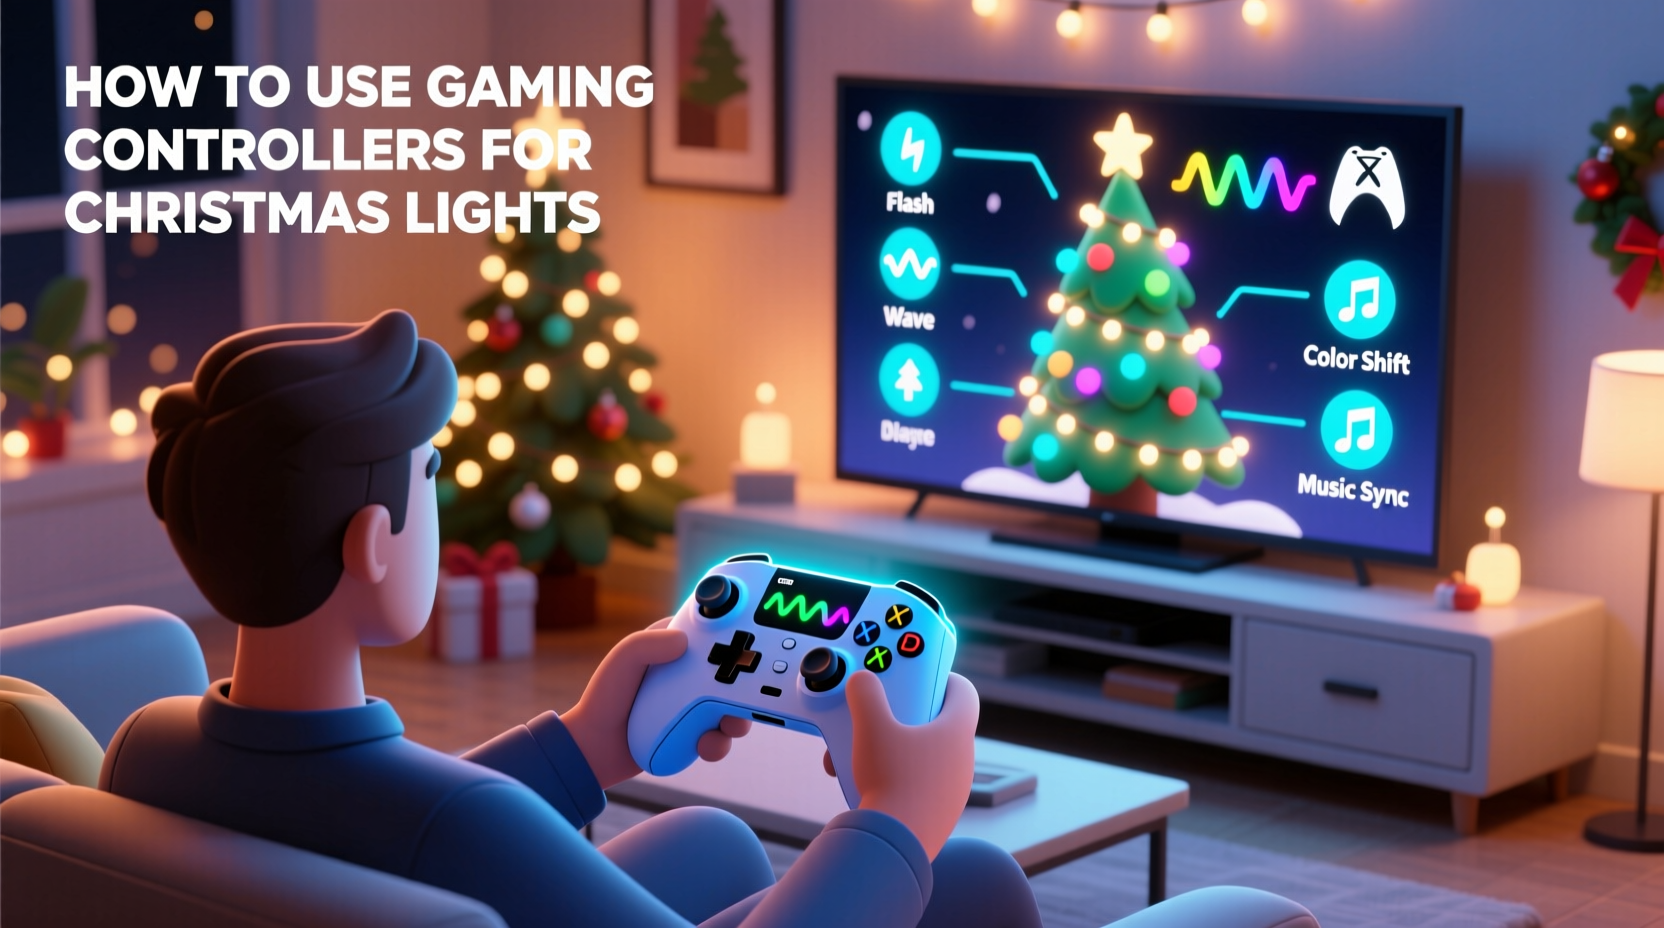
Gaming controllers offer intuitive, low-latency input that can be mapped to specific lighting behaviors. Unlike pre-programmed sequences that run on timers, controller-driven systems allow for live manipulation of brightness, color, animation speed, and pattern selection. This interactivity transforms passive viewing into an experience where users directly influence the visual output.
Consider a neighborhood light show where children take turns using a wireless Xbox controller to \"play\" the lights—triggering snowflake patterns with one button, pulsing bass flashes with another, or launching a full strobe finale with a joystick flick. The result is more than decoration; it’s performance art.
“Interactive lighting powered by everyday devices like gamepads bridges the gap between digital entertainment and physical environments.” — Dr. Lena Torres, Interactive Media Designer at NYU ITP
Core Components Needed
To build a controller-operated Christmas light system, you’ll need both hardware and software components working in harmony. Below is a breakdown of essential elements:
- Gaming Controller: USB or Bluetooth-enabled (e.g., Xbox Wireless Controller, PlayStation DualShock/DualSense, Nintendo Switch Pro)
- Microcontroller or Single-Board Computer: Raspberry Pi 4/5, Arduino Mega, or ESP32 for processing input and sending signals
- Lighting System: Addressable LEDs (WS2812B, SK6812), RGB strips, or DMX-controlled fixtures
- Controller Interface Software: Programs like JoyCubic, vJoy (Windows), or custom Python scripts to read controller data
- Light Control Platform: Xlights, Vixen Lights, or DIY code via FastLED or Adafruit_NeoPixel libraries
- Communication Protocol: Serial communication, OSC (Open Sound Control), MQTT, or direct GPIO signal routing
- Power Supplies & Amplifiers: Adequate power delivery for LED loads and signal boosters for long runs
Step-by-Step Setup Guide
Follow this sequence to integrate a gaming controller with your Christmas light setup:
- Choose Your Controller and Test Connectivity
Select a compatible controller and connect it to your main control device (Raspberry Pi or PC). Use built-in OS tools (like Game Controllers in Windows) to confirm all buttons and axes respond correctly. - Install Input Monitoring Software
On Windows, install vJoy and JoyCubic to simulate joystick-to-keyboard mappings. On Linux or Raspberry Pi, usejstest-gtkor write a Python script with theinputslibrary to capture events. - Map Inputs to Lighting Actions
Decide which buttons will trigger which effects. For example:- A Button → Warm White Pulse
- B Button → Red/Green Chase
- Left Trigger → Brightness Up
- Right Joystick → Rotate Color Wheel
- Link to Lighting Software
If using Xlights, enable E1.31 (sACN) output over Ethernet or Wi-Fi. Write a middleware script (in Python or Node.js) that listens for controller events and sends corresponding commands to activate predefined sequences in Xlights. - Test Signal Flow End-to-End
Press a button and verify the correct lights respond. Start small—control just one strip—then scale up once reliability is confirmed. - Add Feedback and Safety Layers
Include status indicators (e.g., an LED on the Pi blinks when input is received) and implement timeouts so lights don’t stay stuck in a mode if the controller disconnects.
Integration Methods: From Simple to Advanced
Different setups require different levels of technical complexity. Choose based on your experience and goals.
| Method | Skill Level | Tools Required | Best For |
|---|---|---|---|
| Keyboard Emulation | Beginner | vJoy + AutoHotkey/Xlights | Basic button-triggered scenes |
| Direct Scripting (Python) | Intermediate | Raspberry Pi + inputs library + FastLED | Custom logic and real-time response |
| OSC over Network | Advanced | TouchDesigner or Resolume + OSC sender | Large-scale, multi-zone installations |
| Arduino + Bluetooth Gamepad | Intermediate | ESP32 + BLEGamepad + NeoPixel | Wireless standalone control units |
For beginners, keyboard emulation offers the gentlest learning curve. By mapping each controller button to a function key (F1–F12), you can configure Xlights to start a sequence when that key is pressed. This method requires no coding and leverages existing software features.
More advanced users may prefer writing a Python daemon that reads raw joystick events and sends UDP packets via E1.31 to multiple universes of lights. This allows granular control—for instance, rotating the right joystick could smoothly transition hues across a circular array of pixels, mimicking a DJ-style light mixer.
Real-World Example: The Neighborhood Interactive Display
In Portland, Oregon, hobbyist engineer Mark Rivas transformed his annual Christmas display into an interactive experience after noticing kids lingering longer when music played. He added an Xbox controller connected to a Raspberry Pi running a custom Python script. When visitors press the A button, icicle lights shimmer like falling snow. Holding the left bumper activates a “Santa Mode” with deep red pulses and slow golden glows.
Using a weatherproof case and extension cables, he mounted the controller on a post near the sidewalk. Over the holiday season, more than 300 people interacted with the display. Local news covered it as “a new kind of holiday magic,” and neighboring homes began exploring similar integrations.
Mark noted: “The hardest part wasn’t the tech—it was making sure the buttons were labeled clearly so grandparents and toddlers alike could play along.”
Tips for Smooth Operation and User Experience
Even the best technical setup can fall short without attention to usability and reliability.
- Use dead zones for analog sticks to avoid unintended drift in color or intensity changes.
- Limit maximum brightness in outdoor settings to prevent glare or light pollution complaints.
- Include a reset or “home” button that returns all lights to a default festive loop.
- Log controller inputs during operation to troubleshoot unresponsive actions later.
Checklist: Launch-Ready Interactive Light Show
Before opening your display to the public, go through this checklist:
- ✅ All controller inputs are detected by the host device
- ✅ Each button maps to a unique, visible lighting effect
- ✅ Lighting responds within 100ms of input (no noticeable lag)
- ✅ System recovers gracefully from disconnection or reboot
- ✅ Power supplies are rated for peak current draw
- ✅ Cables are secured and protected from weather/tripping hazards
- ✅ Instructions or labels guide users on how to interact
- ✅ Backup sequence runs automatically if controller fails
Frequently Asked Questions
Can I use a smartphone as a gaming controller?
Yes. Apps like “Gamepad” (iOS/Android) turn phones into Bluetooth controllers over HID or custom WebSocket connections. You can pair them with a Raspberry Pi and route inputs just like a physical gamepad. This is ideal for remote triggering or mobile integration.
Do I need internet access for this setup?
No. All operations can run locally over USB, Bluetooth, or a private Wi-Fi network. In fact, offline operation is recommended to avoid latency or outages during critical moments.
Can multiple controllers work at once?
Yes, but coordination becomes complex. Some systems support dual-input blending—for example, two players controlling different halves of a display. However, ensure your software can distinguish between controllers and avoid conflicting commands.
Pushing the Boundaries: Future Possibilities
The fusion of gaming interfaces and environmental lighting is still in its early stages. Emerging trends suggest broader applications: motion-based controllers (like the Nintendo Switch Joy-Cons) detecting gestures to wave lights like conductors, or VR headsets enabling users to design and manipulate 3D light sculptures in real time.
One experimental project in Berlin used PS5 DualSense haptics to let users “feel” the rhythm of a light show through adaptive triggers while adjusting tempo with thumbsticks—a multisensory holiday experience.
As affordable microcontrollers and open-source lighting platforms grow more powerful, expect community-built mods that turn any gamepad into a universal light instrument.
Conclusion: Turn Play Into Light
Using gaming controllers to operate Christmas light shows merges nostalgia, technology, and joy in a uniquely modern way. What begins as a technical experiment can become a cherished tradition—one that invites participation rather than passive observation. With accessible tools and clear planning, anyone from a high school maker to a seasoned electrician can bring responsive, playful energy to their holiday display.


 浙公网安备
33010002000092号
浙公网安备
33010002000092号 浙B2-20120091-4
Comments
No comments yet. Why don't you start the discussion?