
Transforming your home into a winter wonderland no longer requires elaborate light strings or bulky decorations. With projector mapping technology, you can project dynamic, animated Christmas scenes directly onto interior or exterior walls—creating immersive holiday displays with minimal setup and maximum visual impact. This technique, once reserved for large-scale events and professional installations, is now accessible to homeowners and hobbyists thanks to affordable projectors and user-friendly software.
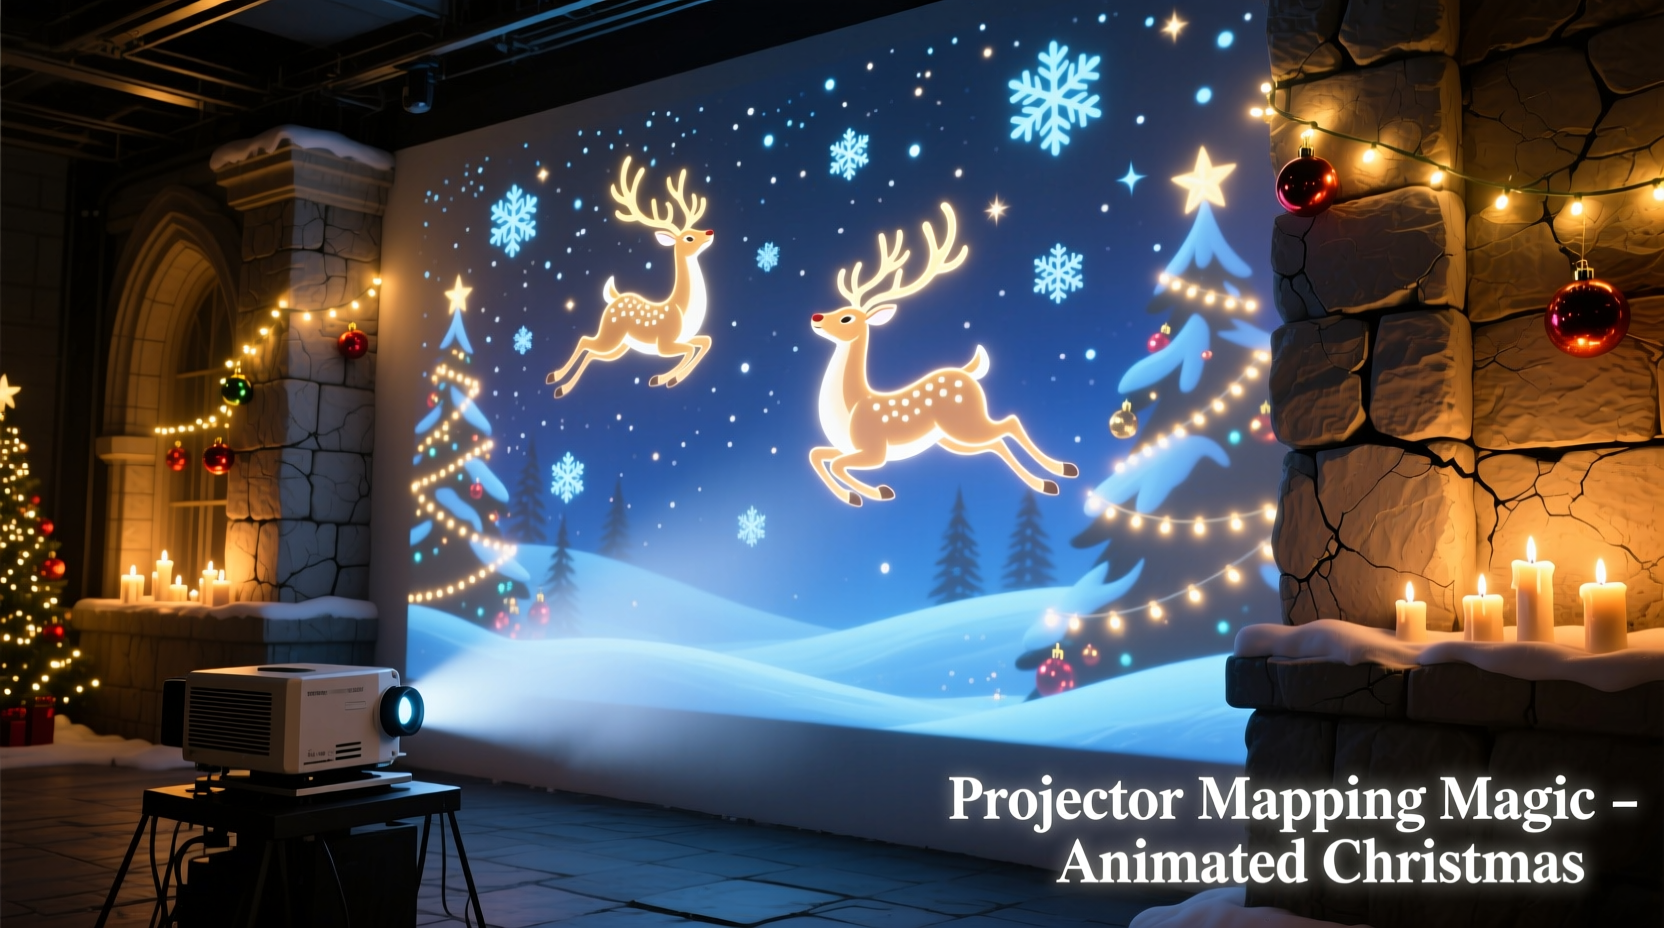
Projector mapping, also known as spatial augmented reality, allows digital content to be projected precisely onto irregular surfaces by warping and masking the image to fit architectural features. When applied to Christmas décor, it enables flickering fireplaces, dancing snowmen, falling snow, and even Santa’s sleigh ride across your living room wall—all in high resolution and full color. The result is not just festive; it's cinematic.
Understanding Projector Mapping Basics
Before diving into holiday-specific applications, it’s essential to understand what projector mapping is and how it works. Unlike standard projection, which assumes a flat, uniform screen, projector mapping adjusts the projected image to conform to the shape, texture, and dimensions of the target surface. This is achieved through specialized software that maps control points on the physical space and aligns the digital animation accordingly.
The process involves three core components: a projector, a computer running mapping software, and a surface (such as a wall, façade, or staircase). Once calibrated, the system can project animations that appear to interact with architectural elements—like a reindeer leaping over a windowsill or presents wrapping themselves beneath a painted tree.
For Christmas scenes, this opens up creative possibilities far beyond static images. You can sequence animations to tell a story, sync them with music, or even incorporate motion triggers using sensors. The effect is especially powerful at night, turning ordinary walls into magical storytelling canvases.
Essential Equipment and Software Setup
Creating an effective projector-mapped Christmas display begins with selecting the right tools. While professional setups may involve multiple high-lumen projectors and advanced 3D scanning, a compelling home version can be achieved affordably with off-the-shelf components.
Hardware Requirements
- Projector: Choose one with at least 2,000 lumens for indoor use and 3,500+ lumens for outdoor projections. LED or laser models offer longer lifespans and better color accuracy.
- Computer: A laptop or desktop with dedicated graphics (e.g., NVIDIA or AMD) ensures smooth playback of HD animations.
- Media Player/Microcomputer: For standalone operation, devices like Raspberry Pi or Intel NUC can run looping animations without needing a full PC.
- Cables and Mounts: HDMI cables, extension cords, and adjustable mounts help position the projector correctly.
Recommended Software
Several software platforms support projector mapping with varying degrees of complexity:
| Software | Best For | Learning Curve | Cost |
|---|---|---|---|
| MadMapper | Beginners & live shows | Low to medium | $199 (one-time) |
| Resolume Arena | Advanced visuals & VJing | High | $599/year |
| HeavyM | Home users & non-coders | Low | Free (basic), $99 (pro) |
| Projection Mapper (iOS/Android) | Mobile experiments | Low | Free |
For Christmas scenes, HeavyM or MadMapper are ideal starting points. Both allow drag-and-drop animation integration, real-time preview, and basic warping tools without requiring programming knowledge.
“With the right software, even a novice can achieve professional-grade mapped projections in under an hour.” — Daniel Reeves, Digital Installation Artist
Step-by-Step Guide to Creating Your Animated Christmas Scene
Follow this practical workflow to bring your holiday vision to life.
- Choose Your Surface: Pick a wall free of obstructions. Interior walls work well for subtle ambiance; exterior walls make bolder statements. Clean the surface to minimize shadows from dirt or grime.
- Position the Projector: Place the projector on a stable surface or mount it securely. Aim it directly at the wall, ideally perpendicular to avoid keystone distortion. Allow 8–15 feet of distance depending on projector throw ratio.
- Calibrate the Mapping: Use your chosen software to define the projection area. Most tools include a grid overlay feature—adjust corner points until the grid aligns perfectly with the wall edges.
- Select or Create Animations: Source pre-made Christmas animations (available from sites like Envato Elements or Motion Array) or create custom ones using After Effects or Blender. Common themes include snowfall, fireplace glow, animated elves, and flying reindeer.
- Map Animations to Features: If your wall has a window, map a “Santa landing” animation so he appears to climb through it. Use masking tools to exclude areas like door handles or vents where projection would look unnatural.
- Add Audio Sync (Optional): Import holiday music into your software and time key animation moments—like sleigh bells ringing or a present unwrapping—to match beats or lyrics.
- Test in Low Light: Run a full preview after dark. Adjust brightness, contrast, and alignment as needed. Check for hotspots or blurriness at the edges.
- Automate Playback: Set the animation to loop continuously. Use a smart plug or timer to turn the system on at dusk and off at bedtime.
Real-World Example: The Johnson Family Holiday Display
The Johnsons, a family in Portland, Oregon, wanted to elevate their annual Christmas lights tradition without adding more electrical load or clutter. They invested in a $400 portable projector and downloaded HeavyM software. Their target was the blank stucco wall beside their front porch.
They began by projecting a looping 5-minute animation: a snowy village scene with glowing windows, falling flakes, and a clock tower chiming at midnight. Using the software, they masked out the doorknob and aligned the base of the village to follow the natural slope of the wall’s foundation.
To enhance immersion, they added external speakers playing soft carols and programmed the projector to activate via a Wi-Fi timer. Neighbors reported feeling like they’d stepped into a holiday film. The entire setup used less power than a strand of incandescent lights and took under two hours to install.
Encouraged by the response, the Johnsons expanded the next year with a second projector mapping a “Santa cam” countdown on their garage door—showing Santa’s journey from the North Pole updated hourly using GPS-style animations.
Common Pitfalls and How to Avoid Them
Even experienced users encounter challenges when first experimenting with projector mapping. Awareness of these issues improves success rates significantly.
- Poor Focus in Cold Weather: Outdoor projectors can fog up or lose focus as temperatures drop. Use lens hoods or enclosures rated for cold climates.
- Incorrect Throw Distance: Every projector has a specific throw ratio. Consult the manual or use online calculators to determine optimal placement.
- Overlooking Ambient Light: Streetlights or porch lamps wash out projections. Turn off nearby lights or use higher-lumen projectors.
- Ignoring Surface Color: Dark or non-white walls absorb light. Light-colored, matte finishes reflect best. For dark surfaces, increase brightness or add a temporary white backdrop.
- Using Compressed Video Files: Low-bitrate videos introduce lag or artifacts. Export animations in H.264 or ProRes at 1080p minimum.
“The biggest mistake people make is treating projector mapping like regular slideshow projection. It’s about precision, not just brightness.” — Lila Chen, AV Integration Consultant
Checklist: Launch Your Projector-Mapped Christmas Scene
Use this checklist to ensure a seamless setup:
- ☐ Select a clean, light-colored wall (interior or exterior)
- ☐ Acquire a projector with sufficient lumens for your environment
- ☐ Install mapping software on a compatible device
- ☐ Download or create Christmas-themed animations (MP4 or MOV format)
- ☐ Position and secure the projector at correct distance and angle
- ☐ Calibrate the projection area using software grid/masking tools
- ☐ Map animations to architectural features (windows, doors, corners)
- ☐ Test audio sync and volume levels (if applicable)
- ☐ Schedule automated playback using a timer or smart plug
- ☐ Perform a nighttime test run and adjust brightness/focus
Frequently Asked Questions
Can I use a regular home projector for this?
Yes, many modern home theater projectors work well for indoor Christmas scenes. Just ensure it has at least 2,000 lumens and supports HDMI input from a computer or media player. For outdoor use, consider brightness, weather protection, and cable length.
Do I need to paint my wall white?
Not necessarily. While white provides the best reflection, light beige or off-white surfaces often suffice. If your wall is dark, consider projecting onto a temporary fabric screen or using higher-lumen equipment.
Can I run the animation all night?
You can, but most projectors aren’t designed for 24/7 operation. Limit runtime to 6–8 hours per night to extend lamp or LED life. Use a timer to automate shutdown. LED-based projectors typically handle extended use better than traditional lamp models.
Final Thoughts and Call to Action
Projector mapping transforms the way we celebrate the holidays—turning passive walls into active storytellers. Whether you’re creating a cozy fireplace illusion in your bedroom or dazzling the neighborhood with a rooftop nativity scene, the technology empowers creativity without compromising convenience.
Unlike traditional décor, projector-mapped scenes are reusable, customizable, and easy to store. One projector can deliver dozens of different themes across seasons—from Halloween ghosts to Easter bunnies—making it a worthwhile investment beyond December.


 浙公网安备
33010002000092号
浙公网安备
33010002000092号 浙B2-20120091-4
Comments
No comments yet. Why don't you start the discussion?