
Clothing is one of the most personal and frequently used items in daily life, yet it's often discarded at the first sign of wear. A loose button, a small tear, or a stretched seam doesn’t mean the end of a garment’s usefulness. With a few fundamental repair skills, you can not only restore damaged clothing but also significantly extend its lifespan. This guide equips you with actionable techniques, from basic hand stitching to strategic fabric preservation, so you can reduce waste, save money, and maintain a wardrobe that truly lasts.
Understanding Fabric and Wear Patterns
Before reaching for a needle and thread, it helps to understand what you're working with. Different fabrics respond differently to stress, washing, and repair methods. Cotton, for example, is durable but prone to shrinking; wool resists wrinkles but can felt if agitated; synthetic blends resist stretching but may melt under high heat.
Common wear points include elbows, knees, underarms, waistbands, and seams—areas subject to repeated friction or tension. Recognizing these zones allows for preventive reinforcement. For instance, double-stitching high-movement seams during initial construction or early repair adds resilience.
“Most garments fail not from material fatigue, but from localized stress at weak structural points. Address those early, and you prevent cascading damage.” — Dr. Lena Torres, Textile Preservation Specialist
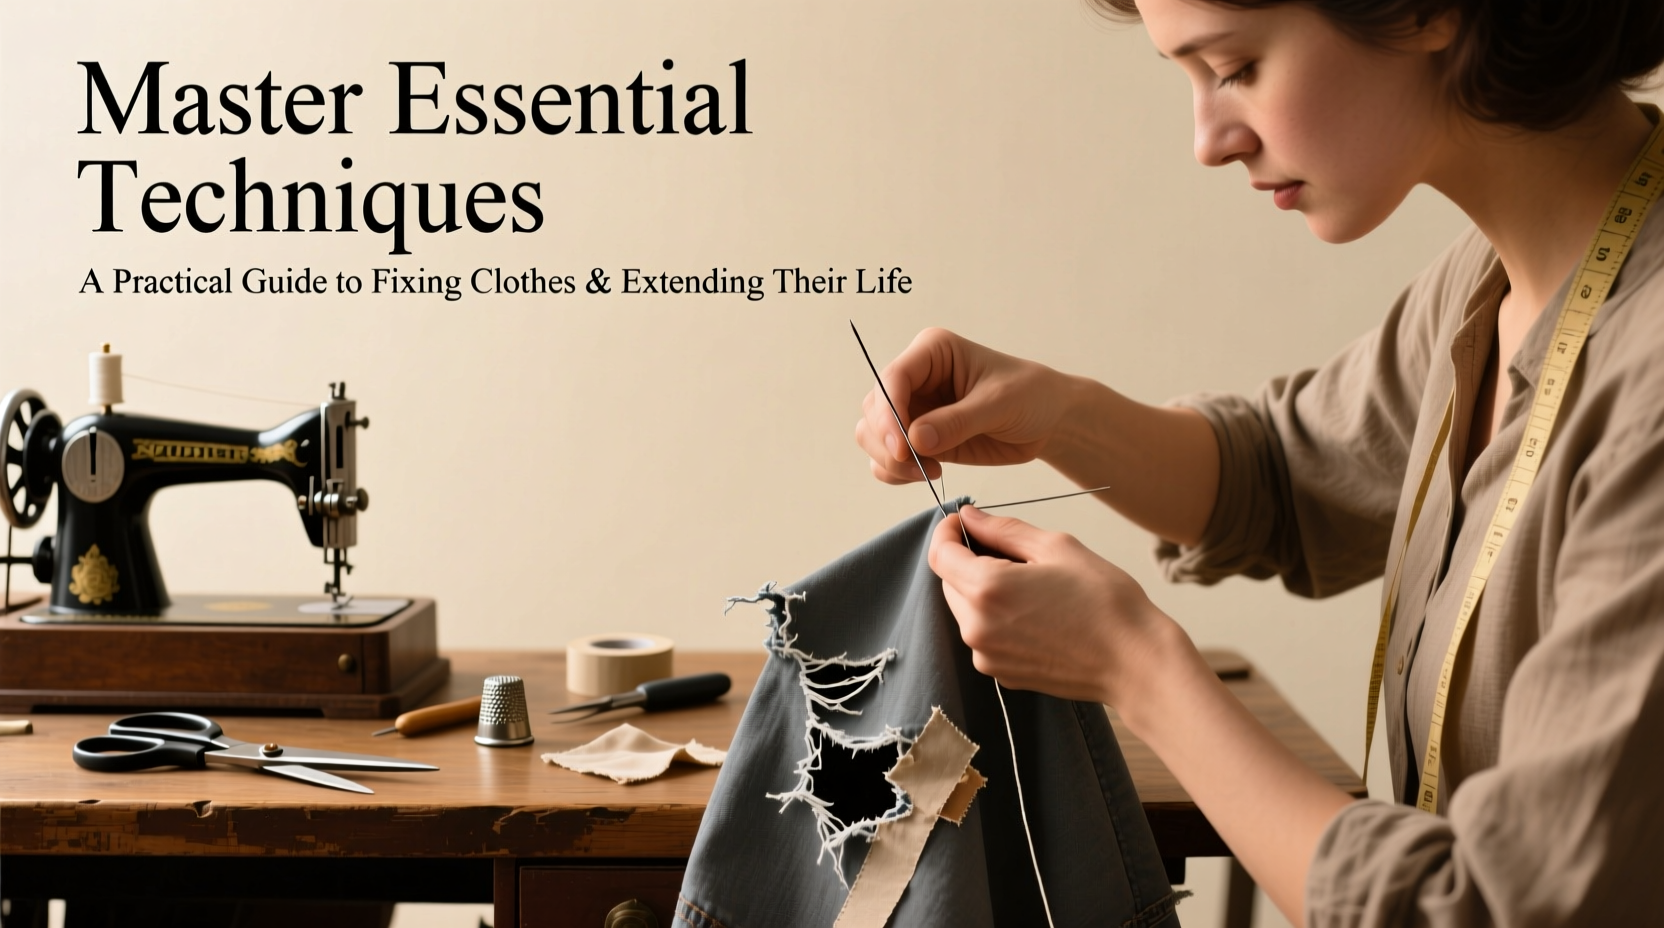
Essential Tools and Materials for Clothing Repair
You don’t need a professional workshop to mend clothes effectively. A compact toolkit is sufficient for most household repairs:
- Assorted needles (sharp for woven fabrics, ballpoint for knits)
- Durable thread in neutral colors (black, white, beige, navy)
- Small scissors or embroidery snips
- Pins and pin cushion
- Seam ripper
- Irons and pressing cloths
- Fusible webbing or iron-on patches
- Measuring tape and tailor’s chalk
Step-by-Step Guide to Common Clothing Repairs
Most clothing issues fall into a few predictable categories. Mastering solutions for these builds confidence and competence over time.
1. Sewing on a Loose Button
- Position the button where it originally sat, aligning with existing holes or thread marks.
- Thread a needle with doubled thread and knot the end.
- Pass through the fabric and one set of button holes, then back down through another.
- Repeat 3–4 times for strength.
- Before finalizing, place a toothpick or matchstick across the top of the button to create a shank for flexibility.
- Remove the spacer, wrap thread tightly around the base 5–6 times to form a stem, then knot securely on the underside.
2. Patching a Small Tear
For cotton, linen, or denim:
- Clean and dry the area around the tear.
- Iron on a fusible patch if using adhesive backing, following manufacturer instructions.
- If sewing manually, cut a patch ½ inch larger than the tear on all sides.
- Pin the patch in place, ensuring edges are smooth.
- Use a tight zigzag or whipstitch around the perimeter to secure.
- Press gently with an iron using a cloth barrier to set stitches.
3. Replacing a Broken Zipper
- Use a seam ripper to remove stitching along both sides of the old zipper.
- Align the new zipper face-down with the garment opening, matching seam lines.
- Pin in place, then baste temporarily with long stitches.
- Using a zipper foot on your machine, stitch close to the coil on both sides.
- Test the pull tab before removing basting threads.
- Press open carefully to avoid flattening the teeth.
Do’s and Don’ts of Home Clothing Repair
| Action | Do | Don't |
|---|---|---|
| Washing Before Repair | Always clean fabric first—dirt can set permanently when heated during ironing. | Don’t sew over stained or soiled areas; oils degrade thread over time. |
| Thread Selection | Use polyester-cotton blend thread for general durability. | Don’t use silk or embroidery thread for structural seams. |
| Iron Usage | Press seams flat after sewing to set the work. | Don’t apply direct high heat to synthetics or delicate trims. |
| Storage of Mended Items | Store folded or hung properly to prevent strain on repaired zones. | Don’t compress patched areas under heavy objects in drawers. |
Preventive Care: Extending Garment Life Beyond Repairs
Fixing clothes is important, but preventing damage is even more effective. Incorporate these habits into your routine:
- Rotate frequently worn items – Allow fibers to recover between wears.
- Turn clothes inside out before washing – Reduces abrasion and fading.
- Use mesh laundry bags – Protect delicate knits and lace.
- Air dry when possible – Heat from dryers weakens elastic and shrinks natural fibers.
- Inspect garments monthly – Catch frayed seams or loose hems before they worsen.
“Every minute spent reinforcing a hem or tightening a seam saves thirty minutes later trying to salvage a ruined garment.” — Malik Greene, Sustainable Fashion Educator
Mini Case Study: Reviving a Favorite Denim Jacket
Sophia had a well-worn denim jacket with fading at the elbows and a split seam near the pocket. Instead of discarding it, she assessed the damage. She washed the jacket inside out, then reinforced the inner elbow with a cotton patch applied with a tight zigzag stitch. The pocket seam was resewn with heavy-duty thread, and she added decorative topstitching in contrasting tan thread for a personalized look. Two years later, the jacket remains a staple in her wardrobe—more characterful and better fitting than before.
Checklist: Monthly Clothing Maintenance Routine
Perform this quick review once a month to stay ahead of wear:
- Inspect collars, cuffs, and underarms for stains or thinning fabric.
- Check buttons and snaps for looseness.
- Examine seams in high-movement areas (shoulders, crotch, armpits).
- Repair minor issues immediately—don’t wait until they grow.
- Reinforce weak spots with darning or interfacing.
- Organize by season and store off-hangers in breathable cotton bags.
FAQ
Can I mend stretchy fabric with regular thread?
No. Regular thread lacks elasticity and will snap when the fabric stretches. Use polyester thread or specialized stretch thread, and employ a narrow zigzag or lightning stitch on a sewing machine for flexibility.
How do I know if a garment is beyond repair?
If the fabric is severely thinned, brittle, or has large holes in multiple stress zones, restoration may not be viable. However, consider repurposing—turn shirts into rags, jeans into shorts, or scraps into quilting squares.
Is hand sewing as strong as machine sewing?
For small repairs like buttons or hems, hand sewing can be just as durable when done correctly. Use a backstitch for strength and double-threaded knots. Machine stitching is superior for long seams and high-tension areas.
Conclusion
Mending clothes isn’t just about fixing what’s broken—it’s about redefining our relationship with what we own. Every stitch applied with intention extends not only the life of a garment but also the value we place on craftsmanship and sustainability. These techniques are accessible to anyone willing to learn, requiring only patience and practice. By mastering simple fixes and adopting preventive care, you shift from constant consumption to thoughtful stewardship.


 浙公网安备
33010002000092号
浙公网安备
33010002000092号 浙B2-20120091-4
Comments
No comments yet. Why don't you start the discussion?