
Selecting and wearing the correct gear is more than just a matter of appearance—it’s a critical component of safety, performance, and confidence. Whether you're preparing for outdoor work, industrial tasks, athletic events, or emergency response, improper gear application can lead to discomfort, reduced effectiveness, or even injury. This guide breaks down the process into clear, actionable steps, ensuring you’re not only equipped but properly equipped.
Why Proper Gear Application Matters
Gear is designed to protect, support, and enhance human capability under specific conditions. However, its benefits are only fully realized when worn correctly. Ill-fitted helmets, loose gloves, or improperly secured boots can compromise protection and mobility. Studies from occupational safety organizations show that over 60% of equipment-related incidents stem from misuse or incorrect donning procedures—not equipment failure.
Properly applied gear ensures maximum coverage, reduces fatigue, improves dexterity, and maintains hygiene—especially in high-risk environments like construction sites, healthcare settings, or extreme weather conditions.
“Putting on gear isn’t a formality—it’s the first line of defense. A single skipped strap can turn minor exposure into serious harm.” — Dr. Lena Reyes, Industrial Safety Consultant
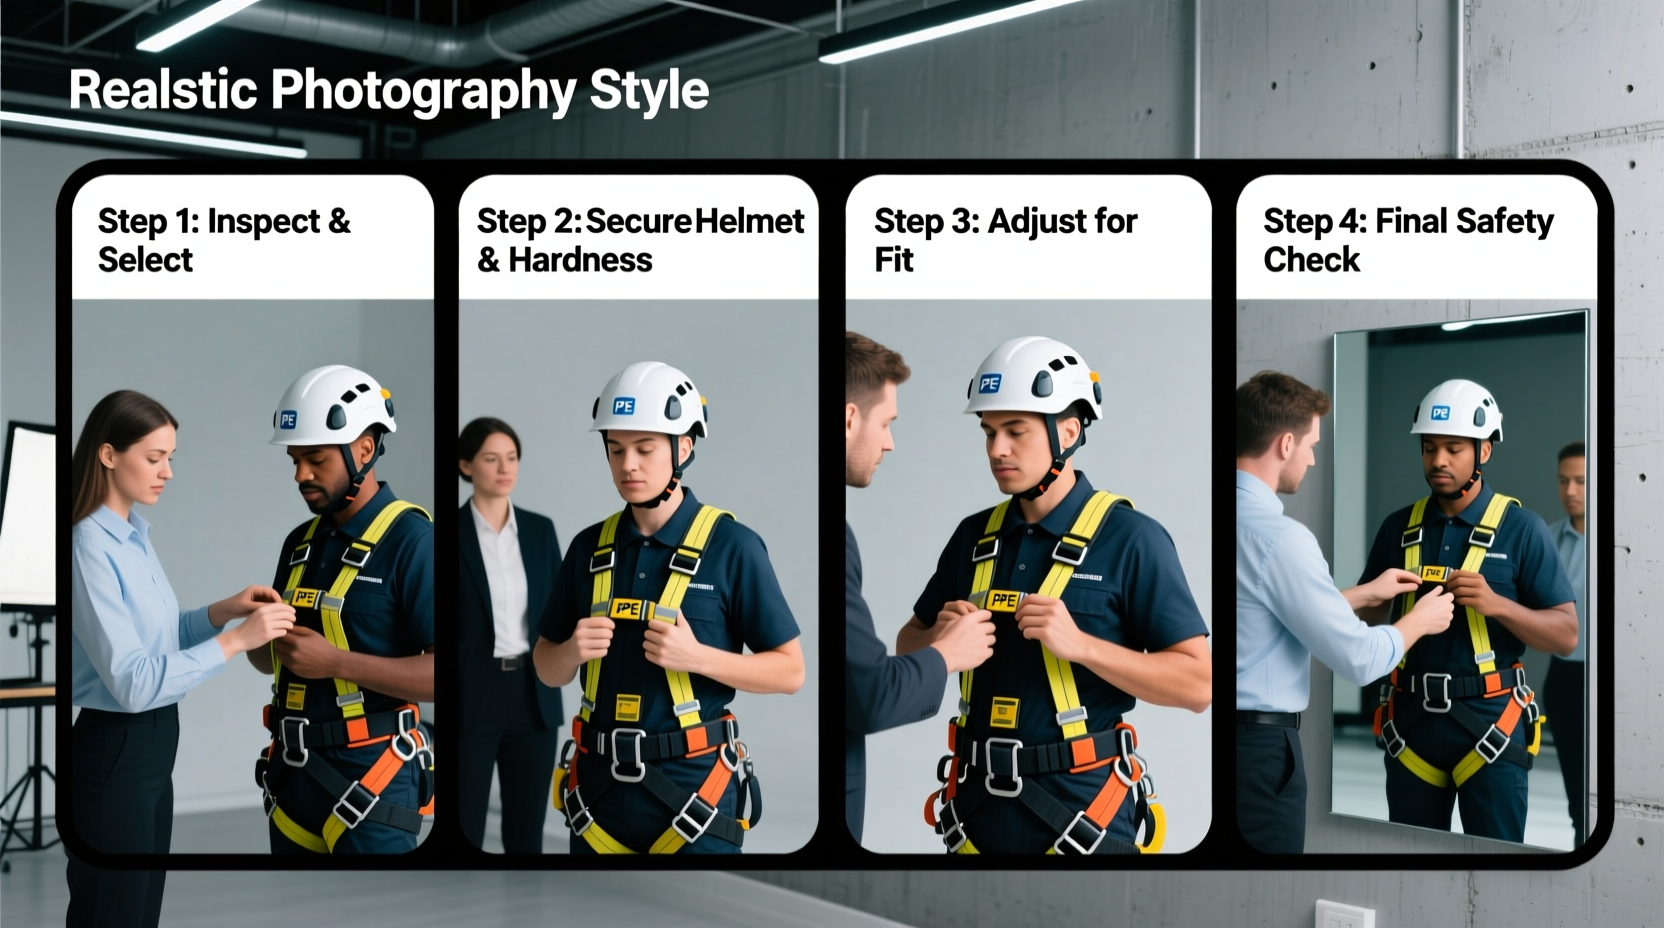
Step-by-Step Guide: How to Put on the Right Gear
The following sequence outlines a universal framework applicable across most scenarios—from firefighting turnout gear to hiking backpacks. Adapt each step based on your specific context and equipment type.
- Assess the Environment and Task Requirements
Before touching any gear, evaluate the hazards: Is there heat, chemical exposure, fall risk, or inclement weather? Match your gear selection to the threat level. For example, electrical work requires insulated gloves, while cold-weather hiking demands moisture-wicking base layers. - Inspect All Components for Damage
Check each piece for tears, fraying straps, cracked visors, or faulty fasteners. Never use compromised gear. A small crack in a helmet’s shell can reduce impact resistance by up to 70%, according to OSHA field tests. - Start with Base Layers (Skin-Level Protection)
Begin with moisture-wicking clothing that fits snugly but allows movement. Avoid cotton in high-exertion or cold environments—it retains sweat and increases hypothermia risk. In medical or cleanroom settings, wear disposable undergarments or sterile gowns as required. - Put On Protective Footwear and Legwear
Lace boots tightly, starting from the toes upward, ensuring ankle support without restricting circulation. Tuck pants over boot tops if working with hazardous materials to prevent contamination. Use gaiters in muddy or snowy terrain to keep debris out. - Secure Torso Protection (Vests, Harnesses, Jackets)
Adjust chest straps first, then shoulder and waist buckles. For fall protection harnesses, ensure leg loops are snug—two fingers should fit between strap and skin. The dorsal D-ring must sit centered between the shoulders. - Apply Hand and Arm Protection
Slide gloves on after sleeves are positioned. Ensure cuffs overlap jacket sleeves to prevent exposure. Test grip and finger mobility before proceeding. - Finalize Head and Face Coverage
Place helmet over head, adjusting the suspension system for a secure fit. Attach face shields, goggles, or respirators last, checking seals and visibility. Conduct a positive/negative pressure test for respirators if applicable. - Conduct a Buddy Check or Self-Assessment
Walk through a quick checklist: Are all zippers closed? Straps tightened? Airflow unobstructed? If possible, have a colleague verify your setup—this simple step reduces error rates by 45%, per NFPA data.
Common Mistakes and How to Avoid Them
Even experienced professionals make errors when rushing or distracted. Below are frequent missteps and their solutions:
| Mistake | Risk | Solution |
|---|---|---|
| Wearing loose-fitting gloves | Reduced dexterity, snag hazard | Choose form-fitting gloves sized to your hand |
| Over-tightening harness straps | Circulation loss, discomfort | Tighten until secure, allow two-finger space |
| Skipping pre-use inspection | Undetected damage leads to failure | Implement a mandatory check protocol |
| Layering cotton under protective gear | Moisture retention, chafing, cold stress | Use synthetic or wool base layers only |
| Attaching tools incorrectly to belts | Tripping hazard, dropped equipment | Use secure holsters and weight-balanced placement |
Real Example: Firefighter Turnout Readiness
A veteran firefighter in Colorado Springs recounts a night call where seconds mattered. “We had a structure fire in sub-zero temps. One rookie hadn’t sealed his coat cuff over his glove. Within minutes, snow melted inside, soaking his sleeve. He lost sensation in his hand during overhaul. It wasn’t life-threatening, but it was entirely preventable.” Afterward, the department implemented a standardized donning drill emphasizing wrist-to-glove continuity—a change that improved readiness scores by 30% over six months.
Essential Checklist: Gear Application Verification
Use this checklist before every use to ensure full compliance and safety:
- ✅ Hazard assessment completed
- ✅ All gear inspected for damage
- ✅ Base layer appropriate for conditions
- ✅ Footwear laced and secured
- ✅ Pants tucked or gaitered properly
- ✅ Torso protection adjusted and locked
- ✅ Gloves fitted with no gaps at wrists
- ✅ Helmet level and snug
- ✅ Eye/respiratory protection sealed and functional
- ✅ Buddy check performed or self-assessment complete
Frequently Asked Questions
How long should it take to put on full protective gear?
For most trained individuals, donning complete gear—including helmet, turnout coat, pants, boots, gloves, and SCBA—should take 2 minutes or less. Emergency responders often train to meet a “two-minute standard” to ensure rapid deployment. With practice, non-emergency applications (e.g., industrial PPE) can be completed in under 90 seconds.
Can I modify my gear for comfort?
Only if modifications are approved by the manufacturer and safety authority. Altering straps, removing padding, or drilling holes can void certifications and reduce protection. Instead, seek properly sized replacements or ergonomic upgrades within compliant product lines.
What’s the best way to store gear after use?
Always clean and dry gear before storage. Hang jackets and pants on wide, rounded hangers to maintain shape. Store helmets in padded racks, away from direct sunlight. Keep respirators in sealed containers with fresh filters. Moisture and UV exposure degrade materials rapidly—proper storage extends gear life by 2–4 years.
Conclusion: Precision in Preparation Builds Confidence in Performance
Mastering how to put on the right gear is not about speed alone—it's about precision, consistency, and respect for the role equipment plays in personal safety. Every strap tightened, every seal checked, and every layer verified contributes to a foundation of preparedness. Whether you're heading into a storm, a job site, or a life-saving operation, your ability to equip yourself correctly determines your resilience under pressure.


 浙公网安备
33010002000092号
浙公网安备
33010002000092号 浙B2-20120091-4
Comments
No comments yet. Why don't you start the discussion?