
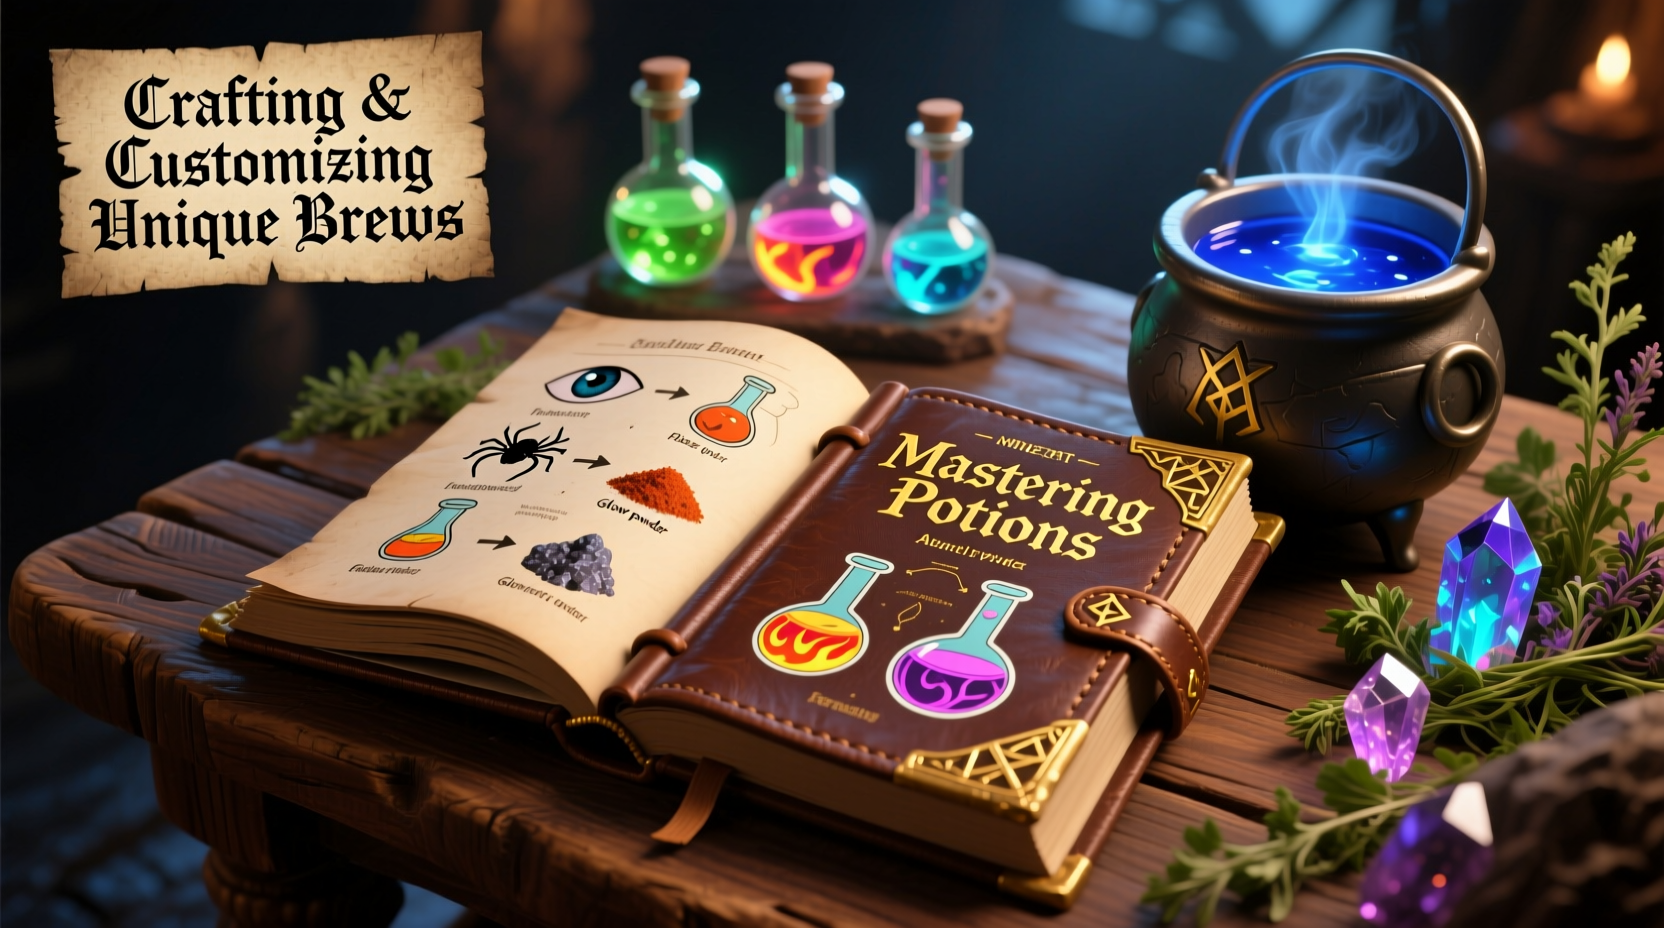
In the vast, blocky world of Minecraft, survival hinges on preparation. Among the most powerful tools at a player’s disposal are potions—brews that enhance strength, speed, resistance, and more. Whether you're exploring deep caves, raiding strongholds, or defending your base from hordes of mobs, knowing how to craft and customize potions can mean the difference between victory and defeat. This guide dives into the mechanics of potion brewing, explores advanced modifications, and reveals strategies to create the perfect brew for any situation.
The Basics of Potion Brewing
Potion brewing in Minecraft begins with three essential components: a brewing stand, blaze powder as fuel, and nether wart as the base ingredient. The brewing stand is crafted using one cobblestone and three iron bars. Blaze rods, dropped by blazes in Nether fortresses, are smelted into blaze powder to power the stand.
Nether wart, grown on soul sand in the Nether, is the foundation of all potions. When placed in the top slot of the brewing stand interface, it creates an Awkward Potion—a neutral base that accepts further ingredients to produce specific effects.
Brewing follows a linear process: start with water bottles in the lower slots, add nether wart to begin, then introduce modifiers like redstone, glowstone dust, or gunpowder to alter duration, potency, or behavior. Each step takes approximately 20 seconds in real time.
Core Ingredients and Their Effects
Understanding what each ingredient does is key to mastering potion creation. Below is a summary of common modifiers and their impacts when added to base potions.
| Ingredient | Effect When Added | Example Use |
|---|---|---|
| Nether Wart | Creates Awkward Potion (base) | Starting point for most brews |
| Sugar | Turns into Potion of Swiftness | Faster movement for escape or travel |
| Rabbit Foot | Creates Jump Boost | Reaching high places without scaffolding |
| Blaze Powder | Produces Strength | Increased melee damage in combat |
| Ghast Tear | Makes Regeneration | Healing over time during raids |
| Spider Eye | Creates Poison | Deals damage over time to enemies |
| Glistering Melon | Makes Instant Health | Emergency healing mid-fight |
| Pufferfish | Grants Water Breathing | Extended underwater exploration |
Each of these ingredients transforms the awkward base into a functional potion. But true mastery lies not just in creation—but in refinement.
Enhancing Potions: Duration, Strength, and Utility
Once a base potion is brewed, it can be upgraded using redstone dust or glowstone dust. Redstone extends the duration of most potions—ideal for long expeditions. Glowstone increases potency (e.g., Strength II instead of I), though it shortens duration.
To convert a potion into a splash variant, add gunpowder. Splash potions affect multiple targets in an area and are invaluable in mob fights or PvP. For even greater reach, combine a splash potion with dragon’s breath in the final slot to create lingering potions, which form a damaging cloud upon impact.
“Efficient potion use isn’t about having the strongest brew—it’s about matching the right effect to the task. A well-timed invisibility potion can save you more than brute strength.” — Lin Zhao, Competitive Minecraft StrategistStep-by-Step: Brewing a Potion of Healing II
- Fill three glass bottles with water.
- Place the bottles in the brewing stand’s bottom slots.
- Add nether wart to the top slot to create Awkward Potions.
- Replace the nether wart with glistering melon to turn them into Potions of Healing.
- Now add glowstone dust to upgrade them to Healing II.
This potent brew restores six hearts instantly—critical in boss battles or emergency situations.
Advanced Customization and Strategic Combinations
Veteran players leverage potion synergies to dominate gameplay. Consider combining Speed II with Jump Boost II and Night Vision. This trio transforms exploration, allowing rapid traversal across mountains, oceans, or the End dimension with clear visibility in dark areas.
For defense, a Potion of Resistance combined with Fire Resistance nullifies nearly all environmental and attack-based damage for several minutes—perfect for navigating lava-filled Nether regions or surviving ghast barrages.
Tip: Use milk buckets to remove unwanted potion effects immediately. Keep one on your hotbar during experimentation.Another pro technique involves timing. Drink potions just before entering danger zones. For example, activate Slow Falling before leaping from tall structures or engage Invisibility before infiltrating a village during a raid.
Mini Case Study: Surviving the End Dragon Fight
Jamal, an intermediate player, attempted the End Dragon battle unprepared. His first attempt ended quickly—he fell into the void, took damage from endermen, and couldn’t break the obsidian towers efficiently. After researching potion strategies, he returned with a new loadout:
- Potion of Strength II (extended)
- Potion of Regeneration II
- Splash Potion of Healing II
- Potion of Slow Falling
- Night Vision for tower navigation
By drinking Strength and Regeneration before engaging, using Healing splashes when health dropped, and applying Slow Falling after destroying pillars, Jamal defeated the dragon in under ten minutes. “I didn’t even need to use my sword much,” he said. “The potions did half the work.”
Essential Checklist for Potion Mastery
- Set Up Your Brewing Station
- Build a dedicated room with brewing stand, cauldron, chests for ingredients, and easy access to water.
- Stock Key Ingredients
- Farm nether wart, blaze rods, sugar cane, and glowstone. Keep spider eyes, rabbit feet, and ghast tears in reserve.
- Label Your Chests
- Organize by ingredient type to avoid confusion during urgent brewing.
- Create a Variety of Bases
- Brew both regular and splash versions of core potions like Healing, Strength, and Poison.
- Test Before Combat
- Verify effect durations and interactions in a safe environment.
FAQ
Can I make potions without going to the Nether?
No—nether wart and blaze powder are only obtainable in the Nether. These are essential for fueling the brewing stand and creating base potions. However, once acquired, you can farm nether wart indefinitely.
What’s the difference between splash and lingering potions?
Splash potions affect entities in a small radius upon impact. Lingering potions, made by adding dragon’s breath, create a visible cloud that persists for several seconds and affects any entity passing through it. They are especially effective in PvP and crowd control.
How do I make a Potion of Invisibility?
Start with an Awkward Potion, add golden carrot to make Night Vision, then apply fermented spider eye to invert the effect into Invisibility. Adding redstone extends the duration; adding gunpowder turns it into a splash version.
Conclusion
Potion brewing in Minecraft is more than a side mechanic—it's a strategic pillar that elevates gameplay from reactive survival to calculated dominance. By mastering the brewing process, understanding ingredient synergies, and preparing context-specific kits, you gain a decisive edge in every dimension. Whether you're scaling the highest peaks or delving into ancient cities, the right potion at the right moment can change everything.
🚀 Ready to brew like a pro? Set up your brewing station today, experiment with combinations, and share your most effective potion builds in the comments below!


 浙公网安备
33010002000092号
浙公网安备
33010002000092号 浙B2-20120091-4
Comments
No comments yet. Why don't you start the discussion?