
In the high-stakes world of tactical first-person shooters, few games demand as much precision, coordination, and composure as Ready or Not. Unlike arcade-style shooters, this game simulates real-world SWAT operations where a single misstep can lead to mission failure—or worse, civilian casualties. Success isn’t just about fast reflexes; it’s about methodical planning, communication, and mastering both fundamental and advanced tactics. Whether you're breaching your first apartment complex or leading a full-scale hostage rescue, the right approach makes all the difference.
Understanding the Core Mechanics
Ready or Not is built on realism. Every decision—from equipment loadout to breach method—shapes the outcome. The game emphasizes non-lethal options, de-escalation, and minimizing collateral damage. Officers are penalized for excessive force, making restraint as vital as aggression. Each level presents unique challenges: barricaded suspects, hostages under duress, explosive devices, or civilians in panic.
Before diving into advanced tactics, players must internalize core mechanics:
- Threat Assessment: Distinguish between armed hostiles, passive civilians, and potential threats who may surrender.
- Communication: Use clear, standardized callouts to inform teammates of positions, threats, and objectives.
- Movement Discipline: Move room-to-room with controlled pacing. Rushing leads to ambushes.
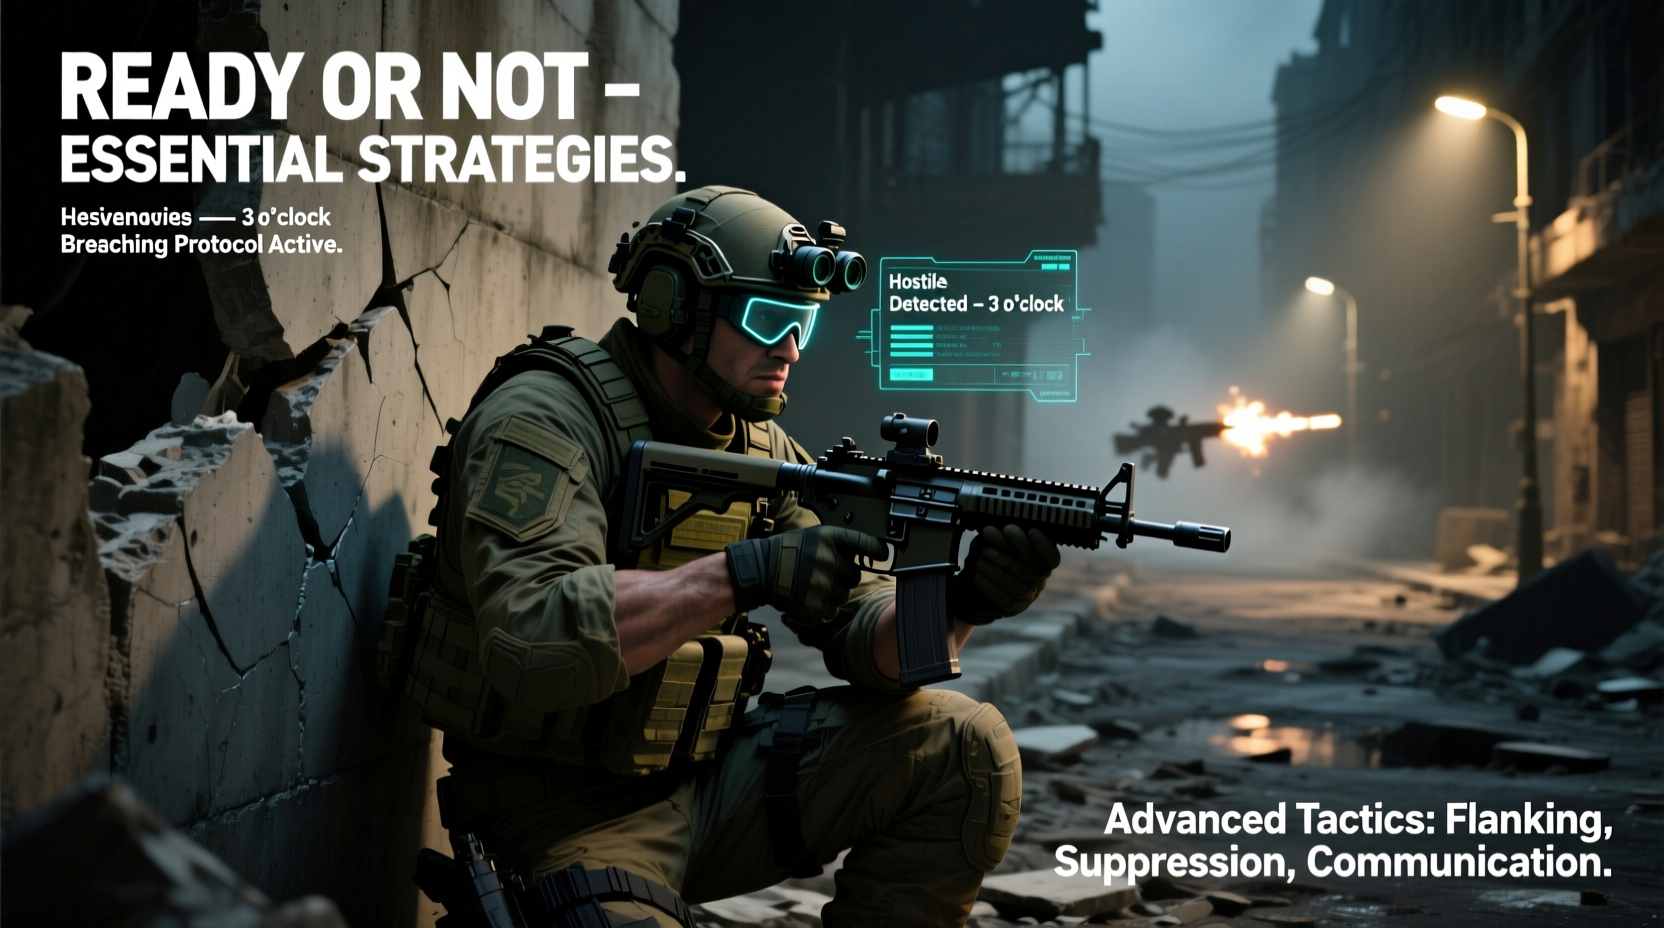
- Breach Protocols: Choose between ballistic, thermal, or mechanical entry based on structural integrity and suspect awareness.
Essential Team Roles and Loadout Optimization
Success in Ready or Not hinges on role specialization. Assigning the right gear to the right officer ensures adaptability under pressure. Below is a breakdown of key roles and recommended loadouts:
| Role | Primary Equipment | Secondary Tools | Tactical Purpose |
|---|---|---|---|
| Breacher | Shotgun (Ram or Breach), Ballistic Shield | Breach charges, Door wedges | Forces entry while protecting team |
| Point Officer | SMG or Carbine, Flashlight | Pepperball gun, Tasers | First through door, clears immediate threats |
| Medic | Medical Kit, Pistol | Chem lights, Radio | Revives downed units, stabilizes wounded |
| Sniper/Overwatch | Designated Marksman Rifle, Binoculars | Drone, Laser designator | Provides overwatch, eliminates high-value threats |
| Negotiator | Non-lethal launcher, Megaphone | Calm spray, Evidence bag | De-escalates situations, secures intel |
“Victory in high-risk entries isn’t about firepower—it’s about control. The team that communicates and coordinates wins.” — Sgt. Daniel Reyes, Retired LAPD SWAT
Advanced Room Clearing Techniques
Room clearing is where most missions succeed or fail. A poorly executed sweep leaves blind spots, allowing suspects to flank or harm hostages. The standard “stack” formation works, but mastery requires adaptation.
Sequential Clearing vs. Dynamic Entry
Sequential clearing involves slow, methodical progression. One officer enters, slices the pie, identifies threats, then signals the next. This minimizes risk but increases exposure time. Best used in tight spaces or when intelligence is limited.
Dynamic entry uses speed and surprise. Multiple officers rush in simultaneously after flashbang deployment. Effective in hostile environments but risky if civilians are present.
Angle Control and Cross-Stacking
When clearing L-shaped rooms or multi-door apartments, use cross-stacking. Two stacks enter from opposite entrances simultaneously, covering each other’s blind spots. This prevents suspects from hiding behind corners and reduces reactionary gaps.
Step-by-Step Hostage Rescue Protocol
Hostage scenarios require precision and emotional control. Follow this sequence to maximize survival rates:
- Establish Perimeter: Secure external exits. Prevent suspects from escaping with hostages.
- Gather Intel: Use drones or binoculars to locate hostages and assess suspect behavior.
- Initiate Communication: Deploy negotiator to attempt peaceful resolution. Offer surrender terms.
- Prepare Breach: Choose silent (lockpick) or forced (ram) entry based on element of surprise.
- Execute Entry: Use flashbang only if suspects are aggressive. Otherwise, enter calmly to avoid startling hostages.
- Isolate Threats: Immediately cuff suspects while medic checks on hostages.
- Evacuate Safely: Escort hostages via pre-planned exit route, avoiding active combat zones.
Real-World Scenario: The Crestview Apartments Raid
During a community training exercise, a five-officer team attempted a Level 3 raid on a suspected drug den in the fictional Crestview Apartments. Initial drone recon showed one armed suspect near the entrance and a civilian in the back bedroom. The team opted for a silent breach using lockpicks.
The point officer entered first, spotting the suspect reloading a pistol. Instead of engaging, he deployed a pepperball round, disorienting the suspect without lethal force. The medic moved past to secure the civilian, discovering she was bound but unharmed. Meanwhile, the breacher advanced and cuffed the suspect during incapacitation.
By prioritizing non-lethal options and maintaining radio silence until contact, the team achieved a flawless clearance. No shots were fired, and the civilian was rescued within 90 seconds of entry.
This scenario underscores a critical lesson: patience and discipline often outperform brute force.
Do’s and Don’ts of Tactical Operations
| Do | Don't |
|---|---|
| Use cover before peeking around corners | Rush into unknown rooms |
| Label suspects as “secured” once cuffed | Turn your back on an unsecured individual |
| Carry at least one non-lethal option per operator | Fire warning shots—they’re ineffective and wasteful |
| Recheck cleared rooms if gunfire erupts nearby | Assume a room stays clear indefinitely |
| Practice voice commands with your team | Yell ambiguous phrases like “Contact left!” without context |
Frequently Asked Questions
How important is non-lethal equipment in Ready or Not?
Extremely. The scoring system rewards minimal force. Using tasers, pepperball guns, or calm spray to subdue suspects increases mission rank and unlocks better gear. In many scenarios, lethal force results in penalties even if justified.
What’s the best way to practice room clearing solo?
Use the Training Range to simulate stack formations. Set up virtual drills where you play each role in sequence—breacher, point, support—timing your movements. Focus on smooth transitions and clean sightlines. Record your sessions and review mistakes frame by frame.
Can AI teammates be trusted in high-pressure situations?
Limitedly. While AI follows basic protocols, they often misidentify threats or fail to provide suppressive fire. For critical missions, manual control or multiplayer coordination yields far better results. Treat AI as support, not leadership.
Final Tactics for Long-Term Mastery
Becoming elite in Ready or Not isn’t a sprint—it’s a continuous process of refinement. Review every mission post-op. Ask: Could we have breached faster? Did we miss a surrender opportunity? Was our formation optimal?
Join dedicated servers or Discord communities to train with experienced players. Many veteran squads run weekly drills focused on specific skills: hostage drags, blind clears, or drone navigation. These sessions build muscle memory and improve split-second judgment.
Finally, remember that realism is the game’s foundation. Every trigger pull, every command, every movement should serve the mission—not ego. The best operators aren’t the ones with the highest kill count; they’re the ones who return everyone home safe.


 浙公网安备
33010002000092号
浙公网安备
33010002000092号 浙B2-20120091-4
Comments
No comments yet. Why don't you start the discussion?