
The Measure app on iPhone is more than just a digital ruler—it’s a powerful augmented reality (AR) tool that turns your device into a precision measuring instrument. Available on all iPhones with iOS 12 or later and A9 chip or newer, this app leverages LiDAR sensors (on supported models) and advanced computer vision to detect edges, calculate distances, and even recognize shapes. Whether you're hanging a picture frame, shopping for furniture, or tackling a DIY project, mastering the Measure app can save time, reduce guesswork, and improve accuracy.
How the Measure App Works: The Basics
At its core, the Measure app uses your iPhone’s camera and motion sensors to map space in real time. When you point your phone at an object, the app detects surfaces and allows you to tap to place measurement points. It then draws a line between those points and displays the distance in inches or centimeters.
On iPhone models equipped with a LiDAR scanner—such as the iPhone 12 Pro and later Pro models—the app performs significantly better in low light and can detect depth more accurately, allowing for automatic rectangle detection on flat surfaces like walls or tabletops.
To open the app, simply locate it on your home screen or search “Measure” in Spotlight. Once launched, move your phone slowly to let the app scan the environment. White dots will appear, indicating that the system is mapping the space. When ready, you’ll see a circular button at the bottom center—tap it to set a starting point, move your phone to the end point, and tap again to complete the measurement.
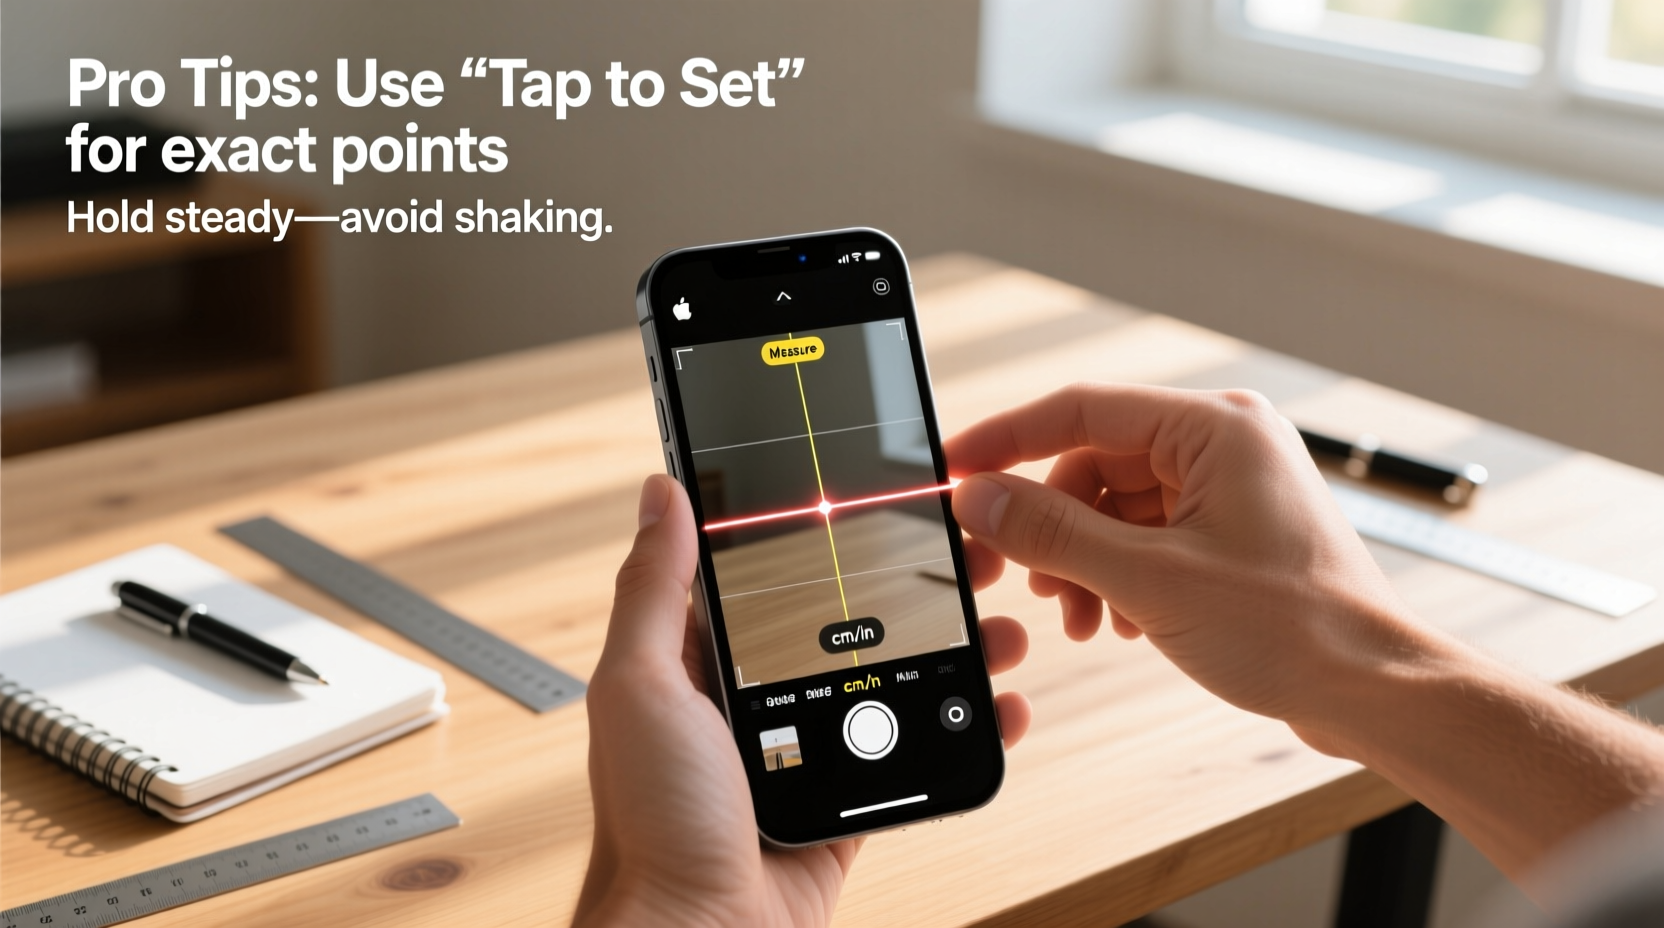
Pro Tips for Accurate Measurements
While the Measure app is intuitive, achieving consistently accurate results requires technique. Small movements or poor lighting can throw off readings by several millimeters—or even inches. Follow these expert-backed strategies to get the most reliable data.
- Use good lighting: Bright, even illumination helps the camera distinguish edges and textures. Avoid glare or shadows that obscure corners.
- Aim for contrast: Objects with high contrast against their background (e.g., a white doorframe on a dark wall) are easier for the app to detect.
- Stabilize your phone: Rest your elbows on a table or lean against a wall to minimize hand shake during measurement.
- Start from clear corners: Begin measuring precisely at visible edges rather than estimating where a corner should be.
- Double-check key dimensions: Take the same measurement two or three times to confirm consistency.
“With proper technique, the Measure app can achieve accuracy within ±5 mm—even without LiDAR.” — Dr. Alan Reyes, AR Systems Engineer at Stanford Mobile Lab
Step-by-Step Guide: Measuring a Room for Furniture
One of the most practical uses of the Measure app is planning furniture layout. Here's how to do it effectively:
- Open the Measure app and allow camera access.
- Stand in one corner of the room and slowly pan your phone across the space to initiate scanning.
- Tap the screen to set the first point at the base of the wall corner.
- Move horizontally along the wall until you reach the next corner; tap again to record the length.
- Repeat for adjacent walls, ceiling height, and doorways.
- If using a LiDAR-enabled iPhone, let the app auto-detect rectangles for doors and windows.
- Save each measurement by tapping the shutter icon before moving on.
- Export or screenshot the results to share with contractors or use while shopping online.
Advanced Features You Might Not Know
Beyond basic linear measurements, the Measure app includes underused features that enhance functionality:
Rectangle Detection (LiDAR Models Only)
When pointing your iPhone at a flat rectangular surface—like a door, window, or desk—the app automatically outlines it and displays width and height. This eliminates manual tapping and reduces user error.
Photo Capture of Measurements
After placing a measurement line, tap the shutter button to save a photo showing the annotated dimensions. These images are stored in your Photos app and include the scale lines and numeric values—perfect for documentation or sharing.
Continuous Scan Mode
Instead of measuring one line at a time, you can chain multiple segments together by tapping repeatedly as you move along a path. This works well for irregular perimeters or multi-wall layouts.
Person Height Measurement (iOS 13.2+)
Point your iPhone at a person standing straight against a flat wall. The app will estimate their height using AI-based limb detection and display it instantly. Best used in well-lit environments with minimal clutter behind the subject.
| Feature | Available On | Accuracy Range |
|---|---|---|
| Manual Point-to-Point Measure | All iPhones with iOS 12+ | ±1–2 cm |
| Automatic Rectangle Detection | iPhone 12 Pro and later Pro models | ±5 mm |
| Height Estimation (People) | iPhones with A12 Bionic or newer | ±2 cm |
| Saved Measurement Photos | All compatible devices | N/A (visual only) |
Real-World Example: Installing Floating Shelves
Emma, a homeowner in Portland, wanted to install floating shelves evenly spaced above her sofa. Instead of using a tape measure and risking misalignment, she opened the Measure app. She started by measuring the width of the sofa (84 inches), then used the app to mark exact center points on the wall. Using horizontal leveling cues in the app, she ensured each shelf bracket was perfectly aligned. By snapping photos of each measurement, she had a visual reference when drilling. The result? Professional-looking shelving installed in under 30 minutes—with no helper needed.
Common Mistakes and How to Avoid Them
Even experienced users make errors that compromise measurement reliability. Recognizing these pitfalls improves outcomes.
- Moving too quickly: Rapid motions confuse the AR engine. Move deliberately and pause briefly before setting points.
- Measuring curved or transparent objects: Glass tables or rounded furniture lack defined edges. Use physical markers (e.g., sticky notes) to create measurable endpoints.
- Ignoring calibration: If the app shows \"Calibrating...\" at the top, wait until it disappears before measuring.
- Not saving results: Measurements vanish when you exit the app unless saved via screenshot or photo capture.
“Most inaccuracies come not from the tech itself, but from how it’s used. Slow down, verify twice, and trust the process.” — Lisa Tran, Interior Designer & Tech Integration Consultant
Checklist: Optimizing Your Measure App Experience
Before starting your next project, run through this quick checklist:
- ✅ Ensure iOS is updated to the latest version
- ✅ Clean your iPhone’s rear camera lens
- ✅ Check battery level (low power may affect performance)
- ✅ Position yourself in a well-lit area
- ✅ Confirm there are no reflective or transparent surfaces interfering
- ✅ Save critical measurements with screenshots or exported photos
- ✅ Verify one key dimension with a physical tape measure if precision is crucial
Frequently Asked Questions
Can I measure diagonals or angles with the Measure app?
The standard Measure app does not support angle measurement. However, you can manually calculate diagonal distances by measuring length and width, then applying the Pythagorean theorem. Third-party AR apps like AngleTool or Planimeter offer angle and slope functions.
Why does my measurement jump around or fail to lock?
This usually happens due to poor lighting, lack of texture in the scene (e.g., blank white walls), or rapid movement. Try increasing ambient light, adding temporary markers (like tape), or slowing down your motion.
Is the Measure app accurate enough for construction work?
For rough estimates and pre-planning, yes. But for structural builds requiring millimeter precision, always double-check with laser measures or steel tapes. The app is best viewed as a convenient supplement—not a replacement—for professional tools.
Final Thoughts: Turn Your iPhone Into a Smart Measuring Assistant
The Measure app is one of the most underrated utilities on the iPhone. With thoughtful use, it transforms everyday tasks—from buying a new rug to mounting a TV—into seamless, stress-free experiences. Its integration of AR, smart detection, and instant photo documentation makes it far more capable than most people realize. By applying the techniques outlined here—steady handling, optimal lighting, rectangle detection, and verification—you can rely on it for consistent, real-world accuracy.


 浙公网安备
33010002000092号
浙公网安备
33010002000092号 浙B2-20120091-4
Comments
No comments yet. Why don't you start the discussion?