
When it comes to homemade frozen desserts, two approaches dominate modern kitchens: traditional ice cream makers and the Ninja Creami, a high-speed blender-based system designed specifically for soft-serve and scoopable treats. While both promise creamy, satisfying results, home chefs often ask whether the difference in texture justifies switching from one method to the other. The answer isn't as simple as “one is better.” Instead, it depends on how each machine works, what ingredients you use, and what kind of mouthfeel you're after.
The core distinction lies not just in equipment but in process. Traditional ice cream makers churn liquid mixtures slowly over time, incorporating air and freezing them gradually. The Ninja Creami, by contrast, flash-freezes pre-frozen bases and then pulverizes them into a smooth, dense consistency using powerful blades. This fundamental divergence shapes every aspect of the final product — especially texture.
How Traditional Ice Cream Makers Work
Conventional ice cream makers operate on the principle of controlled freezing and agitation. Most models either use a pre-frozen bowl or built-in compressor to cool the mixture as it's churned. The churning action serves multiple purposes: it breaks up ice crystals, distributes fat evenly, and incorporates air — a process known as overrun.
Overrun significantly affects texture. Premium commercial ice creams typically have low overrun (20–25%), resulting in a rich, dense bite. Cheap mass-market brands can reach 100% overrun, meaning they double in volume with added air, creating a lighter but less satisfying mouthfeel. Homemade versions made with traditional machines usually fall between 20% and 40%, depending on fat content, sugar levels, and churning duration.
The slow freezing process allows water molecules to form smaller ice crystals, which contributes to creaminess. However, if the mixture isn’t churned long enough or contains too much water, larger crystals can develop, leading to graininess. Emulsifiers like egg yolks or stabilizers such as corn syrup help mitigate this by binding water and fat more effectively.
The Ninja Creami Method: Frozen Blending Technology
The Ninja Creami takes a radically different approach. Instead of churning during freezing, users pour their base into a专用 container, freeze it solid for at least 24 hours, then insert it into the appliance for a high-speed blending cycle. The sharp blades spin at thousands of RPMs, shattering ice crystals and emulsifying fats and liquids into a smooth, gelato-like consistency.
Because there’s no gradual freezing phase, the Ninja Creami relies entirely on the initial formulation of the base and the mechanical force of its blades. It doesn’t introduce significant air, so the resulting dessert is notably denser than most traditionally churned ice creams. This lack of overrun gives it a richer, more intense flavor profile — similar to artisanal gelato or Philadelphia-style ice cream.
Another advantage of the Ninja Creami is its versatility. With programmable settings like “Ice Cream,” “Sorbet,” “Milkshake,” and “Fluff,” users can fine-tune texture outcomes without changing recipes drastically. For instance, selecting “Fluff” adds extra aeration, mimicking soft serve, while “Ice Cream” prioritizes density and smoothness.
“Texture in frozen desserts is a balance of temperature, fat, sugar, and air. The Ninja Creami excels at controlling the last variable through mechanical precision rather than thermal manipulation.” — Dr. Lena Torres, Food Scientist & Dairy Technologist
Direct Texture Comparison: Side-by-Side Analysis
To understand how these two methods differ in practice, consider a side-by-side test using identical custard bases made with heavy cream, whole milk, sugar, and vanilla extract.
| Feature | Traditional Ice Cream Maker | Ninja Creami |
|---|---|---|
| Air Incorporation (Overrun) | Moderate (25–35%) | Low (<10%) |
| Density | Medium – light | High – very dense |
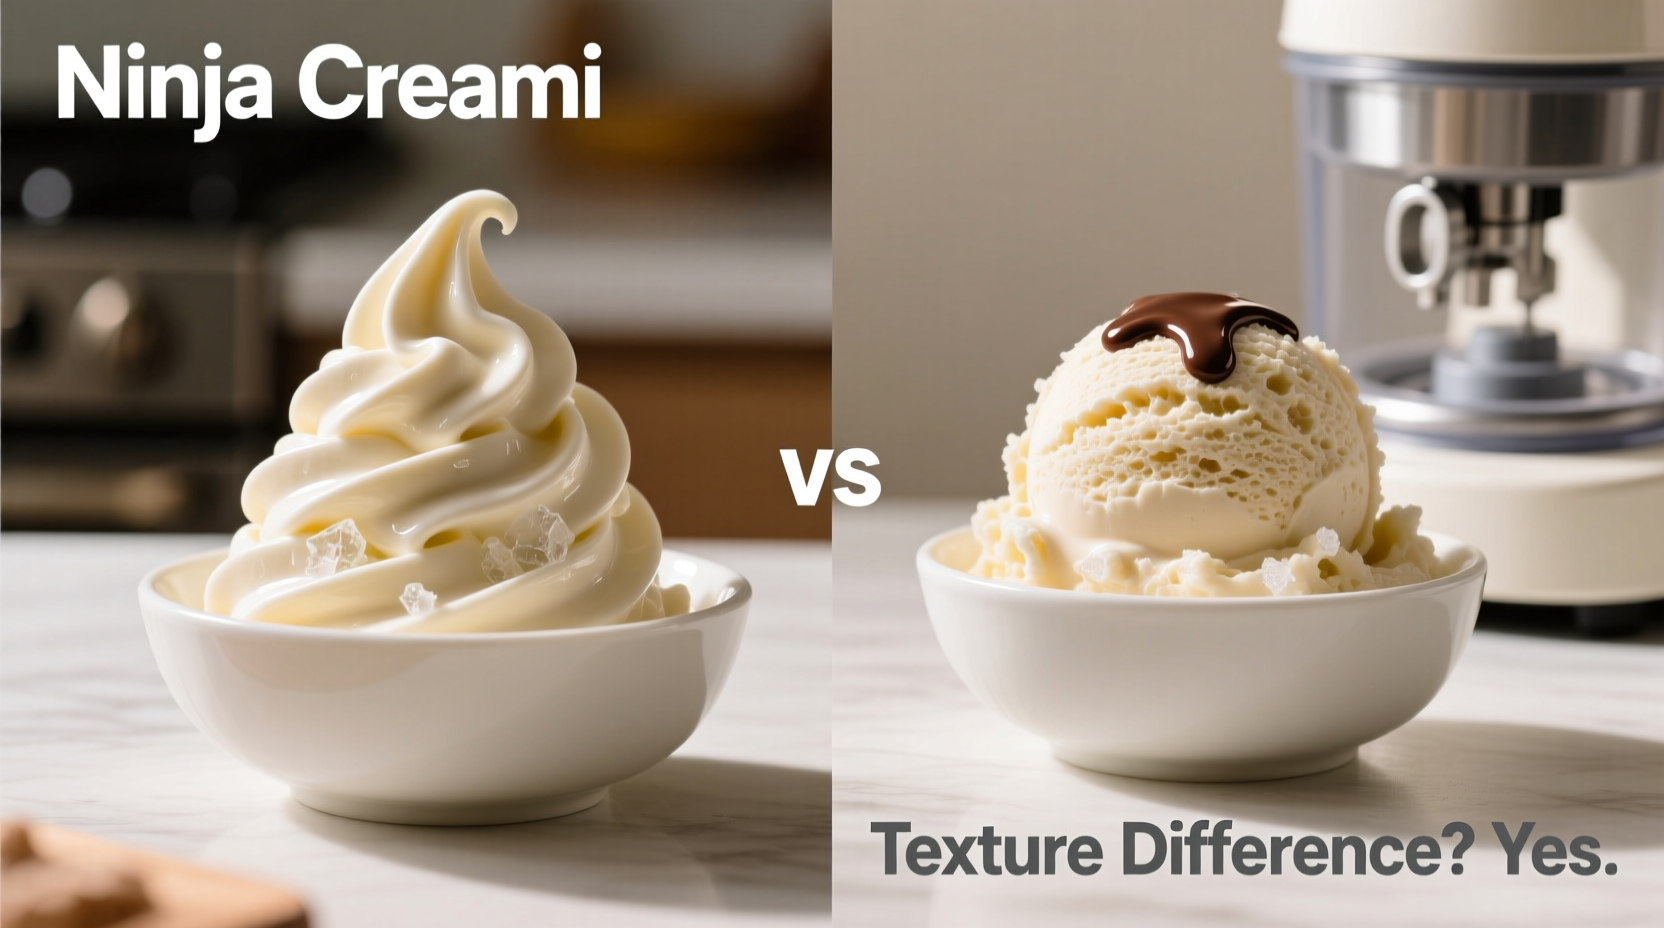
| Initial Mouthfeel | Smooth, slightly airy | Rich, velvety, almost chewy |
| Ice Crystal Formation | Small, evenly distributed | Minimized via blade action |
| After Freezing Hardening | Holds shape well; scoops easily when tempered | Becomes extremely firm; requires 5–10 min tempering |
| Flavor Intensity | Balanced, slightly diluted by air | Bold, concentrated |
The data shows that while both produce creamy results, the sensory experience diverges significantly. The traditional method yields a familiar, nostalgic texture — fluffy yet stable, ideal for sundaes or cones. The Ninja Creami delivers something closer to premium Italian gelato: compact, luxurious, and intensely flavored.
Real Example: Chocolate Ice Cream Test Run
A home cook in Portland conducted a blind tasting with six friends using identical chocolate custard bases. One batch was churned in a Cuisinart compressor ice cream maker, the other prepared in a Ninja Creami. All participants preferred the Ninja Creami version for its richness and silkiness, describing it as “more decadent” and “like eating frozen fudge.” However, three noted that it required longer to soften before scooping and felt “too heavy” in large portions.
In contrast, the traditionally made version was praised for being “easier to eat” and “more refreshing,” though some found it “a bit icy near the edges.” This illustrates a key insight: preference depends on context. For small indulgences, density wins. For family servings or casual desserts, lightness may be preferable.
Key Factors That Influence Texture Beyond Equipment
While the machine plays a major role, several other variables impact the final texture:
- Fat Content: Higher fat (from cream, egg yolks, or full-fat coconut milk) creates smoother, richer textures in both systems.
- Sugar Levels: Sugar lowers the freezing point, preventing hardness. Too little leads to brick-like results; too much causes mushiness.
- Stabilizers: Ingredients like xanthan gum, corn syrup, or tapioca starch inhibit ice crystal growth and enhance shelf stability.
- Freezing Speed: Rapid freezing (as in deep freezers or blast chillers) produces smaller ice crystals — beneficial for Ninja Creami prep.
- Base Temperature Before Processing: A fully frozen, uniformly cold base ensures optimal blending in the Ninja Creami.
Step-by-Step Guide: Maximizing Texture in Each System
Follow these steps to get the best possible texture from either method:
- Start with a well-balanced base: Use a ratio of about 2 parts cream to 1 part milk, plus sugar (15–20% of total weight), and optional stabilizers.
- Heat and age the mixture (for custards): Heat to 170°F (77°C), hold for 20 minutes, then refrigerate overnight. This improves emulsion and reduces iciness.
- For traditional machines: Pre-chill the base to below 40°F (4°C). Churn until thick and creamy — usually 20–30 minutes.
- Transfer and harden: Move to an airtight container, press plastic wrap on the surface, and freeze for 4+ hours.
- For Ninja Creami: Pour base into Ninja pint container, leaving ½ inch headspace. Freeze flat for at least 24 hours.
- Select correct program: Use “Ice Cream” for standard density, “Low Sugar” for keto-friendly bases, or “Sorbet” for fruit-only mixes.
- Scrape and re-spin if needed: If chunks remain, scrape sides and run a second “Re-Spin” cycle.
- Serve properly: Let Ninja Creami creations sit at room temperature for 5–10 minutes before scooping.
Checklist: Optimizing Your Frozen Dessert Results
- ✅ Use fresh, high-fat dairy or plant-based alternatives
- ✅ Age custard bases overnight for smoother texture
- ✅ Avoid opening the freezer during churning or freezing
- ✅ Label containers with date and flavor
- ✅ Clean Ninja Creami blades immediately after use to prevent residue buildup
- ✅ Experiment with stabilizers: ¼ tsp xanthan gum per quart works wonders
- ✅ Store all finished products with parchment pressed on top to prevent freezer burn
Frequently Asked Questions
Can I make sorbet in both machines?
Yes, but results vary. Traditional ice cream makers handle fruit purees well, especially with added sugar or liqueur to manage texture. The Ninja Creami performs exceptionally with sorbet due to its ability to crush ice efficiently — just use the dedicated “Sorbet” setting for optimal fluffiness.
Why does my Ninja Creami ice cream turn rock-hard?
This is normal. Without added air or chemical stabilizers, the dessert freezes very densely. Allow 5–10 minutes at room temperature before serving. Adding 1 tbsp of alcohol or corn syrup per cup of liquid in the base can also improve scoopability.
Is the Ninja Creami worth it if I already own an ice cream maker?
It depends on your goals. If you want ultra-dense, restaurant-quality textures and enjoy experimenting with keto, vegan, or protein-based desserts, the Ninja Creami offers unique advantages. But if you prefer classic soft-serve style or make large batches regularly, a traditional machine remains more practical.
Final Thoughts: Texture Isn’t Everything — But It Matters
The texture difference between the Ninja Creami and a regular ice cream maker is real, measurable, and meaningful. The Ninja Creami produces a denser, more concentrated treat with minimal air and exceptional smoothness — ideal for those who value intensity over volume. Traditional machines deliver a broader range of textures, from airy soft serve to dense gelato, thanks to adjustable churning times and temperatures.
Ultimately, neither is objectively superior. They cater to different preferences and lifestyles. The Ninja Creami shines in convenience, customization, and consistency for single-serving delights. Traditional machines offer greater batch flexibility and a hands-on experience that many enthusiasts cherish.
If you're serious about homemade frozen desserts, consider owning both. Use the ice cream maker for family gatherings and classic recipes, and reserve the Ninja Creami for gourmet experiments, dietary-specific treats, or when only the richest, creamiest bite will do.


 浙公网安备
33010002000092号
浙公网安备
33010002000092号 浙B2-20120091-4
Comments
No comments yet. Why don't you start the discussion?