
Whiteboards are essential in classrooms, offices, and homes for brainstorming, teaching, and planning. But one accidental swipe of a permanent marker can turn a useful tool into an eyesore. Unlike dry-erase ink, permanent marker doesn’t wipe away with a standard eraser. The good news? You don’t need specialized cleaners or expensive tools to fix the mistake. With a few simple household items and proven techniques, you can restore your whiteboard to its original condition—quickly and safely.
The key is acting fast and choosing the right method based on what’s available and the type of whiteboard surface. Whether it's a glossy melamine board in a conference room or a porcelain panel at home, these solutions work across most materials when applied correctly.
Why Permanent Marker Sticks—and How to Break the Bond
Permanent markers use alcohol-based ink infused with pigments and resins designed to adhere strongly to surfaces. This makes them ideal for labeling and long-term writing but problematic when used on non-porous surfaces like whiteboards. The ink dries quickly and forms a durable film that resists water and light friction.
Dry-erase markers, by contrast, use non-polar solvents and leave behind a layer that sits on top of the surface, making it easy to wipe off. When a permanent mark is made, it bonds tightly at a microscopic level. However, many solvents can dissolve this bond without damaging the whiteboard if used properly.
The trick lies in using a substance that breaks down the resin in permanent ink while being gentle enough not to scratch or etch the board. That’s where everyday items like rubbing alcohol, hand sanitizer, or even dry-erase markers themselves come into play.
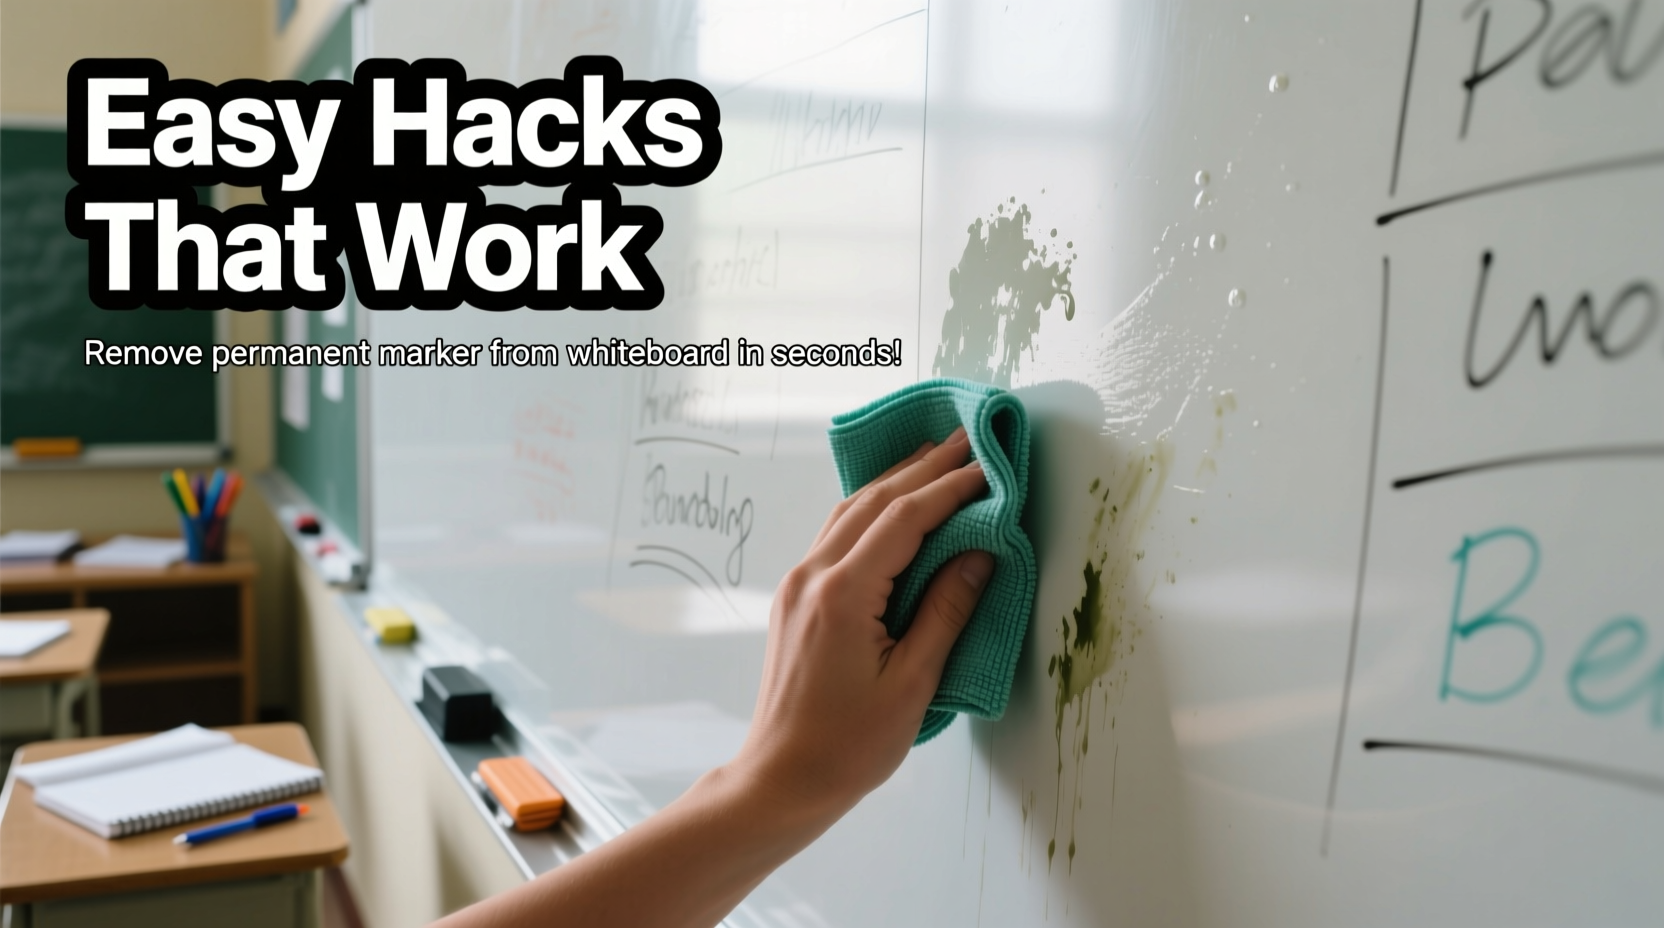
Step-by-Step Guide: Removing Permanent Marker Safely
Follow this systematic approach to eliminate permanent marker stains efficiently and protect your whiteboard’s surface.
- Act quickly – Fresh ink is easier to remove than dried, set-in stains.
- Test in a corner – Before applying any solution broadly, test it on a small, inconspicuous area.
- Cover the stain with a dry-erase marker – Trace over the permanent mark completely. Let sit for 10–15 seconds.
- Wipe with a soft cloth or eraser – Use circular motions to lift the combined ink layers.
- If residue remains, apply isopropyl alcohol (70% or higher) – Dampen a cotton ball or microfiber cloth and gently rub the spot.
- Rinse with a damp cloth – Wipe the area with water to remove any solvent residue.
- Dry thoroughly – Prevent streaks and water spots by drying with a lint-free towel.
This method leverages the principle of \"like dissolves like\"—the solvent in dry-erase ink temporarily lifts the permanent ink so both can be wiped away together. It’s one of the safest and most accessible fixes, especially in office or classroom settings where alcohol may not be readily available.
Top 5 Household Hacks That Actually Work
You likely already have something in your home capable of removing permanent marker from a whiteboard. Here are five reliable methods backed by real-world testing:
- Dry-Erase Marker Method: As mentioned, drawing over the stain with a dry-erase marker allows the alcohol in its ink to penetrate and loosen the permanent ink. Works best on fresh marks.
- Isopropyl Alcohol (Rubbing Alcohol): A powerful yet safe solvent. Apply with a cloth, let sit for 30 seconds, then wipe clean. Effective on older, stubborn stains.
- Hand Sanitizer: Most contain 60–70% alcohol plus gel thickeners that help the solution cling to vertical surfaces. Squeeze a small amount onto the stain, wait a minute, then wipe.
- Whiteboard Cleaner Spray: Commercial sprays often contain denatured alcohol and surfactants designed specifically for this purpose. Spray, wait, wipe. Ideal for routine maintenance.
- Hairspray (Alcohol-Based): Older formulations work best. Spray directly onto the stain and wipe immediately. Avoid overspray, as some hairsprays contain polymers that may leave residue.
These methods vary slightly in speed and availability, but all rely on alcohol-based solvents to break down the permanent ink’s molecular structure. For best results, combine immediate action with gentle wiping pressure.
Do’s and Don’ts: Protect Your Whiteboard While Cleaning
Mistakes during cleanup can lead to scratches, ghosting, or permanent surface damage. Follow this guide to avoid common pitfalls.
| Do | Don't |
|---|---|
| Use soft cloths (microfiber, cotton) for wiping | Use paper towels or rough sponges that can scratch |
| Test solvents in a small area first | Apply strong chemicals like acetone or bleach directly |
| Clean in circular motions for better lift | Scrub aggressively—this can wear down the coating |
| Store markers separately—color-code caps to prevent mix-ups | Leave permanent and dry-erase markers in the same tray |
| Wipe the entire board after deep cleaning to maintain uniform finish | Leave chemical residues sitting on the surface |
Porcelain whiteboards are more resistant to solvents but still vulnerable to abrasives. Melamine boards, commonly found in budget-friendly models, are particularly sensitive and can degrade with repeated exposure to alcohol or improper wiping tools.
“Many people reach for nail polish remover when they see permanent marker, not realizing it often contains acetone—which can strip the protective layer of a whiteboard in seconds.” — Dr. Lena Peterson, Materials Scientist at CleanSurface Labs
Real Example: How a Teacher Fixed a Classroom Crisis
In a middle school science class, a student accidentally used a black permanent marker on the main instructional whiteboard during a group activity. By the end of the day, the bold “H₂O → H⁺ + OH⁻” equation was still visible despite multiple erasing attempts. The teacher, Ms. Rivera, couldn’t replace the board immediately and needed it for presentations the next morning.
She tried the dry-erase marker trick first—drawing over the entire equation and wiping. Some ink lifted, but smudges remained. She then applied 70% isopropyl alcohol with a microfiber cloth, letting it sit for 45 seconds before gently rubbing in circles. After two rounds, the board was completely clean. To prevent future errors, she labeled her marker tray with colored tape: red for permanent (stored separately), blue for dry-erase.
“It took less than ten minutes,” she said later. “I was surprised how well the alcohol worked. Now I keep a small spray bottle of whiteboard cleaner on hand just in case.”
Frequently Asked Questions
Can I use WD-40 to remove permanent marker from a whiteboard?
While WD-40 can dissolve permanent ink due to its solvent base, it leaves behind an oily residue that attracts dust and grime. It may also degrade certain whiteboard coatings over time. It’s effective in emergencies but not recommended for regular use. If you do use it, follow up with a thorough wipe using isopropyl alcohol and water to remove grease.
Will hand sanitizer damage my whiteboard?
Most alcohol-based hand sanitizers are safe for occasional use. However, those with added fragrances, dyes, or thickening agents (like carbomer) may leave a film if not wiped thoroughly. Use sparingly and always follow with a damp cloth to rinse the surface.
What if the permanent marker has been on the board for months?
Older stains are harder to remove but not impossible. Soak a cloth in 90% isopropyl alcohol, place it over the stain for 2–3 minutes to allow penetration, then gently rub. Repeat if necessary. For large areas, commercial whiteboard restorers can help rejuvenate the surface after stain removal.
Prevention Tips to Avoid Future Accidents
The easiest way to deal with permanent marker mistakes is to prevent them altogether. Consider these proactive strategies:
- Label markers clearly – Use color-coded caps or labels: red for permanent, blue or green for dry-erase.
- Store permanent markers separately – Keep them in a desk drawer or different container to avoid confusion.
- Educate users – In shared spaces, post a small sign: “Dry-Erase Only” with a visual example.
- Conduct monthly board maintenance – Deep clean with a proper whiteboard cleaner to prevent ghosting and buildup.
- Upgrade to magnetic glass boards – These are highly resistant to staining and easier to clean, though more expensive.
In environments with frequent turnover—like schools or co-working spaces—clear labeling and user awareness significantly reduce accidents. One company reduced whiteboard incidents by 80% simply by switching to brightly colored dry-erase markers and storing permanent ones in locked supply cabinets.
Final Checklist: Quick Action Plan
Keep this checklist handy for fast response when disaster strikes:
- ✅ Assess the stain: Is it fresh or dried?
- ✅ Grab a dry-erase marker and trace over the permanent ink
- ✅ Wipe immediately with a soft eraser or cloth
- ✅ If residue remains, apply isopropyl alcohol or hand sanitizer
- ✅ Gently rub in circular motions until clean
- ✅ Wipe with a damp cloth, then dry completely
- ✅ Inspect for leftover marks and repeat if needed
- ✅ Label or relocate permanent markers to prevent recurrence
Conclusion: Stay Prepared, Save Your Board
Accidents happen—even the most organized classrooms and offices face the dreaded permanent marker mishap. But with the right knowledge and a few common supplies, you can reverse the damage in minutes. The dry-erase overwriting trick alone solves most cases, while alcohol-based solutions handle tougher stains safely.
Understanding your whiteboard’s material and responding promptly makes all the difference. Combine effective cleaning techniques with smart prevention habits, and you’ll keep your board looking crisp and professional for years.


 浙公网安备
33010002000092号
浙公网安备
33010002000092号 浙B2-20120091-4
Comments
No comments yet. Why don't you start the discussion?