
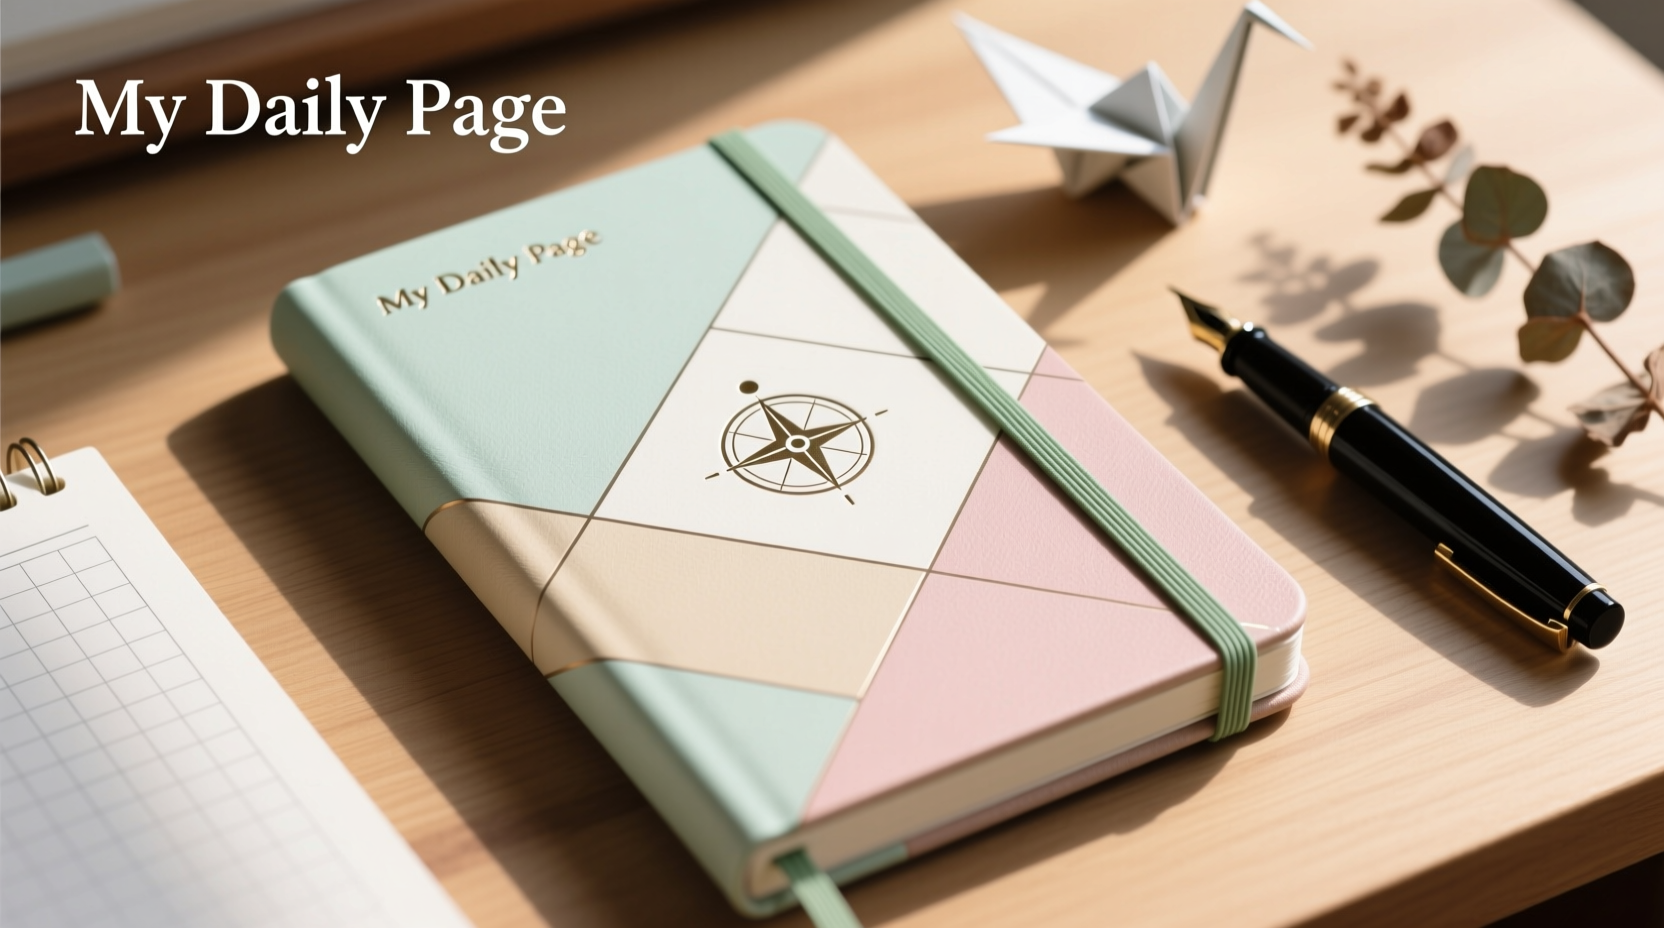
The A6 notebook—compact, portable, and unobtrusive—is one of the most underrated tools in personal productivity. Measuring just 4.1 x 5.8 inches, it fits in pockets, bags, and coat linings without adding bulk. But its small size doesn’t mean it should be generic or plain. In fact, personalizing an A6 notebook transforms it from a passive notepad into an extension of your personality, habits, and goals. Whether you're jotting down ideas, tracking habits, or sketching concepts on the go, a personalized notebook becomes more meaningful—and more likely to be used consistently.
Personalization isn’t about elaborate artistry or expensive supplies. It’s about making the notebook uniquely yours through thoughtful, functional touches that reflect how you work and live. The best customizations are both practical and expressive, blending form and function seamlessly. With a few smart strategies, even the simplest A6 notebook can become a cherished daily companion.
Create a Functional Layout System
Before diving into aesthetics, establish a structure that supports your actual usage. Most people underestimate how much layout impacts usability—especially in a small space. Since A6 pages offer limited real estate, every inch must serve a purpose.
Divide your notebook into sections based on frequency and function: quick notes, to-dos, habit trackers, meeting summaries, or inspiration logs. Use colored tabs, divider pages, or corner dots to mark transitions between sections. For example, a red dot in the top right corner could signal “urgent tasks,” while blue indicates “ideas.” This color-coding system allows instant navigation without flipping through pages.
Consider adding a table of contents at the front, updated weekly. List page numbers alongside themes like “Client Notes – May 3” or “Recipe Ideas.” This turns your notebook into a searchable archive, far beyond a disposable scratchpad.
Use Minimalist Design for Maximum Impact
Styling doesn’t require artistic talent. In fact, restraint often enhances clarity. Focus on clean, consistent design elements that elevate readability and emotional connection.
- Font consistency: Choose one handwriting style or pen type (e.g., fine liner, gel ink) for headers to create visual rhythm.
- Margin discipline: Leave narrow margins to maximize writing space, but avoid crowding text against edges.
- Accent lines: Add a single decorative line beneath headings using metallic pens or double underline techniques.
- Signature spot: Reserve the bottom corner of each page for a tiny icon, date stamp, or initials—a subtle signature that builds continuity.
Minimalism also applies to materials. A single accent pen—like a gold gel ink for titles—adds elegance without clutter. Avoid over-decorating; the goal is a notebook you’ll actually use, not one too precious to write in.
Step-by-Step Guide to Personalizing Your Notebook
Follow this five-step process to build a personalized A6 notebook that evolves with your routine:
- Assess your primary use case: Is it for meetings? Creative brainstorming? Daily planning? Define the core purpose before decorating.
- Select three key sections: Allocate pages accordingly—e.g., 10 for tasks, 5 for ideas, 5 for contacts. Leave room to expand.
- Add structural cues: Number pages, create a quick-reference index, and apply color-coded dots for fast access.
- Choose a theme: Pick a motif—geometric shapes, nature sketches, or abstract patterns—and repeat it lightly on title pages.
- Test and refine: Use the notebook for one week. Note what works and adjust spacing, layout, or symbols as needed.
This method ensures customization remains rooted in utility. Many people decorate first and organize later, leading to unused spreads and frustration. Starting functionally keeps the notebook relevant and sustainable.
Do’s and Don’ts of Notebook Personalization
| Do’s | Don’ts |
|---|---|
| Use pencil first when designing layouts | Glue heavy embellishments that warp pages |
| Label tabs clearly with short keywords | Cover every page with stickers or drawings |
| Carry a matching pen clip or loop | Use bleeding inks on thin paper |
| Update the index weekly | Ignore smudging—test pens beforehand |
| Keep a “key” page explaining symbols | Assume you’ll remember coding systems long-term |
A well-maintained A6 notebook gains value over time. Each entry builds context, turning isolated notes into a narrative of growth, decisions, and creativity. Respecting the physical limits of the format ensures longevity and ease of use.
Real Example: How a Freelancer Transformed Her Workflow
Sophie, a freelance copywriter based in Bristol, struggled with scattered notes across digital apps and napkins. She bought an A6 notebook on a whim, intending to use it for client calls. Initially, she wrote freely—no structure, no system. Within two weeks, she couldn’t find past project details and abandoned it.
Then she applied a minimalist personalization approach: she divided the book into three sections—Clients, Ideas, and Admin—with washi tape dividers. She used a black fineliner for body text and a copper pen for headings. On the inside back cover, she added a contact reference list. Each Monday, she spent five minutes updating the index.
Within a month, Sophie found herself reaching for the notebook first, even over her phone. The tactile experience and visual consistency made it feel reliable. More importantly, seeing her progress in one compact volume increased her sense of control. “It’s not just a notebook anymore,” she said. “It’s my work diary, idea vault, and peace of mind—all in my jacket pocket.”
“Small tools, when thoughtfully customized, can have an outsized impact on focus and follow-through.” — Dr. Lena Torres, Productivity Researcher at Cardiff University
Essential Checklist for Personalizing Your A6 Notebook
- Define the notebook’s main purpose (planning, journaling, note-taking)
- Divide into 2–4 functional sections with clear labels
- Add a numbered index on the first page
- Choose 1–2 accent colors or pens for consistency
- Include a symbol key if using codes or icons
- Attach a pen via elastic band or clip
- Review and adjust layout after one week of use
Frequently Asked Questions
Can I personalize a notebook with thin or low-quality paper?
Yes, but adapt your tools. Avoid wet media like watercolor or fountain inks that bleed. Instead, use fine liners, pencils, or gel pens with quick-dry formulas. Test on an inside page first to prevent damage.
How do I keep my notebook looking clean over time?
Handle it with clean hands, store it in a protective sleeve, and avoid eating over it. Wipe the cover gently with a dry cloth weekly. If using stickers, opt for repositionable ones to reduce residue.
What if my needs change mid-notebook?
Flexibility is key. Use removable dividers or designate a “miscellaneous” section for evolving topics. You can always start a new notebook later—personalization isn’t permanent, it’s iterative.
Make It Yours, Make It Work
A personalized A6 notebook isn’t about perfection—it’s about intention. The most effective notebooks aren’t the prettiest, but the ones that get used daily because they fit seamlessly into real life. By combining smart structure with subtle style, you create a tool that feels both practical and personal.
Start small: pick one improvement from this guide and apply it today. Redesign a single page. Add a header system. Create a mini index. These tiny acts accumulate into lasting habits. Once your notebook reflects your rhythm, it stops being just another stationery item and becomes a trusted partner in your daily journey.


 浙公网安备
33010002000092号
浙公网安备
33010002000092号 浙B2-20120091-4
Comments
No comments yet. Why don't you start the discussion?