
Korean braided keychains, known as jogakbo or decorative knotwork inspired by traditional maedeup, have gained global popularity for their intricate beauty and cultural significance. These small pendants are more than accessories—they represent patience, balance, and artistry. With just a few materials and consistent practice, anyone can create elegant braided keychains at home. This guide walks through the entire process using beginner-friendly methods, from selecting thread to finishing your first piece.
Gathering Your Materials
The foundation of a successful Korean braided keychain lies in choosing the right supplies. Unlike Western macramé, which often uses thick cords, Korean braiding relies on thin, smooth threads that glide easily during weaving. The most commonly used material is Korean braiding silk, also known as sangjung, but affordable alternatives work well for beginners.
| Material | Recommended Type | Why It Works |
|---|---|---|
| Thread | Korean braiding silk (sangjung) or embroidery floss | Smooth texture prevents tangling; holds knots tightly |
| Keyring or Clasp | Small metal ring (15–20mm) | Durable and widely available in craft stores |
| Beeswax or Thread Conditioner | Natural beeswax block | Reduces fraying and strengthens thread |
| Clip or Pin | Clothespin or binder clip | Holds braid steady while working |
| Scissors | Sharp precision scissors | Ensures clean cuts without frayed ends |
Understanding Basic Braiding Techniques
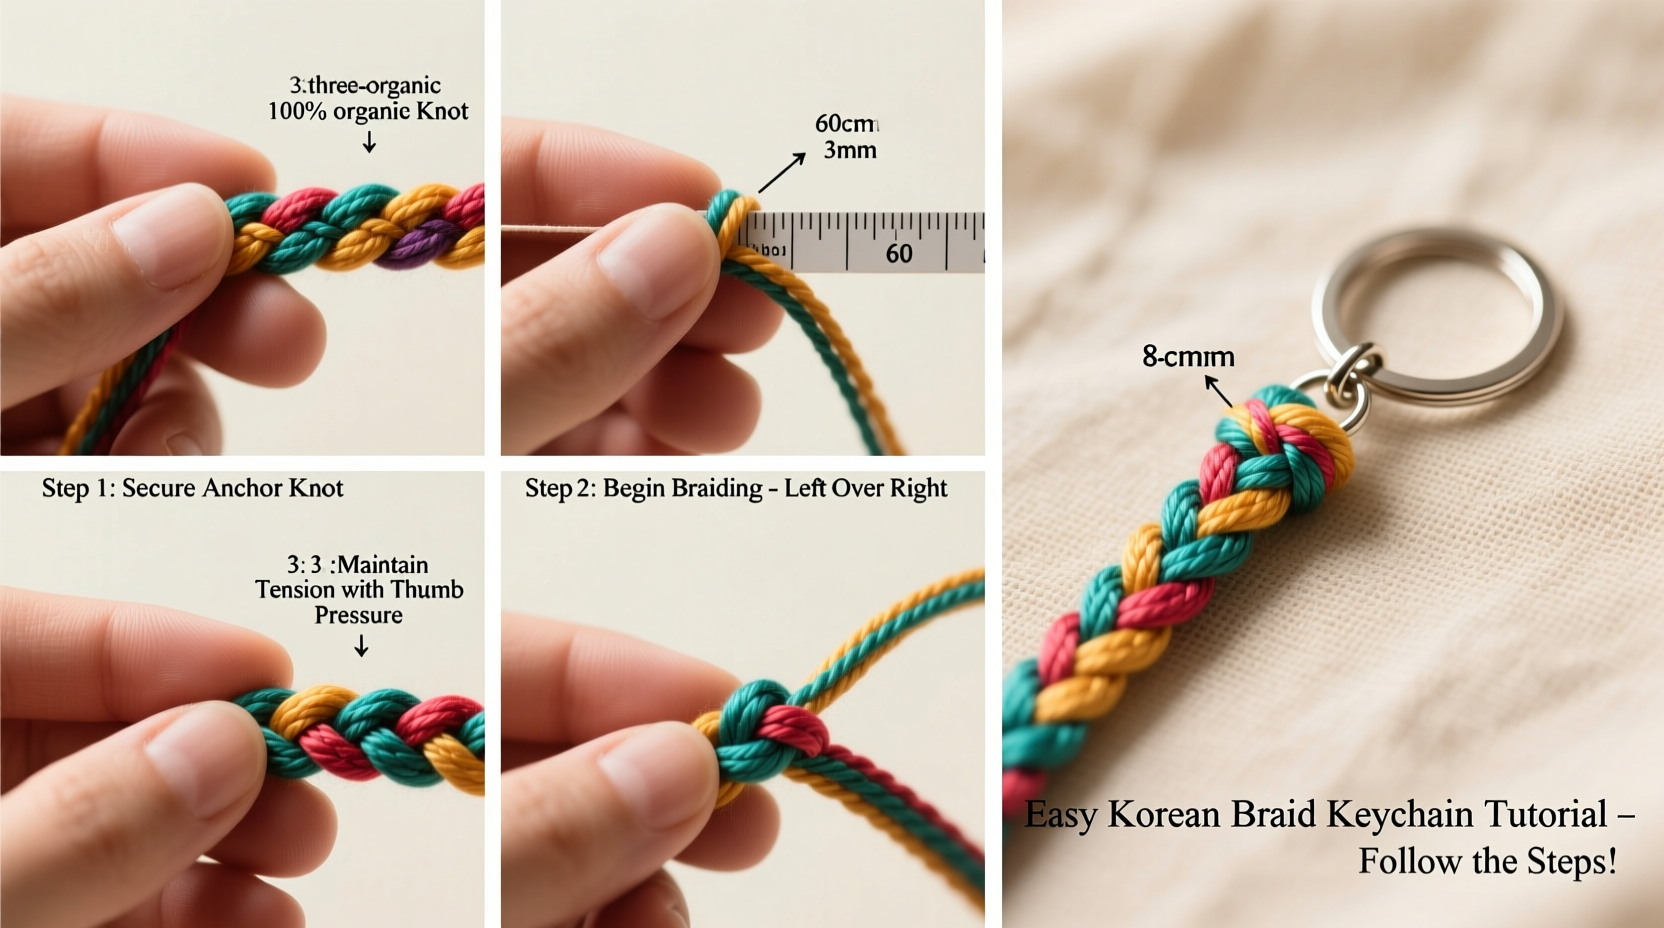
Korean braids typically use flat or round braiding patterns derived from ancient knotting traditions. The most accessible method for beginners is the **4-strand flat braid**, which creates a clean, symmetrical band ideal for keychains. Mastery comes not from complexity, but consistency in tension and rhythm.
Each strand is labeled for clarity: Left Outer (LO), Left Inner (LI), Right Inner (RI), Right Outer (RO). The braid progresses by crossing strands over the center in a repeating sequence. Maintaining even tension ensures the braid lies flat and avoids twisting.
“Precision in hand movement and consistent tension define authentic Korean braiding. It’s not about speed—it’s about mindfulness.” — Ji-hyun Park, Traditional Craft Instructor at Seoul Arts & Crafts Guild
Step-by-Step Guide to the 4-Strand Flat Braid
- Cut four strands of equal length (typically 60–70 cm for a standard keychain).
- Tie them together at one end with a secure knot and attach the knot to a fixed surface using a clip or tape.
- Arrange the strands in order: LO, LI, RI, RO (left to right).
- Cross LO over LI, so LO becomes the new LI.
- Cross RO over RI, so RO becomes the new RI.
- Cross the new LI (original LO) over the current RI, effectively moving it to the right side.
- Cross the new RI (original RO) over the left group, bringing it to the left.
- Repeat steps 4–7 until the braid reaches 8–10 cm in length.
This alternating crossover pattern forms a tight, woven ribbon. Practice this motion slowly at first—speed will come naturally after 10–15 minutes of repetition.
Incorporating Beads and Decorative Elements
To elevate your keychain from simple braid to wearable art, integrate beads or charms mid-braid. Small glass, wood, or metal beads with large enough holes can be threaded onto the inner strands before continuing the weave.
- Pause braiding when you reach the desired height (e.g., 4 cm).
- Select two opposite strands (usually LI and RI) and thread a bead onto both.
- Resume the braid pattern—the bead will be encased symmetrically within the structure.
- For multiple beads, space them evenly every 2–3 cm.
Real Example: Creating a Gift for a Friend
Sophie, a university student in Busan, wanted to make personalized graduation gifts for her three closest friends. She chose soft pastel threads—lavender, mint, and blush pink—and added a single pearl bead to each keychain at the midpoint. By following the 4-strand braid technique daily for a week, she improved her speed and consistency. Each finished piece measured 9 cm in length and was attached to a gold-toned keyring engraved with initials. Her friends were moved by the thoughtfulness and craftsmanship, and two later asked for tutorials to make their own.
This example shows how even novice crafters can produce meaningful, polished items with minimal tools and focused effort.
Finishing and Securing Your Keychain
A beautifully braided cord deserves a clean, durable finish. After reaching the desired length, lock the braid in place and attach it securely to the keyring.
- Stop braiding when the main section measures 8–12 cm.
- Tie a tight overhand knot at the end to prevent unraveling.
- Trim excess thread closely, leaving 3–5 mm.
- Melt the cut ends lightly with a match or lighter (for synthetic threads only) to seal them. Do not burn natural silk.
- Slide the starting knot onto the keyring and secure it with a drop of fabric glue or clear nail polish.
- Let dry completely before handling.
For a refined look, some artisans wrap the top inch of the braid with a thinner thread in a contrasting color, creating a subtle accent band before attaching the ring.
Frequently Asked Questions
How long does it take to make a Korean braided keychain?
For beginners, expect 30–45 minutes including setup and finishing. With practice, experienced braiders complete one in under 15 minutes.
Can I wash a braided keychain?
Spot clean only. Submerging silk or waxed thread may weaken the fibers. Use a damp cloth to gently wipe dirt, then air dry flat.
What if my braid twists or becomes uneven?
Uneven tension is the most common issue. Try anchoring the base more securely and relaxing your grip. If the braid spirals, undo the last few inches and re-braid slowly, ensuring each crossover is flat.
Essential Checklist Before You Begin
- Preparation Checklist:
- Cut 4 equal-length threads (60–70 cm)
- Wax all threads lightly
- Secure starting knot to clipboard or table edge
- Keep scissors and keyring within reach
- Practice the crossover pattern 2–3 times on scrap thread
Conclusion: Start Braiding, One Strand at a Time
Crafting a Korean braided keychain is more than a DIY project—it’s a meditative practice that connects you to centuries of textile heritage. The rhythmic motion of crossing strands fosters focus, while the tangible result brings quiet pride. Whether you're making one for yourself or gifting it to someone special, each braid carries intention and care.
You don’t need years of experience to begin. With the right materials, attention to tension, and a willingness to learn from small mistakes, your first keychain will be a milestone. As your hands grow accustomed to the flow, you’ll find yourself experimenting with colors, beads, and more complex patterns.


 浙公网安备
33010002000092号
浙公网安备
33010002000092号 浙B2-20120091-4
Comments
No comments yet. Why don't you start the discussion?