
Setting up a Google Play Store account is essential whether you're a developer looking to publish apps or a user wanting full access to Android’s official app ecosystem. While the process may seem straightforward, many overlook critical steps that affect long-term usability, security, and monetization potential. This guide walks you through each phase—from registration to ongoing management—with actionable insights, best practices, and real-world considerations.
Understanding the Two Types of Google Play Accounts
Before diving into setup, it's important to distinguish between personal and developer accounts:
- Personal Google Account: Used to download apps, games, movies, and books from the Google Play Store. This is linked to your standard Gmail address.
- Google Play Developer Account: Required if you want to publish apps. It involves a one-time $25 registration fee and grants access to the Google Play Console.
Both rely on a Google Account as a foundation, but only developers need the paid enrollment. For clarity, this guide focuses primarily on setting up and managing a developer account, while also covering key aspects of personal usage.
Why a Developer Account Matters
Having a developer account unlocks tools for app distribution, analytics, in-app purchases, and user feedback. According to Google, over 3 million apps are available on the Play Store, making proper account setup crucial for visibility and compliance.
“Establishing a professional developer identity early ensures smoother scaling and better brand trust.” — Raj Mehta, Mobile Product Strategist at DevGrowth Labs
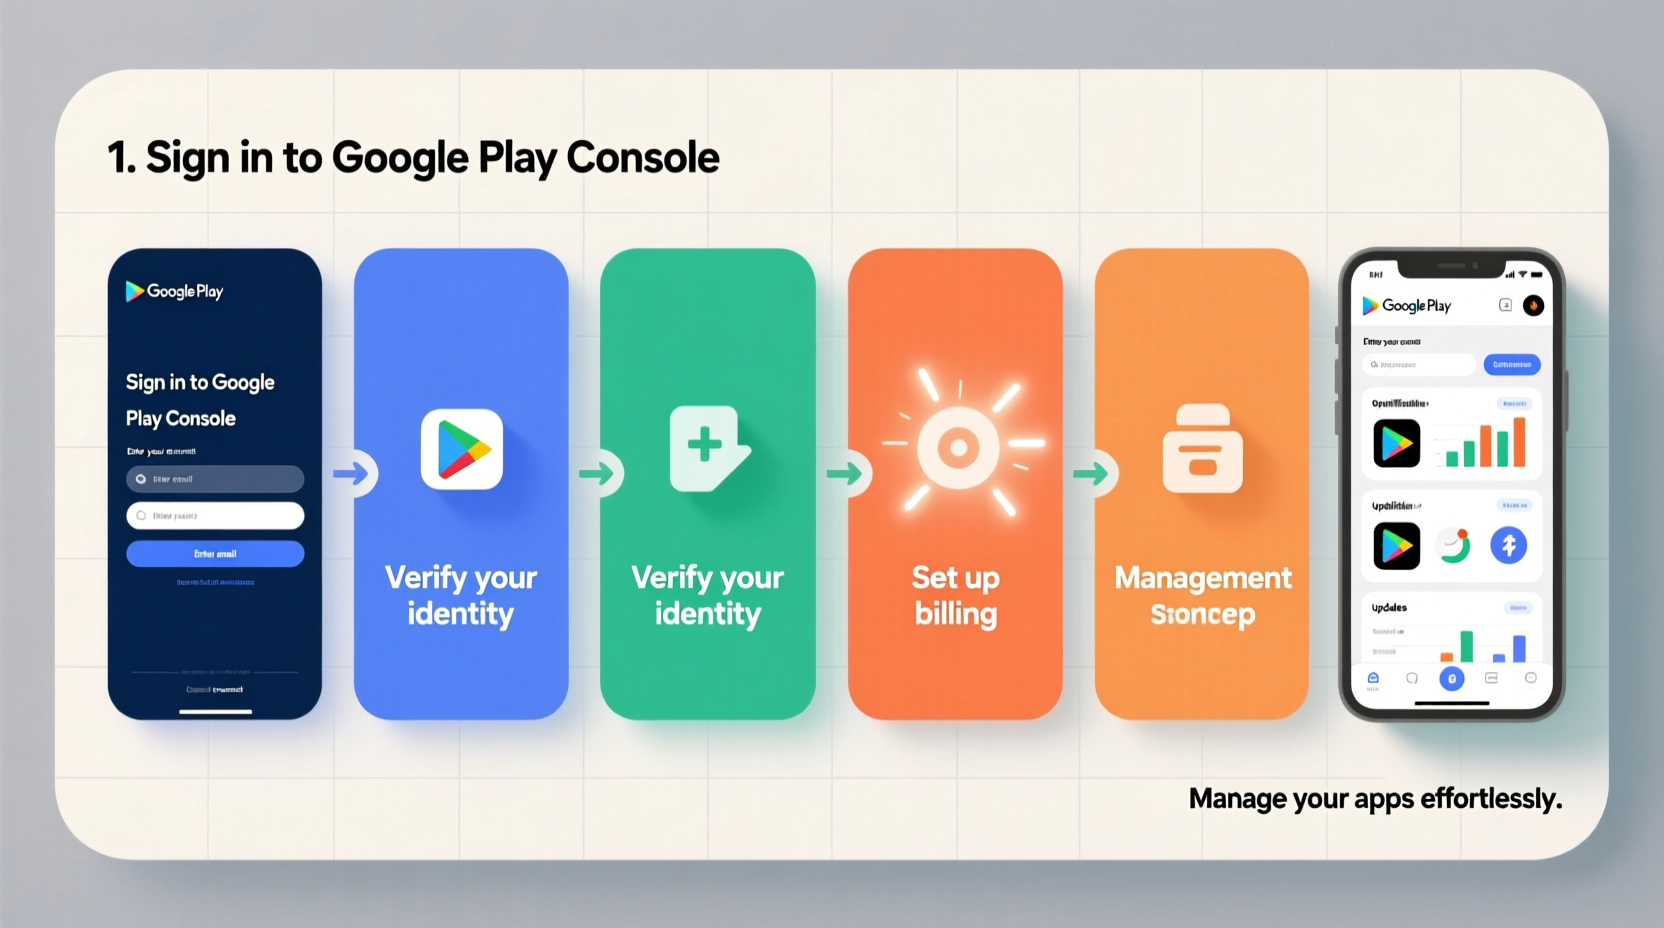
Step-by-Step Guide to Creating a Google Play Developer Account
Follow this structured timeline to register successfully without delays or rejections.
- Prepare Your Google Account: Use an email (preferably @gmail.com) that will remain active long-term. Avoid using temporary or shared emails.
- Visit the Google Play Console: Go to play.google.com/console and sign in with your chosen Google Account.
- Agree to the Developer Distribution Agreement: Read the terms carefully. Violations can lead to suspension.
- Pay the $25 Registration Fee: Use a valid credit or debit card. Google does not accept PayPal or prepaid cards for this payment.
- Verify Your Identity (if prompted): Some regions require additional verification via phone or government ID.
- Wait for Confirmation: Most accounts are approved instantly, though manual reviews may take up to 24 hours.
Essential Settings for Effective Account Management
Once registered, configuring your Play Console properly sets the stage for successful app publishing.
Set Up Your Developer Profile
Navigate to \"Settings\" > \"Developer Info\" to customize:
- Developer Name (visible to users)
- Contact Email (required for policy issues)
- Website (optional but recommended for credibility)
- Privacy Policy URL (mandatory if your app collects user data)
Configure Payment and Monetization
If you plan to sell apps or offer in-app purchases:
- Link a Google Payments profile.
- Add tax and banking information under “Financial Reports.”
- Enable Google Play Billing Library in your app code.
Manage App Signatures and Keystore
Google now manages app signing automatically (recommended). During your first app upload, Google generates a certificate. Keep your upload key secure—losing it means losing update rights unless auto-managed.
| Feature | Recommended Option | Notes |
|---|---|---|
| App Signing | Let Google manage it | Recovery options available if key is lost |
| Pricing Model | Free with in-app purchases | Maximizes reach and revenue potential |
| User Data Policy | Disclose all data collection | Mandatory under Google Play policies |
Checklist: Launch-Ready Developer Account Setup
Use this checklist before publishing your first app:
- ✅ Completed $25 developer registration
- ✅ Verified contact email and support URL
- ✅ Set up Google Payments profile
- ✅ Configured app signing method
- ✅ Created a privacy policy page (hosted online)
- ✅ Reviewed Content Rating questionnaire
- ✅ Enabled two-factor authentication on Google Account
- ✅ Tested app on multiple device types
Real Example: From Setup to First Publication
Sophia, an indie developer from Lisbon, wanted to publish a language-learning app for children. She created a new Gmail account (sophia.apps.dev@gmail.com) specifically for her developer profile. After paying the $25 fee, she spent time filling out accurate developer info and linking her company website.
She uploaded her app using Android Studio and selected “Internal Testing” to share it with five beta testers. Within two days, she fixed crashes reported on older devices. After updating the APK, she submitted for review. The app went live within 18 hours.
By preparing documentation and following best practices upfront, Sophia avoided common rejection reasons like incomplete metadata or missing privacy policies.
Frequently Asked Questions
Can I use my personal Google Account for the Play Store developer program?
Yes, you can use any Google Account, but it's advisable to create a separate one for professional use. This keeps your personal data isolated and makes team collaboration easier if you scale later.
What happens if I lose access to my developer account?
Recovery depends on whether you have recovery emails, phone numbers, and backup codes enabled. Without 2FA backups, regaining access can be difficult. Google does not provide direct customer service for most account issues—support is limited to in-console help articles and community forums.
Is the $25 developer fee refundable?
No, the one-time registration fee is non-refundable, even if your account gets suspended for policy violations. Ensure you understand the Developer Program Policies before paying.
Best Practices for Ongoing Account Maintenance
Your work doesn’t end after publishing. Long-term success requires consistent maintenance.
- Monitor App Reviews: Respond professionally to user feedback. Positive engagement improves retention and ranking.
- Update Regularly: Push updates every few weeks to fix bugs, improve performance, and add features.
- Track Analytics: Use the built-in dashboard in Play Console to monitor installs, uninstalls, ratings, and crash reports.
- Renew Permissions Annually: If your app requests sensitive permissions (e.g., location, camera), confirm they’re still necessary each year.
- Audit Security Settings: Review connected devices and app passwords quarterly.
“Publishing an app is just the beginning. The real challenge is maintaining trust, performance, and compliance over time.” — Lena Torres, Senior Android Engineer at AppSecure Inc.
Conclusion
Creating and managing a Google Play Store account—whether as a user or developer—is a foundational step in today’s mobile-first world. With careful planning, adherence to guidelines, and proactive maintenance, your account can serve as a reliable platform for distribution, growth, and innovation. Take the time now to set it up correctly; the effort pays off in fewer roadblocks, stronger security, and greater user trust down the line.


 浙公网安备
33010002000092号
浙公网安备
33010002000092号 浙B2-20120091-4
Comments
No comments yet. Why don't you start the discussion?