
In the age of smartphones with high-resolution cameras, capturing great photos is easier than ever. But even the best shots can benefit from a little refinement. Whether you're documenting daily life, building a social media presence, or simply preserving memories, knowing how to edit photos directly on your phone unlocks creative control without needing a computer. The key isn’t complex software—it’s understanding which adjustments make the most impact and applying them thoughtfully.
With intuitive apps and built-in tools, anyone can transform an average image into something striking. This guide walks through the fundamentals of mobile photo editing: from selecting the right app to fine-tuning exposure, color, and composition. By following these steps consistently, you’ll develop both technical skill and visual intuition—two essentials for creating compelling images anywhere, anytime.
1. Choose the Right Editing App for Your Needs
Not all photo editors are created equal. While every smartphone comes with a basic gallery editor, dedicated apps offer far more precision and flexibility. The best choice depends on your goals—whether you want quick fixes or deeper control over details.
Here’s a comparison of top mobile editing apps based on accessibility, features, and learning curve:
| App | Best For | Key Features | Learning Curve |
|---|---|---|---|
| Adobe Lightroom (Mobile) | Serious editing with professional-grade tools | Raw editing, selective adjustments, presets, cloud sync | Moderate |
| VSCO | Creative filters and minimalist interface | Film-inspired presets, simple sliders, community feed | Low |
| Snapspeed | Quick social media edits and collages | Text overlays, stickers, templates, multi-photo layouts | Very Low |
| Pixelmator Photo | iOS users wanting powerful AI-assisted tools | One-tap enhancements, layer support, machine learning corrections | Moderate |
| Canva | Design-focused editing (text, graphics, branding) | Templates, fonts, brand kits, background remover | Low to Moderate |
If you’re just starting out, VSCO or the free version of Lightroom offers a balanced mix of simplicity and capability. As you grow more confident, explore advanced features like masking or curve adjustments. Avoid downloading too many apps at once—master one before adding another to your toolkit.
2. Understand the Core Editing Tools
Most mobile editors share a common set of adjustment tools, usually accessible via sliders or taps. Learning what each does—and when to use it—forms the foundation of effective editing.
- Brightness/Exposure: Controls overall lightness. Increase slightly if the image feels too dark; reduce if it’s blown out. Aim for balanced highlights and shadows.
- Contrast: Enhances the difference between lights and darks. A small boost adds depth, but overuse creates harsh edges and loss of detail.
- Highlights & Shadows: Target specific tonal ranges. Lowering highlights recovers detail in bright skies; lifting shadows reveals texture in darker areas without affecting the whole image.
- Whites & Blacks: Fine-tune the extreme ends of the tonal spectrum. Adjusting whites makes the brightest parts crisper; blacks deepen the darkest tones for richer contrast.
- Temperature: Shifts the image between warm (yellow/orange) and cool (blue). Correct unnatural tints or intentionally create mood—warmer for sunsets, cooler for morning light. <6> Tint: Adjusts green-to-magenta balance, often useful for correcting indoor lighting or enhancing skin tones.
- Vibrance & Saturation: Vibrance boosts muted colors gently, protecting skin tones. Saturation increases all colors equally—use sparingly to avoid artificial-looking results.
- Sharpness & Clarity: Sharpness enhances edge definition; clarity increases midtone contrast for added texture. Both should be applied subtly—over-sharpening introduces noise.
- Structure/Texture: Found in apps like Lightroom, this enhances surface detail without amplifying noise. Ideal for architecture, landscapes, or portraits where skin texture matters.
Beginners often make the mistake of pushing sliders too far. A good rule: if the change is immediately obvious, it's probably too strong. Editing should enhance, not overwhelm.
“Editing isn’t about fixing bad photos—it’s about revealing the potential already captured.” — Lena Tran, Mobile Photography Educator
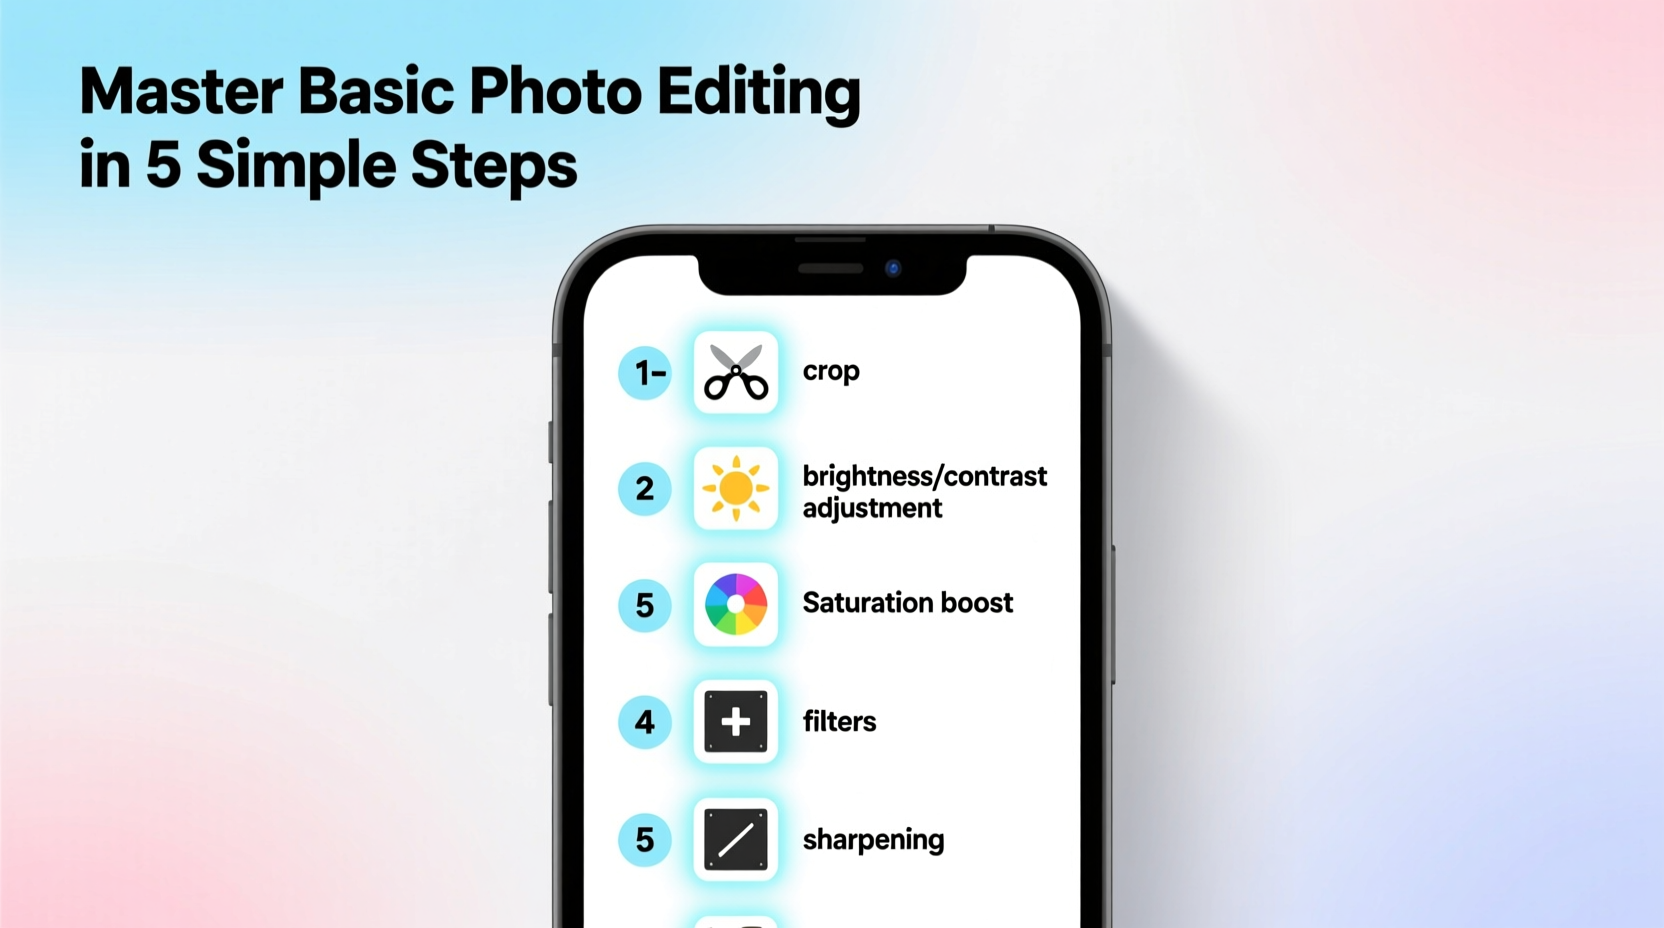
3. Follow a Step-by-Step Editing Workflow
Consistency leads to better results. Using a repeatable workflow ensures you don’t miss important adjustments and helps develop your personal style. Here’s a proven five-step process:
Step 1: Assess the Image
Before touching any tools, study the photo. Ask: Is the subject clear? Are there distracting elements? Does the lighting feel flat or harsh? Decide whether the image needs correction (fixing imbalances) or enhancement (adding style).
Step 2: Fix Exposure and White Balance
Adjust exposure first—get the overall brightness right. Then correct white balance using temperature and tint. Tap the eyedropper tool (if available) on a neutral gray or white area to auto-balance colors accurately.
Step 3: Refine Tonal Range
Use highlights, shadows, whites, and blacks to shape the image. Bring down overly bright skies. Lift shadowed foregrounds. The goal is to preserve detail across all areas without flattening contrast.
Step 4: Adjust Color and Clarity
Boost vibrance slightly (+10 to +20) unless going for a muted look. Apply subtle clarity (+5 to +15) to add dimension. Avoid maxing out saturation unless creating a stylized effect.
Step 5: Crop and Straighten
Apply final composition tweaks. Use grid overlays (rule of thirds, diagonal, golden spiral) to reframe the shot. Straighten horizons with the rotate tool. Even slight tilts can distract the eye.
4. Real Example: Transforming a Flat Landscape Photo
Consider a scenario: You take a photo of a coastal cliff at midday. The sky is washed out, the rocks lack definition, and everything looks flat due to harsh overhead light. At first glance, it seems unredeemable. But with careful editing, it can become a dramatic scene.
You open the image in Lightroom Mobile. First, you reduce exposure slightly to prevent highlight clipping. Then, you lower highlights aggressively to recover cloud detail in the sky. Next, you lift shadows to reveal texture in the shaded rock face. Whites are pulled back for smoother gradients; blacks are deepened just enough to ground the composition.
For color, you cool the temperature slightly to counteract yellowish daylight and add a touch of magenta to enrich the sea’s hue. Vibrance goes up by 15—not enough to look fake, but enough to make blues and greens pop. Clarity is increased to +20 to emphasize the ruggedness of the cliff.
Finally, you crop to a vertical frame, aligning the horizon along the upper third line. A slight clockwise rotation straightens the coastline. The result? A once-dull image now conveys scale and mood, suitable for sharing or printing.
This transformation didn’t require advanced skills—just deliberate use of core tools in the right order.
5. Build Consistency with Presets and Checklists
One of the fastest ways to improve your editing is by creating reusable settings. Presets—also called filters or looks—apply a saved combination of adjustments with one tap. They’re not shortcuts; they’re efficiency tools that maintain visual coherence across your work.
For example, if you shoot mostly outdoor portraits, design a preset that slightly warms skin tones, lifts shadows gently, and adds soft contrast. Apply it as a starting point, then tweak per image. Over time, your gallery will have a unified aesthetic, ideal for portfolios or Instagram themes.
To get started, here’s a practical checklist for every editing session:
- ✅ Back up the original photo before editing
- ✅ Edit in natural or neutral lighting (avoid dim or colored ambient light)
- ✅ Clean your phone screen to see true colors
- ✅ Make global adjustments before local ones
- ✅ Zoom out every few minutes to check overall balance
- ✅ Compare edited vs. original by tapping a “before” button
- ✅ Save with a descriptive name or tag if organizing later
Using this checklist reduces errors and builds discipline. It also trains your eye to notice things you might otherwise overlook—like accidental color casts or uneven cropping.
Common Mistakes to Avoid
Even experienced editors fall into traps. Awareness prevents repetition:
- Over-editing: Pushing sliders to extremes creates unnatural results. If someone comments “this looks Photoshopped,” you’ve likely gone too far.
- Neglecting composition: No amount of color grading fixes a cluttered or poorly framed shot. Always prioritize strong composition in-camera.
- Ignoring aspect ratios: Cropping haphazardly can distort subjects or leave awkward negative space. Stick to standard ratios (1:1, 4:5, 16:9) for platform compatibility.
- Editing on a dirty or dim screen: Smudges and low brightness misrepresent contrast and color. Clean your screen and increase brightness to 70–80% during editing.
- Skipping backups: Some apps overwrite originals. Enable “save copy” or use cloud backup to preserve unedited versions.
“Your phone is not just a camera—it’s a portable darkroom. Treat it with the same care and intention.” — Jamal Reed, Mobile Imaging Specialist
FAQ
Can I edit RAW photos on my phone?
Yes—if your phone supports RAW capture (via Pro mode in apps like Halide, Adobe Camera, or Moment) and you use an editor like Lightroom Mobile or Pixelmator that supports DNG files. RAW gives you greater flexibility in recovering shadows, adjusting white balance, and reducing noise.
How do I make my edits look natural?
Limit major adjustments to ±15 on most sliders. Focus on subtlety: lift shadows instead of boosting exposure, use vibrance over saturation, and preview changes side-by-side with the original. Natural-looking edits often go unnoticed—which means they’re working.
Should I edit every photo I take?
No. Be selective. Only edit images worth keeping or sharing. Mass-editing lowers quality and wastes time. Develop a culling habit: delete blurry, redundant, or poorly composed shots early.
Master the Basics, Then Make Them Your Own
Photo editing on your phone isn’t about chasing perfection—it’s about expressing perspective. The tools are accessible, but mastery comes from practice, patience, and purpose. Start with small improvements: fix one problem per photo, learn one new slider per week, save one preset that reflects your taste.
As you grow comfortable, experiment. Try black-and-white conversions, split toning, or grain effects. Share your work and seek feedback. Notice how other creators edit—their choices can inspire your own.


 浙公网安备
33010002000092号
浙公网安备
33010002000092号 浙B2-20120091-4
Comments
No comments yet. Why don't you start the discussion?