
Flashing the BIOS on an MSI motherboard is one of the most effective ways to unlock improved system stability, enhanced hardware compatibility, and optimized performance—especially after CPU upgrades or when troubleshooting boot issues. However, it’s also one of the riskiest operations you can perform on a PC. A failed update can render your system unbootable. Done correctly, though, it’s a seamless process that future-proofs your build.
This guide walks through every critical phase—from preparation to post-flash verification—with precise instructions tailored for MSI boards. Whether you’re upgrading to support a new Ryzen or Intel processor or resolving memory instability, this method ensures safety and reliability.
Why Update Your MSI Motherboard BIOS?
The BIOS (Basic Input/Output System) is firmware embedded on your motherboard that initializes hardware during boot and provides runtime services for operating systems. Over time, MSI releases BIOS updates that address:
- CPU microcode fixes for better compatibility with newer processors
- Improved memory overclocking profiles (XMP/DOCP)
- Enhanced power delivery and thermal management
- Bug fixes for USB, PCIe, or NVMe devices
- Security patches against vulnerabilities like Spectre or Meltdown
For example, users upgrading from an Intel 12th Gen to a 14th Gen CPU on an MSI Z690 board often find their system won’t boot without a prior BIOS update. Similarly, AMD AM5 platforms require specific AGESA versions to stabilize DDR5 performance.
“BIOS updates are not optional maintenance—they’re essential for unlocking the full potential of modern hardware.” — David Chen, Senior Firmware Engineer at MSI
Preparation: The Foundation of a Safe Flash
Before touching any settings, thorough preparation minimizes risk. Rushing this stage is the leading cause of failed flashes.
1. Identify Your Motherboard Model
Check the exact model printed on the PCB or use Windows tools:
- Press Win + R, type
msinfo32, and look for \"BaseBoard Product\". - Cross-reference with MSI’s official website under Support > Motherboards.
2. Check Current BIOS Version
In BIOS setup (press Delete during boot), note the version displayed in the top-right corner. Alternatively, run:
wmic bios get smbiosbiosversion
3. Download the Correct BIOS File
Navigate to the MSI support site, enter your model, and go to the BIOS section. Only download files labeled “Full” unless using M-Flash Plus (explained later). Avoid third-party sources.
4. Prepare a FAT32-Formatted USB Drive
Use a small-capacity USB stick (8GB or less preferred). Format it as FAT32 via:
- Right-click the drive in File Explorer > Format.
- Select FAT32 and perform a quick format.
5. Extract and Copy BIOS File
Unzip the downloaded file and copy only the .CAP file to the root directory of the USB drive. Do not place it in folders.
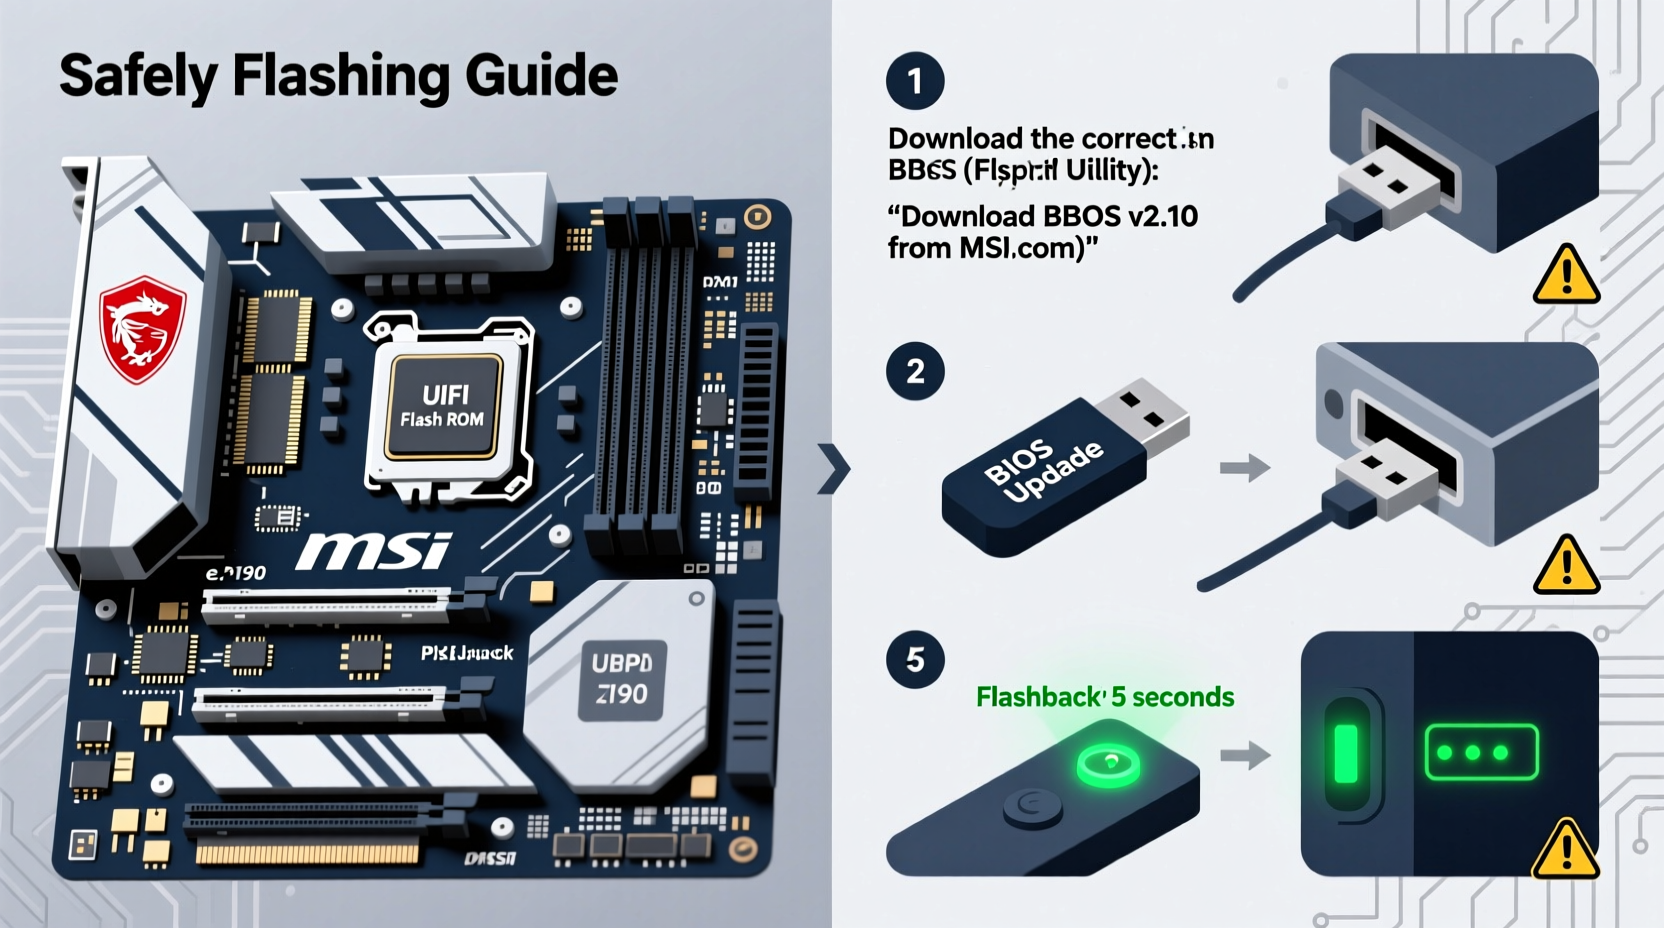
Step-by-Step Guide: Flashing BIOS Using M-Flash
MSI’s M-Flash utility is built into the BIOS and is the safest method available. It runs independently of the OS, reducing corruption risks.
- Insert the USB drive into a rear USB port (preferably blue or black, not front-panel).
- Restart the computer and press Delete to enter BIOS Setup.
- Navigate to M-Flash: Use arrow keys to select “M-Flash” at the bottom of the main screen.
- Select the .CAP file: The utility will detect the USB drive. Choose the correct BIOS file from the list.
- Confirm update: A warning will appear. Confirm you want to proceed. Do not interrupt now.
- Wait for completion: The system will reboot automatically. This takes 2–5 minutes. The screen may stay black—this is normal.
- Re-enter BIOS after reboot to verify the version has updated.
Alternative Method: BIOS Flashback (No CPU/RAM Required)
MSI’s BIOS Flashback feature allows updating without installed RAM or CPU—ideal for enabling support for new processors.
Requirements:
- Motherboard with BIOS Flashback button (labeled on I/O shield)
- USB drive with
.CAPfile named exactly as specified in manual (e.g.,MIDGZ.CAP) - Power supply connected and powered on (via wall switch)
Steps:
- Power off the PC but keep PSU switch ON.
- Insert USB into the dedicated Flashback port (usually yellow).
- Hold the BIOS Flashback button for 3 seconds until LED blinks.
- Wait for LED to stop blinking (can take 5+ minutes). No screen output expected.
- Power cycle the system and boot normally.
| Method | Best For | Risk Level | Hardware Needed |
|---|---|---|---|
| M-Flash | Routine updates with working system | Low | Bootable system, USB drive |
| BIOS Flashback | New CPU support, no current boot | Medium | PSU power, correct USB naming |
| Windows Flash (Not Recommended) | Emergency only | High | Stable OS, antivirus disabled |
Post-Update Verification and Troubleshooting
After flashing, confirm success and restore settings:
- Enter BIOS and check the version matches the
.CAPfile. - If boot fails, try clearing CMOS via jumper or battery removal.
- Load Optimized Defaults if settings conflict occurs.
- Reconfigure XMP, voltages, and boot order as needed.
“I once bricked a board by using a renamed CAP file during Flashback. Exact naming matters more than people realize.” — Mark Rivera, PC Technician with 12 years experience
Mini Case Study: Enabling Ryzen 7000 Series on B550
A user purchased an MSI B550 Tomahawk and attempted to install a Ryzen 9 7900X. The system wouldn’t POST. Research revealed the board needed BIOS version 7B79vA4 or higher. Since the old CPU was incompatible with the latest BIOS, they used BIOS Flashback with a properly named B550T.CAP file. After update, the 7900X booted successfully, and memory ran at 6000MHz DOCP. Total downtime: 8 minutes.
BIOS Update Checklist
- ✓ Confirmed motherboard model (e.g., MPG Z790 Carbon WiFi)
- ✓ Checked current BIOS version
- ✓ Downloaded correct .CAP file from MSI official site
- ✓ Formatted USB drive as FAT32
- ✓ Copied .CAP file to root of USB
- ✓ Named file correctly for Flashback (if applicable)
- ✓ Connected system to UPS or stable power source
- ✓ Backed up BIOS settings (optional but recommended)
Frequently Asked Questions
Can I downgrade my BIOS?
MSI generally blocks downgrading for security reasons. Attempting it may brick your board. Only upgrade unless explicitly supported via special tools.
What if the flash fails and my PC won’t start?
Many MSI boards have dual BIOS protection. If primary fails, secondary takes over. Try clearing CMOS or using BIOS Flashback. Contact MSI support if unresponsive.
How often should I update BIOS?
Only when necessary—such as adding CPU support, fixing bugs, or improving stability. Routine updates without purpose offer minimal benefit and carry risk.
Final Steps: Maximizing Performance Post-Flash
Once updated, leverage the new capabilities:
- Enable Resizable BAR in BIOS for GPU performance gains.
- Apply updated XMP/EXPO profiles for faster RAM speeds.
- Adjust fan curves using updated thermal sensors.
- Verify CPU microcode with tools like CPU-Z.
Optimal performance isn’t just about raw specs—it’s about alignment between firmware, hardware, and configuration. A well-flashed BIOS ensures all components communicate efficiently, reducing latency and preventing crashes under load.
Conclusion
Flashing BIOS on an MSI motherboard doesn’t have to be intimidating. With careful planning, the right tools, and adherence to proven steps, it becomes a routine part of system optimization. Whether you're unlocking next-gen CPU support or smoothing out memory instability, a successful update lays the foundation for peak performance.


 浙公网安备
33010002000092号
浙公网安备
33010002000092号 浙B2-20120091-4
Comments
No comments yet. Why don't you start the discussion?