
Starting a Snapper lawn mower doesn’t have to be frustrating. With the right preparation and technique, even first-time users can get their engine running smoothly in under a minute. Whether you own a classic rear-engine push mower or a modern self-propelled model, following a consistent routine ensures safety, prolongs equipment life, and reduces wear on critical components. This guide walks you through each essential step—backed by real-world experience and manufacturer recommendations—to help you start your Snapper mower with confidence.
Understanding Your Snapper Mower Model
Snapper produces several types of lawn mowers, including push mowers, rear-engine riders, and walk-behind self-propelled units. While most share similar starting mechanisms, small differences in fuel systems, choke operation, and ignition methods can affect how you begin the startup process.
Before attempting to start your mower, identify your model type:
- Pull-Start (Recoil) Push Mowers: Use a manual pull cord to engage the engine.
- Electric Start Walk-Behinds: Feature a push-button or key-based ignition system.
- Rear-Engine Riding Mowers: Typically use a key ignition with foot-operated brake and blade engagement.
Consult your owner’s manual for specific details about your model. If you don’t have it, Snapper’s official website offers downloadable manuals by serial number.
Pre-Startup Safety and Preparation
Safety is non-negotiable when operating any power equipment. The U.S. Consumer Product Safety Commission reports over 70,000 lawn mower injuries annually—many due to preventable oversights. Follow these steps before touching the starter.
- Inspect the Work Area: Clear debris, toys, rocks, and pets from the yard. Uneven terrain or hidden objects can cause kickback or damage blades.
- Wear Proper Gear: Sturdy shoes, long pants, and hearing protection are recommended. Avoid loose clothing that could catch in moving parts.
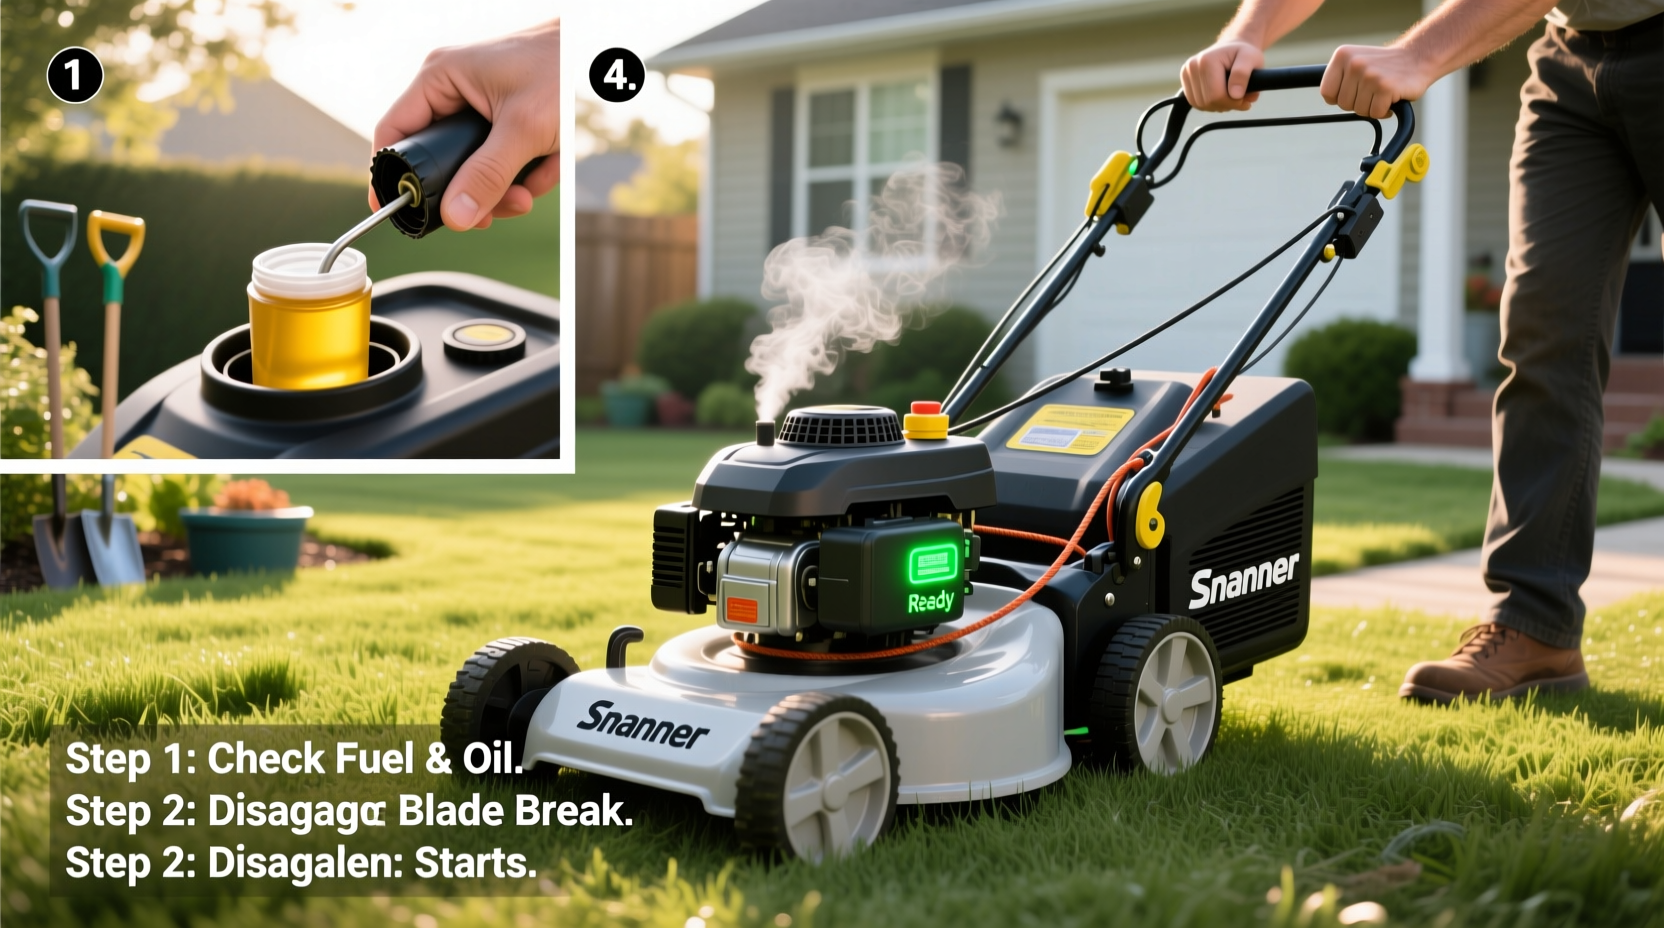
- Check Fuel Level: Use fresh, ethanol-free gasoline if possible. Old fuel (over 30 days) can gum up carburetors and prevent ignition.
- Verify Oil: Check dipstick level. Snapper engines require SAE 30 oil for temperatures above 32°F (0°C), or multi-viscosity 10W-30 in fluctuating climates.
- Ensure Blade Brake Is Engaged: On most models, this prevents accidental blade rotation during startup.
“Always assume the blade is engaged—even when off. Treat every mower as if it could start at any moment.” — James Landon, OSHA-Certified Equipment Trainer
Step-by-Step Startup Procedure
Follow this universal sequence for safe and effective ignition across most Snapper models. Adjustments may apply based on electric vs. recoil start systems.
Step 1: Position the Mower Correctly
Place the mower on a flat, stable surface. Never attempt to start it on a slope or uneven ground. Keep hands and feet away from the blade housing.
Step 2: Prime the Engine (If Applicable)
Some Snapper models with cold-start issues feature a primer bulb near the air filter. Press it 3–5 times until firm. Do not over-prime, as this can flood the engine.
Step 3: Set the Choke
If the engine is cold, move the choke lever to the “Full” or “Closed” position. For warm engines, leave it in the “Run” position. Misuse of the choke is one of the top reasons for failed startups.
Step 4: Engage the Safety Levers
On walk-behind models, depress and hold the bail lever (located on the right handle). This activates the ignition circuit. On riding mowers, press the brake pedal fully and ensure the PTO (blade control) is disengaged.
Step 5: Start the Engine
For Pull-Start Models: Pull the starter cord smoothly and steadily until resistance is felt, then yank firmly in one motion. Avoid jerking slowly—it won’t generate enough RPM to ignite.
For Electric Start Models: Hold the bail lever, turn the key to “Start,” and release once the engine fires. Don’t crank longer than 5 seconds without a 15-second rest.
Step 6: Transition to Run Mode
Once the engine starts, let it run for 10–15 seconds with the choke engaged. Then gradually move the choke to the “Run” position over the next 30 seconds. Abrupt changes may stall the engine.
Step 7: Test Controls
Engage the blade switch or lever to confirm proper function. Listen for unusual noises. Check self-propel drive (if equipped) at low speed before beginning mowing.
| Action | Correct Practice | Common Mistake |
|---|---|---|
| Priming | Press bulb 3–5 times | Over-priming causes flooding |
| Choke Use | Closed for cold starts | Leaving choke on too long |
| Starting Pull | Firm, full-motion pull | Short tugs waste momentum |
| Electric Cranking | Max 5 seconds per attempt | Continuous cranking drains battery |
Troubleshooting Common Startup Issues
Even with perfect technique, mechanical issues can delay ignition. Here’s what to do when your Snapper won’t start:
- No Sound on Key Turn: Check battery charge (for electric start), fuse location, and neutral safety switch alignment.
- Engine Cranks But Won’t Fire: Likely causes include stale fuel, clogged fuel line, or faulty spark plug.
- Smoking After Start: Blue smoke indicates oil burning (check level); white smoke suggests moisture in fuel; black smoke means rich fuel mixture.
- Backfires or Dies Immediately: Often due to incorrect choke usage or carburetor imbalance.
One common issue among seasonal users is fuel degradation. Ethanol-blended gasoline breaks down in as little as 30 days, forming varnish that blocks jets inside the carburetor. Using a fuel stabilizer like Sta-Bil during storage prevents this.
Mini Case Study: John’s Spring Startup Struggle
John, a homeowner in Indiana, couldn’t start his Snapper SPX after winter storage. He pulled the cord repeatedly, flooded the engine, and grew frustrated. After consulting a local repair shop, he learned two things: his gas was eight months old, and the spark plug was fouled with carbon. Replacing both—and properly setting the choke—got the mower running on the second pull. Now, he drains fuel at season’s end and replaces the plug annually.
Maintenance Checklist for Reliable Starts
To keep your Snapper starting effortlessly, follow this seasonal checklist:
- ✅ Change engine oil every 50 hours or once per season
- ✅ Replace air filter every 25 hours or when visibly dirty
- ✅ Inspect and clean spark plug annually
- ✅ Sharpen blades every 20–25 hours
- ✅ Drain fuel or add stabilizer before long-term storage
- ✅ Clean underside of deck after each mow to prevent grass buildup
- ✅ Check tire pressure and cable tension monthly
“Preventive care accounts for 80% of reliable small engine performance. A five-minute inspection saves hours of repairs later.” — Carlos Mendez, ASE-Certified Small Engine Technician
Frequently Asked Questions
Why does my Snapper mower only start when I use full choke?
If your engine only runs with the choke closed, it likely has a partial carburetor blockage restricting fuel flow. Clean the carburetor or have it professionally serviced to restore proper fuel-air balance.
Can I use E10 gasoline in my Snapper mower?
Yes, Snapper engines are designed to run on gasoline with up to 10% ethanol (E10). However, avoid E15 or higher blends, which are not approved for small engines and can damage seals and fuel lines.
How long should I wait between start attempts?
Wait at least 15–20 seconds between pulls or cranks. This allows excess fuel to evaporate if the engine is flooded and prevents overheating the starter motor.
Conclusion: Start Smart, Mow Safe
Starting your Snapper lawn mower doesn’t need to be a battle of wills. By understanding your machine, preparing thoroughly, and following a disciplined routine, you’ll enjoy reliable performance season after season. Remember: consistency beats force. A smooth pull, correct choke setting, and well-maintained engine make all the difference.


 浙公网安备
33010002000092号
浙公网安备
33010002000092号 浙B2-20120091-4
Comments
No comments yet. Why don't you start the discussion?