
Studs are no longer reserved for punk rock fashion or industrial workwear. Today, they serve as both a bold style statement and a functional upgrade for footwear. Whether you're customizing your favorite sneakers, enhancing grip on slippery terrain, or transforming a pair of boots into a head-turning accessory, adding studs to shoes is a versatile DIY project that combines aesthetics with practicality. Done right, studding can improve traction, personalize your look, and even extend the life of your shoes.
The Dual Purpose of Shoe Studs: Style Meets Function
Shoe studs have evolved from purely decorative elements to multi-functional accessories. On one hand, pyramid, cone, or dome-shaped studs instantly elevate the visual appeal of any shoe—adding edge, texture, and individuality. On the other, strategically placed studs can significantly improve grip, especially on icy sidewalks, wet pavement, or uneven surfaces.
Fashion-forward individuals use studs to transform plain footwear into wearable art. Meanwhile, outdoor enthusiasts, delivery workers, and winter commuters install them for safety. The beauty lies in their dual nature: you don’t have to choose between looking good and staying safe.
“Studs bridge the gap between self-expression and utility. A well-studded shoe doesn’t just stand out—it performs.” — Jordan Lee, Footwear Designer & Customization Specialist
Selecting the Right Studs and Tools
Not all studs are created equal. Choosing the correct type depends on your goals: are you prioritizing durability, grip, or visual impact?
| Type of Stud | Best For | Material | Installation Method |
|---|---|---|---|
| Pyramid Studs | Fashion, moderate grip | Brass, stainless steel | Screw-in or rivet |
| Cone Studs | Better traction, aggressive look | Hardened steel | Rivet-only |
| Dome Studs | Subtle decoration | Aluminum, brass | Adhesive or screw |
| Ice Gripper Studs | Winter traction | Carbide-tipped steel | Screw-in with washer |
Essential tools include a center punch, drill (or awl), screwdriver or rivet setter, measuring tape, and protective gloves. For precision layouts, use masking tape to mark stud positions before drilling.
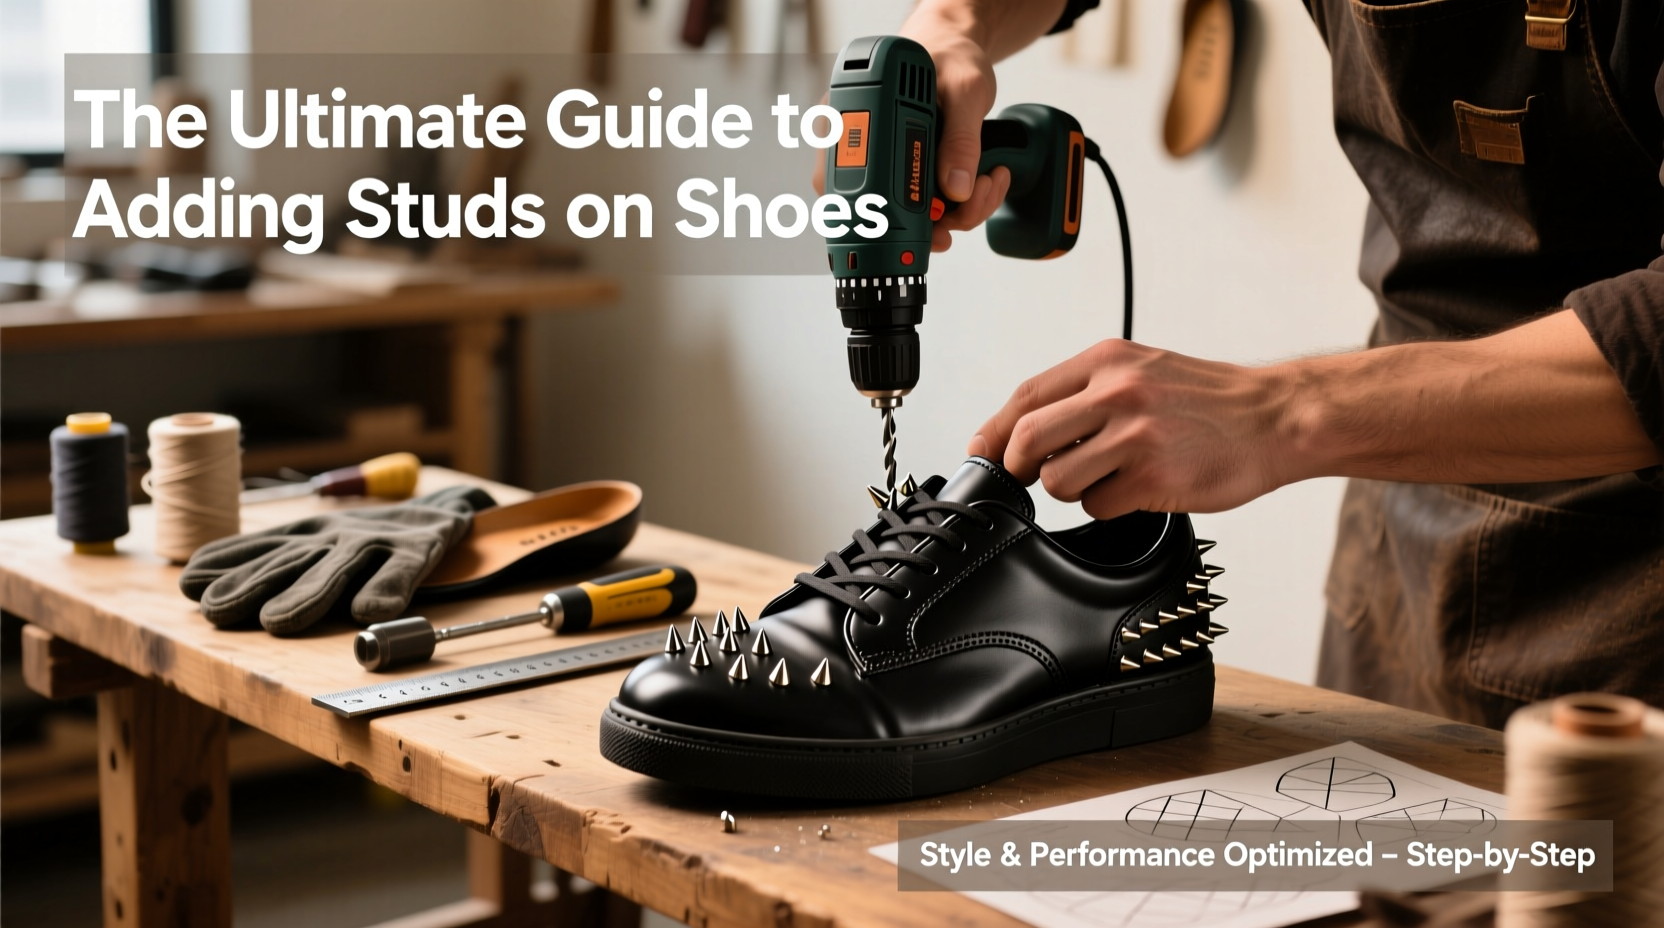
Step-by-Step Guide to Installing Studs on Shoes
Follow this methodical process to achieve professional-looking results without damaging your footwear.
- Plan Your Layout: Use a pencil and ruler to map where studs will go. Focus on high-wear zones like heels and ball-of-foot areas for performance; use symmetry for aesthetic balance.
- Mark Placement Points: Apply masking tape to the sole or upper to prevent slipping and mark each point with a fine-tip marker.
- Create Pilot Holes: Using a center punch or small awl, indent each spot. Then, drill or pierce a hole just narrower than the stud’s shank.
- Insert Studs: For screw-in types, twist firmly until snug. For rivet studs, insert through both layers of material and flatten the tail with a hammer and anvil or setting tool.
- Seal for Durability: Apply a drop of shoe-safe epoxy around the base to prevent loosening from moisture or movement.
- Test and Adjust: Walk on different surfaces to assess comfort and grip. Tighten or replace any loose studs immediately.
Allow at least 24 hours for adhesive or sealant to cure before heavy use.
Real-World Application: A Commuter’s Winter Upgrade
Maria, a bike courier in Minneapolis, faced frequent slips during icy morning deliveries. Her standard rubber-soled boots offered little traction. After researching DIY solutions, she installed carbide-tipped ice gripper studs along the heel and forefoot of her boots. She used a grid pattern—five rows across the ball and three at the heel—for maximum contact.
The result? A 70% reduction in near-falls over two winter months, according to her personal log. “I still get compliments,” she said. “People think they’re just cool spikes, but they’ve literally saved me from falling more than once.”
This case illustrates how functional customization enhances both safety and confidence—without sacrificing personal style.
Common Mistakes and How to Avoid Them
- Over-studding: Too many studs make shoes stiff and uncomfortable. Stick to 15–25 studs per shoe for balance.
- Incorrect placement: Avoid placing studs where the foot naturally bends. This can cause cracking in the sole or discomfort.
- Using weak adhesives: Craft glue won’t hold under pressure. Opt for industrial-strength shoe cement or epoxy.
- Ignoring material limits: Thin leather or synthetic uppers may tear. Reinforce with washers or backing plates.
- Skipping sealing: Unsealed studs allow water ingress, leading to rust and delamination.
Customization Ideas by Shoe Type
Different footwear benefits from distinct studding strategies:
- Sneakers: Add pyramid studs along the lateral side or collar for urban flair. Use colored coatings (black, gold, silver) to match your style.
- Boots: Ideal for both fashion and function. Line the outer rim of the sole or create geometric patterns on the shaft.
- Heels: Small dome studs on the heel cap prevent slipping and add sophistication.
- Hiking Shoes: Focus on traction. Install cone or carbide studs at pivot points, avoiding areas that flex during walking.
For those who rotate footwear seasonally, consider removable magnetic studs—a growing niche product that allows toggling between sleek and rugged modes.
FAQ
Can I add studs to any type of shoe?
Most shoes with leather, synthetic uppers, or thick rubber soles can be studded. Avoid delicate materials like mesh or thin fabric, which may tear. Ensure there's enough thickness for the stud to anchor securely.
Will studs damage indoor floors?
Metal studs can scratch hardwood or tile. If you wear studded shoes indoors frequently, consider using removable Teflon floor savers or opting for softer rubber studs in low-impact zones.
How long do DIY studs last?
With proper installation and sealing, studs can last 6–12 months under regular use. Check monthly for looseness, especially after exposure to water or extreme temperatures.
Pro Checklist: Adding Studs Like a Pro
- Choose the right stud type for your purpose (style vs. traction).
- Gather all necessary tools: drill, center punch, gloves, epoxy.
- Map out a balanced, functional layout using tape and marker.
- Pre-punch and drill pilot holes carefully.
- Install studs securely using appropriate method (screw, rivet, adhesive).
- Seal bases with waterproof shoe epoxy.
- Test walk and adjust as needed.
- Inspect monthly for wear or loosening.
Conclusion
Adding studs to your shoes is more than a trend—it’s a smart fusion of personal expression and practical enhancement. Whether you're braving icy streets, standing out at a concert, or simply giving old footwear a second life, the process empowers you to tailor your shoes exactly to your needs. With the right materials, a careful approach, and attention to detail, anyone can achieve durable, stylish results.


 浙公网安备
33010002000092号
浙公网安备
33010002000092号 浙B2-20120091-4
Comments
No comments yet. Why don't you start the discussion?