
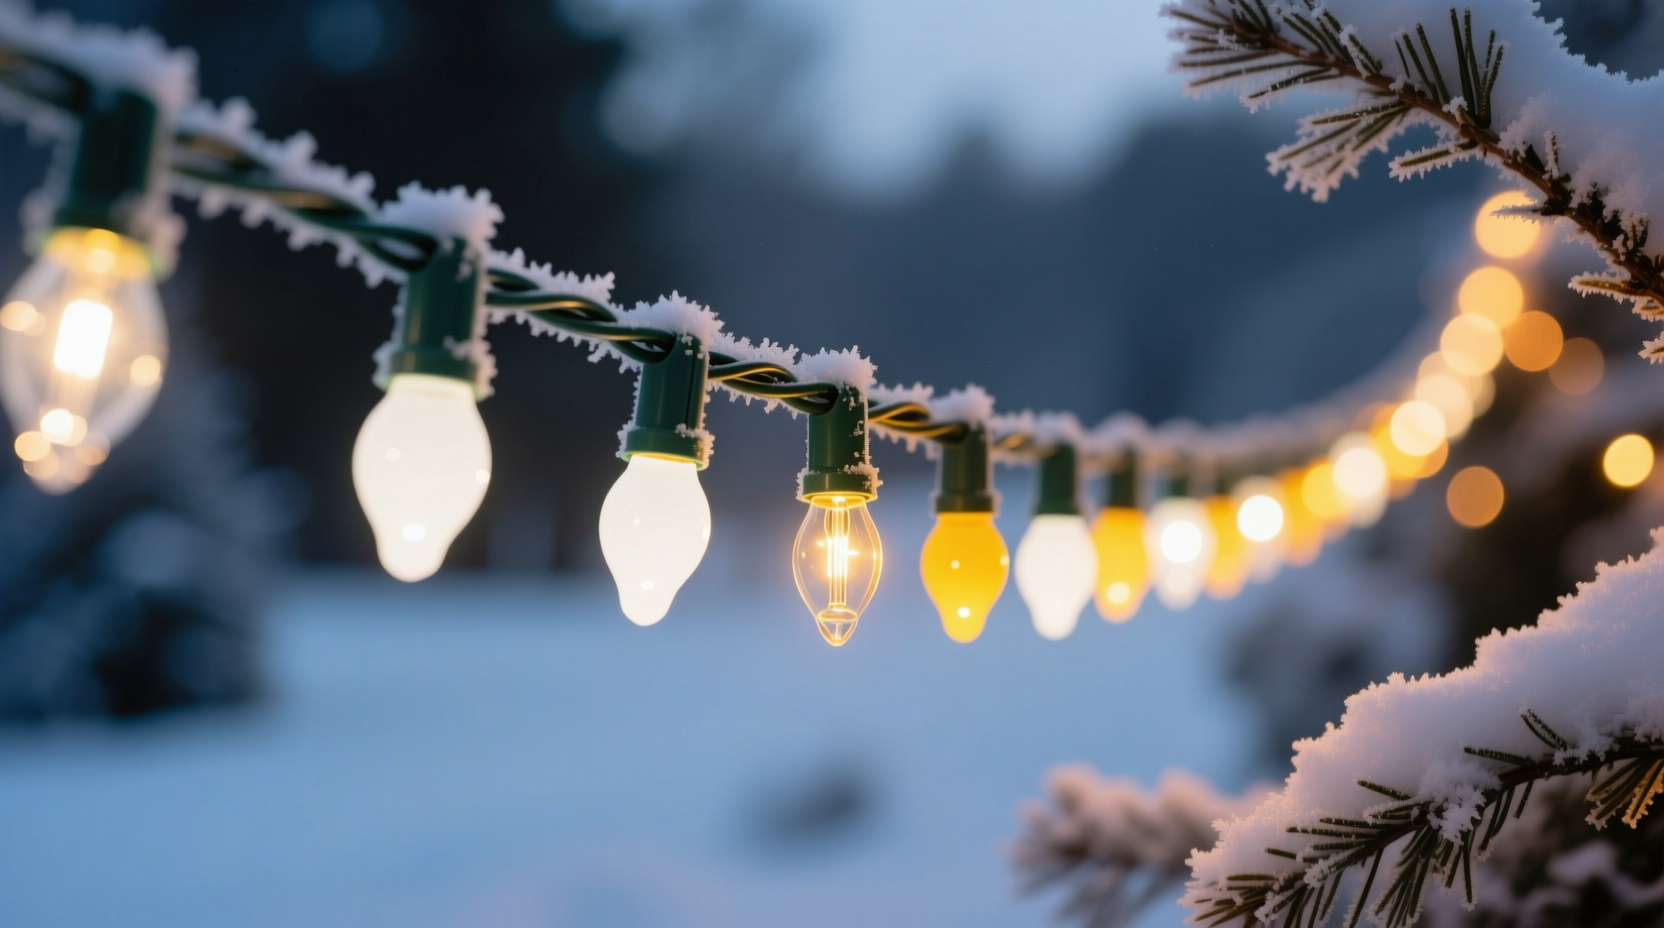
Walk into any home during the holiday season and you’ll likely spot it: a string of Christmas lights where the first dozen bulbs glow warm and steady—but by the time your eye reaches the last third of the strand, the light grows noticeably weaker, flickering or barely glowing at all. This isn’t just an aesthetic nuisance—it’s a telltale sign of underlying electrical behavior that most people assume is “just how lights are.” In reality, this phenomenon reveals fundamental differences in circuit design, component quality, and real-world physics at work in something as seemingly simple as a string of miniature bulbs. Understanding why this happens empowers you to choose better lights, troubleshoot problems safely, and extend the life of your decorations for years—not just one season.
The Core Culprit: Series vs. Parallel Circuit Design
Christmas light strings fall primarily into two electrical configurations: series and parallel (or hybrid variations like series-parallel). The choice dictates how voltage and current behave across the string—and directly determines whether dimming occurs toward the end.
In a **pure series circuit**, electricity flows through each bulb in sequence, like beads on a single thread. There’s only one path for current. If one bulb burns out or develops high resistance, the entire circuit breaks—or, in modern “shunted” designs, a bypass wire activates to keep current flowing. However, even with shunts, every bulb adds resistance. As current travels down the line, cumulative voltage drop occurs due to wire resistance and internal bulb resistance. By the time electricity reaches the final bulbs, less voltage remains available—so they receive less power and emit less light. This is Ohm’s Law in action: V = I × R. As total resistance increases along the conductor, voltage available at downstream points decreases.
In contrast, **parallel circuits** give each bulb its own dedicated connection to the power source. Voltage remains nearly identical across all bulbs—regardless of position. So if the string is wired in true parallel (common in higher-end LED sets and commercial-grade incandescent), brightness stays uniform from start to finish. But parallel wiring requires more copper, thicker wires, and complex internal construction—making it costlier and bulkier.
Most consumer-grade light strings use a compromise: multiple short series “sub-strings” wired in parallel. For example, a 200-bulb LED string might contain ten groups of twenty bulbs in series—each group connected in parallel to the main cord. This balances cost, safety, and performance. But if one sub-string has poor solder joints, corroded connections, or mismatched LEDs, that entire segment will underperform—even if the rest shine brightly.
Why Wire Gauge and Length Matter More Than You Think
Every copper wire has inherent resistance—measured in ohms per foot. Thinner wires (higher gauge numbers) resist current flow more strongly. Standard mini-light strings often use 28–30 AWG wire—the thinnest practical for mass production. At 50 feet, such wire can introduce up to 1.2 volts of voltage drop—enough to reduce LED output by 20–30% at the far end of a long run.
Manufacturers sometimes cut corners by using undersized wire in the “lead-in” section—the portion between the plug and the first bulb. A poorly designed 100-bulb string might have only 18 AWG wire near the plug but downgrade to 32 AWG for the internal trunk line. That abrupt transition creates a bottleneck, concentrating resistance where it does the most damage: right before the first load.
Temperature also plays a role. Cold weather increases copper’s resistance slightly—but more significantly, it makes plastic insulation stiffer and more prone to micro-fractures. Repeated bending at connection points (especially near plugs and end connectors) leads to hairline wire breaks that increase resistance over time. These fractures rarely cause complete failure—instead, they create intermittent, high-resistance junctions that sap voltage progressively down the line.
LEDs vs. Incandescents: How Technology Changes the Dimming Equation
Incandescent mini-lights dim toward the end because their brightness depends almost entirely on applied voltage. A 2.5V bulb receiving only 2.0V glows significantly duller—and may appear orange instead of white-yellow. Their resistance also rises as filament temperature drops, creating a feedback loop that worsens dimming.
Modern LEDs behave differently—but not magically. While individual LEDs require precise voltage (typically 2.8–3.4V DC), most AC-powered LED strings include built-in rectifiers and current-regulating ICs. Cheaper strings use simple resistor-based current limiting. In those, voltage drop still matters: lower voltage means less current through the resistor-LED pair, reducing brightness nonlinearly.
Better LED strings incorporate constant-current drivers—microchips that adjust internal resistance dynamically to maintain steady current despite input fluctuations. These minimize positional dimming… unless the driver itself is placed only at the beginning of the string. In that case, voltage sag still affects communication lines or auxiliary components downstream.
A critical factor many overlook: LED binning. Manufacturers sort LEDs by forward voltage (Vf) and luminous intensity. Budget strings often mix bins—placing higher-Vf LEDs early (where voltage is highest) and lower-Vf ones later. But when voltage sags, the later, lower-Vf LEDs may actually draw *more* current than intended—overheating and degrading faster. This accelerates long-term dimming and creates visible inconsistency.
| Feature | Low-Cost Incandescent String | Budget LED String | Premium LED String |
|---|---|---|---|
| Circuit Type | Pure series (100+ bulbs) | Series-parallel (e.g., 10×20) | True parallel or segmented constant-current |
| Wire Gauge | 30 AWG internal | 28–29 AWG internal | 24–26 AWG trunk + shielded data lines |
| Dimming Toward End? | Yes—pronounced after ~35 ft | Moderate—noticeable past 50 ft | No—uniform within ±3% across full length |
| Lifespan (Rated) | 2,000 hours | 15,000 hours | 35,000+ hours |
| Failure Mode | Open filament → whole string dark | Shunt failure → section dark | Individual LED fade; no cascading loss |
A Real-World Case Study: The Community Center String Swap
Maplewood Community Center replaced its aging 1990s incandescent light strings before the 2022 holiday season. Volunteers installed five new 100-light LED sets purchased online for $12.99 each. Within three weeks, three strings showed severe end-of-string dimming—bulbs 85–100 were barely visible at dusk. Staff assumed the lights were defective and contacted the seller, who denied warranty claims (“within spec” per their vague listing).
An electrician friend inspected the setup. He measured 120V at the outlet, 118.3V at the plug, but only 109.7V at bulb #90 on the worst-performing string. Using a multimeter’s continuity mode, he discovered cold solder joints at the internal junction box—a tiny, unmarked plastic module located 18 inches from the plug. Inside, three of ten solder points had fractured micro-cracks, adding 4.2Ω of unintended resistance. That single flaw accounted for over 80% of the observed voltage drop.
The center returned the remaining two unopened strings and invested in UL-listed commercial LED strings with visible driver modules and 24 AWG wiring. Those have operated uniformly for two full seasons—with zero dimming, even on 75-foot runs wrapped around oak trees and brick columns.
How to Diagnose and Fix Positional Dimming (Step-by-Step)
Before replacing lights, rule out simple causes. Follow this field-proven diagnostic sequence:
- Check the power source: Plug a lamp or multimeter into the same outlet. Confirm stable 115–125V AC. Voltage below 110V indicates circuit overload or wiring issues—not faulty lights.
- Inspect the plug and socket: Look for discoloration, melting, or bent prongs. Use a contact cleaner spray on metal contacts. Wipe dry before reinsertion.
- Test segment-by-segment: Starting at the plug, unplug the string and use a non-contact voltage tester 6 inches from the plug end. Then test again at 25%, 50%, and 75% of the string’s length (measure from plug, not bulb count). Any drop >3V between adjacent test points signals internal resistance buildup.
- Examine connection points: Gently flex the cord near the plug, mid-strand junction boxes (if present), and the end connector. If brightness flickers or changes, internal wire fatigue is likely.
- Swap positions: Plug the “dim end” into the outlet instead of the “bright end.” If dimming now appears at the *new* far end, the issue is inherent to the string’s design—not external factors. If dimming stays in the same physical location, suspect environmental interference (e.g., proximity to a motor or transformer).
“Positional dimming isn’t random—it’s physics speaking clearly. When voltage drops more than 5% from source to load, you’re not just losing light—you’re accelerating thermal stress on every downstream component.” — Dr. Lena Torres, Electrical Engineering Professor, University of Illinois Urbana-Champaign
Prevention Checklist: Buying and Maintaining Lights That Stay Bright
- ✅ Choose strings rated for your intended length: Avoid daisy-chaining more than three 100-light sets unless explicitly labeled “stackable” with heavy-gauge interconnects.
- ✅ Prioritize UL 588 certification over price—this ensures minimum wire gauge, temperature ratings, and shunt reliability testing.
- ✅ Store coiled loosely (not tightly wound) on wide-diameter spools to prevent wire memory and insulation cracking.
- ✅ Clean contacts annually with isopropyl alcohol and a soft toothbrush—never abrasive pads or solvents.
- ✅ Replace entire strings showing >10% brightness variance between first and last bulbs—even if all bulbs illuminate. Internal degradation is already underway.
FAQ
Can I splice a dimming string to shorten it and restore brightness?
No—cutting a series-wired string usually breaks the circuit permanently. Even with parallel strings, cutting voids safety certifications and risks exposing live conductors. Instead, use only the first 50–60% of a long string, or invest in purpose-built shorter sets.
Why do some “warm white” LED strings dim less than “cool white” ones on the same circuit?
It’s not the color temperature—it’s the forward voltage (Vf). Warm-white LEDs typically have lower Vf (~2.9V) than cool-white (~3.2V). On a sagging circuit, lower-Vf LEDs reach operating threshold sooner and maintain usable brightness longer. But this advantage disappears with proper voltage regulation.
Do outdoor-rated lights resist dimming better than indoor ones?
Not inherently. Outdoor rating (UL 588 Type II) ensures moisture and UV resistance—not superior circuit design. Many outdoor strings use thinner wire to reduce weight and cost. Always verify wire gauge and circuit type separately.
Conclusion
Uneven brightness in Christmas lights isn’t a quirk of the season—it’s a visible lesson in electrical fundamentals. Whether you’re hanging lights on a mantle or wrapping a 30-foot fir tree, understanding why voltage drops, how wire resistance accumulates, and what separates a well-engineered string from a budget compromise gives you real control over your display’s quality and longevity. You don’t need an engineering degree to make smarter choices: read the fine print on packaging, test voltage at multiple points, and treat your lights as precision electrical devices—not disposable decor. The brightest strings aren’t the cheapest ones. They’re the ones designed with respect for physics, built with adequate materials, and maintained with intention. This holiday season, let your lights shine evenly—not just from habit, but by design.


 浙公网安备
33010002000092号
浙公网安备
33010002000092号 浙B2-20120091-4
Comments
No comments yet. Why don't you start the discussion?