
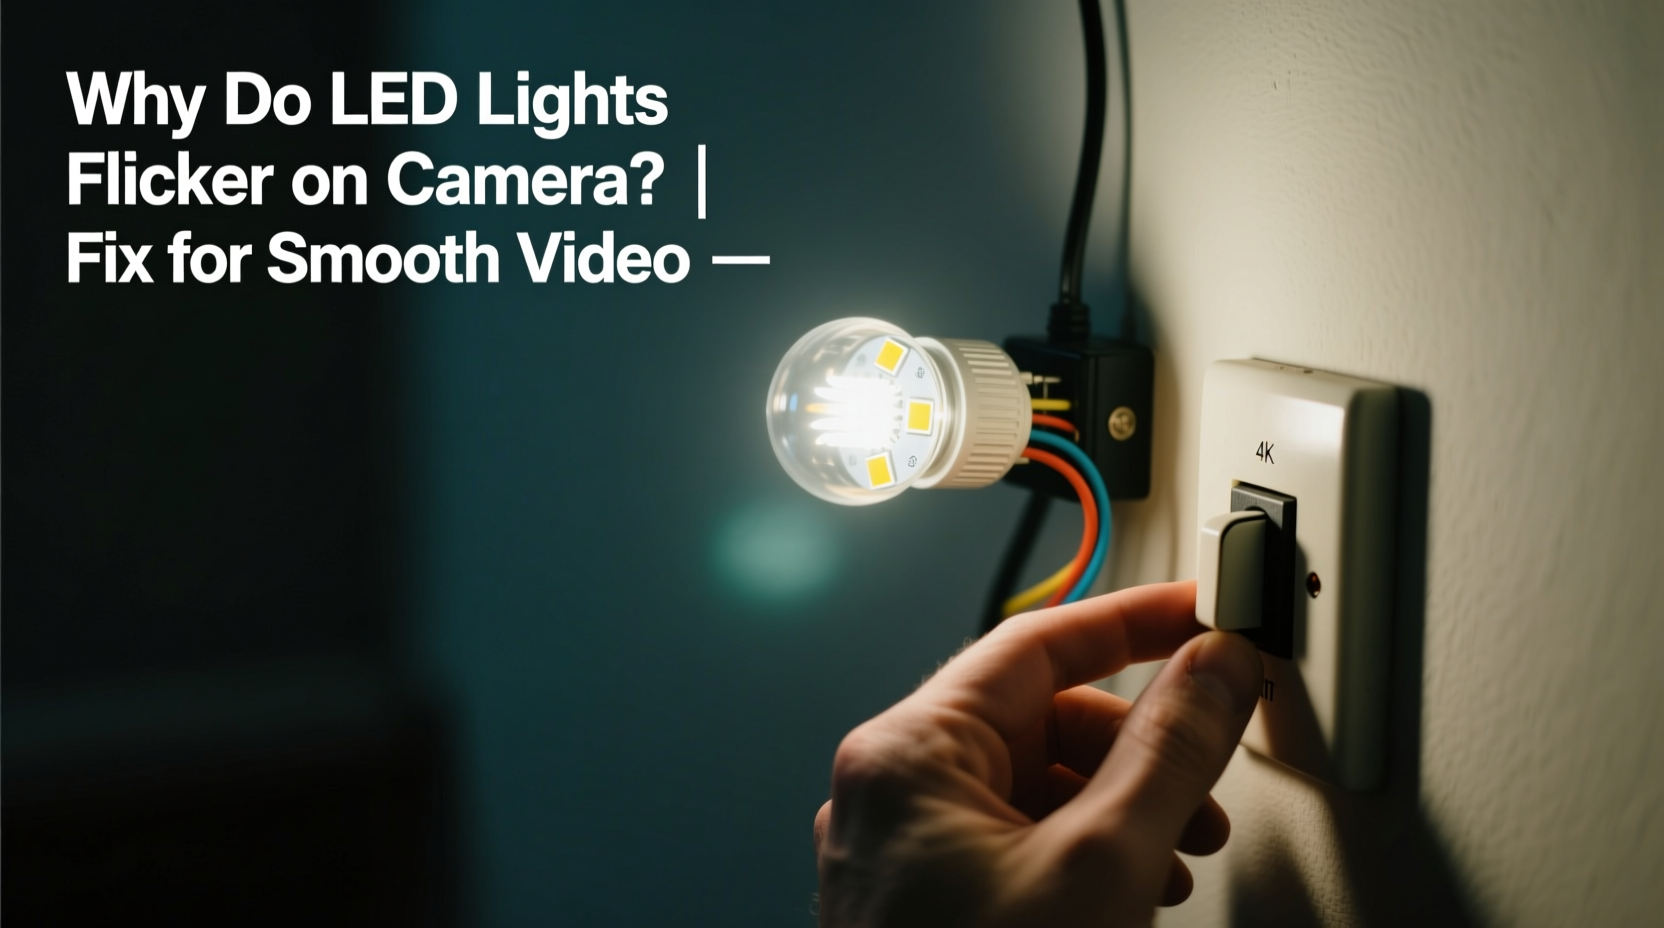
LED lighting has revolutionized video production with its energy efficiency, long lifespan, and compact design. However, one persistent issue plagues creators across platforms—from YouTube vloggers to professional cinematographers: LED flicker on camera. What appears as a steady glow to the human eye can manifest as distracting pulses, bands, or strobing effects in recorded footage. This phenomenon undermines visual quality, disrupts viewer experience, and often goes unnoticed until post-production. Understanding the root causes and implementing effective fixes is essential for anyone producing video under artificial lighting.
The Science Behind LED Flicker on Camera
At first glance, an LED light seems constant. But most LEDs don’t emit light continuously—they pulse rapidly due to how they are powered. Unlike incandescent bulbs, which maintain a glowing filament even during voltage dips, LEDs respond instantly to changes in current. When powered by alternating current (AC) or poorly regulated drivers, they turn on and off hundreds or thousands of times per second—a behavior known as flicker.
The human eye typically cannot detect flicker above 60–100 Hz due to persistence of vision. Cameras, however, operate differently. They capture discrete frames at specific intervals, governed by shutter speed and frame rate. If the timing of these frames doesn't align with the LED’s on-off cycle, the camera records inconsistent brightness levels across frames, resulting in visible flicker.
This mismatch becomes especially apparent with modern digital sensors that use rolling shutters. A rolling shutter scans the image from top to bottom, meaning different parts of the frame are exposed at slightly different times. If an LED cycles during this scan, horizontal banding appears—dark and bright stripes moving through the shot.
“Flicker isn’t just a technical nuisance—it breaks immersion. In narrative filmmaking, even subtle flicker distracts the subconscious mind.” — Daniel Reyes, Cinematographer & Lighting Consultant
Key Factors That Cause LED Flicker in Video
Flicker arises from a combination of electrical engineering and camera settings. The following factors determine whether flicker will appear:
- Power Supply Quality: Cheap LED drivers use basic rectification without smoothing capacitors, causing large ripple currents that lead to deep modulation.
- PWM Dimming (Pulse Width Modulation): Many LEDs dim by rapidly switching on and off. Low-frequency PWM (below 1 kHz) is particularly prone to camera detection.
- Frame Rate vs. AC Frequency: Mismatch between camera frame rate (e.g., 30 fps) and mains frequency (50 Hz or 60 Hz) creates interference patterns.
- Shutter Speed: Fast shutter speeds increase sensitivity to timing mismatches between exposure and LED cycles.
- Rolled vs. Global Shutters: Rolling shutters amplify flicker visibility due to partial-frame exposure timing.
How to Fix LED Flicker: Practical Solutions
Eliminating flicker requires addressing both hardware and camera-side variables. Below are proven strategies used by videographers and lighting technicians.
1. Match Frame Rate to Mains Frequency
The foundation of flicker-free shooting lies in synchronization. Choose a frame rate compatible with your region's power grid frequency:
| Region | Mains Frequency | Recommended Frame Rates |
|---|---|---|
| North America, Japan | 60 Hz | 24, 30, 60 fps |
| Europe, Asia, Australia | 50 Hz | 25, 50 fps |
Avoid using 24 fps in 50 Hz regions or 30 fps in 60 Hz areas unless your lights support high-frequency operation. Even slight deviations like 23.976 fps can introduce flicker if not properly managed.
2. Use High-Quality, Flicker-Free LED Lights
Invest in purpose-built video lights designed for continuous output. Look for specifications such as:
- Flicker-free certification (often labeled “flicker-free at all frame rates”)
- Constant Current Reduction (CCR) dimming, which adjusts brightness without pulsing
- High-frequency PWM (>20 kHz), beyond the detection range of most cameras
- DC-powered systems with clean, regulated outputs
Brands like Aputure, Godox, and Nanlite offer affordable options with true flicker-free performance. While more expensive than household bulbs, they deliver reliable results critical for professional work.
3. Adjust Shutter Angle or Shutter Speed
In film-style shooting, shutter angle determines exposure time relative to frame rate. To minimize flicker:
- Set shutter angle to 180° for natural motion blur (standard practice).
- If flicker persists, try 172.8° or 345.6°—multiples that align better with AC cycles.
- Alternatively, experiment with shutter speeds divisible into 1/100 or 1/120 sec depending on region.
For example, in a 60 Hz environment:
- Use 1/60, 1/120, or 1/240 sec shutter speeds
- Avoid 1/50, 1/100, or 1/200 in NTSC regions unless lights are confirmed stable
4. Eliminate PWM Dimming or Use Smart Controls
Dimming via wall switches or low-cost remote controls often introduces flicker. Instead:
- Use physical diffusion (gels, scrims) rather than electronic dimming
- Control brightness via app-based systems that maintain high-frequency drive signals
- Disable built-in dimmers and adjust intensity through camera ISO or aperture
Step-by-Step Guide to Eliminate Flicker On Set
Follow this timeline when setting up your next shoot to ensure flicker-free results:
- Pre-Production (Day Before Shoot)
Test all lights with your primary camera. Record short clips at various frame rates and zoom in on playback to inspect for banding or pulsing. - Setup Phase (1 Hour Before Shooting)
Confirm local mains frequency. Set camera frame rate accordingly (25 fps for 50 Hz, 30 fps for 60 Hz). Use a 180° shutter angle as default. - Lighting Calibration (30 Minutes Before)
Power lights via stable DC sources or certified ballasts. Avoid sharing circuits with motors or compressors that cause voltage fluctuations. - Final Check (Before Rolling)
Record a 10-second test clip. Play back in slow motion. Inspect for any dark bands or brightness shifts. Adjust shutter speed in small increments if needed. - During Shoot
Monitor ambient lighting changes—sunlight shifting behind clouds or HVAC cycling can affect perceived flicker. Recheck every hour or after equipment adjustments.
Real-World Example: Wedding Videography Gone Wrong
Jessica, a wedding videographer based in Berlin, encountered severe flicker during a reception filmed under decorative LED string lights. Despite appearing warm and consistent to guests, her footage showed rolling black bars across every clip. She was shooting at 24 fps—an artistic choice—but Germany runs on 50 Hz power, making 25 or 50 fps safer options.
Post-event, she consulted a lighting technician who explained the mismatch. For future events, she now carries a battery-powered LED panel and tests ambient fixtures with a dedicated flicker checker app. She also briefs venues in advance about disabling decorative lighting during key speeches.
Her workflow adjustment prevented recurrence—and saved hours of rejected edits.
Checklist: Flicker-Free Video Shoot Preparation
Use this checklist before every production involving artificial lighting:
- ✅ Confirm local mains frequency (50 Hz or 60 Hz)
- ✅ Set camera frame rate accordingly (25/50 fps or 30/60 fps)
- ✅ Use 180° shutter angle (or multiple aligned with AC cycle)
- ✅ Test all lights with your camera—not your eyes
- ✅ Prefer DC-powered or professionally rated LED panels
- ✅ Avoid PWM dimming; use neutral density filters instead
- ✅ Record a test clip and review in full resolution
- ✅ Bring backup lighting in case ambient LEDs cannot be controlled
FAQ: Common Questions About LED Flicker
Can I fix LED flicker in post-production?
Some flicker can be reduced using software like DaVinci Resolve or Adobe Premiere Pro with the \"Denoise\" or \"Deflicker\" plugins. However, severe cases involving banding or exposure swings cannot be fully corrected. Prevention is always superior to correction.
Why do some LED lights flicker only when I zoom in?
Zooming digitally increases magnification, making subtle flicker more visible. It does not cause flicker but reveals inconsistencies already present in the footage. Optical zoom has less impact since it maintains sensor resolution.
Are all fluorescent lights flicker-free?
No. Traditional magnetic ballast fluorescents flicker at 100–120 Hz, which can still interfere with fast shutter speeds. Modern electronic ballasts and T5/T8 tubes with high-frequency operation are much better suited for video.
Expert Insight: Industry Standards Evolving
As hybrid content creation grows—where smartphones, mirrorless cameras, and cinema rigs coexist—the demand for flicker-free lighting has pushed manufacturers to adopt stricter standards.
“We’re seeing a shift toward IEEE 1789 compliance, where flicker percentage and frequency are quantified. It’s becoming a spec sheet staple, like color temperature.” — Lena Park, Product Engineer at Luminaire Labs
IEEE 1789 recommends operating LEDs at frequencies above 3 kHz to eliminate perceptible flicker and health concerns. While not yet universal, this benchmark helps professionals identify trustworthy gear.
Conclusion: Take Control of Your Lighting Environment
LED flicker on camera is not random—it’s predictable, preventable, and solvable. By understanding the interplay between electricity, light output, and camera mechanics, you gain control over one of the most common pitfalls in modern video production. Whether you're filming interviews, events, or cinematic scenes, consistent illumination builds credibility and enhances storytelling.
Start by auditing your current setup. Replace unverified lights with certified flicker-free alternatives. Standardize your frame rate and shutter settings based on location. And never assume a light is safe just because it looks steady.


 浙公网安备
33010002000092号
浙公网安备
33010002000092号 浙B2-20120091-4
Comments
No comments yet. Why don't you start the discussion?