
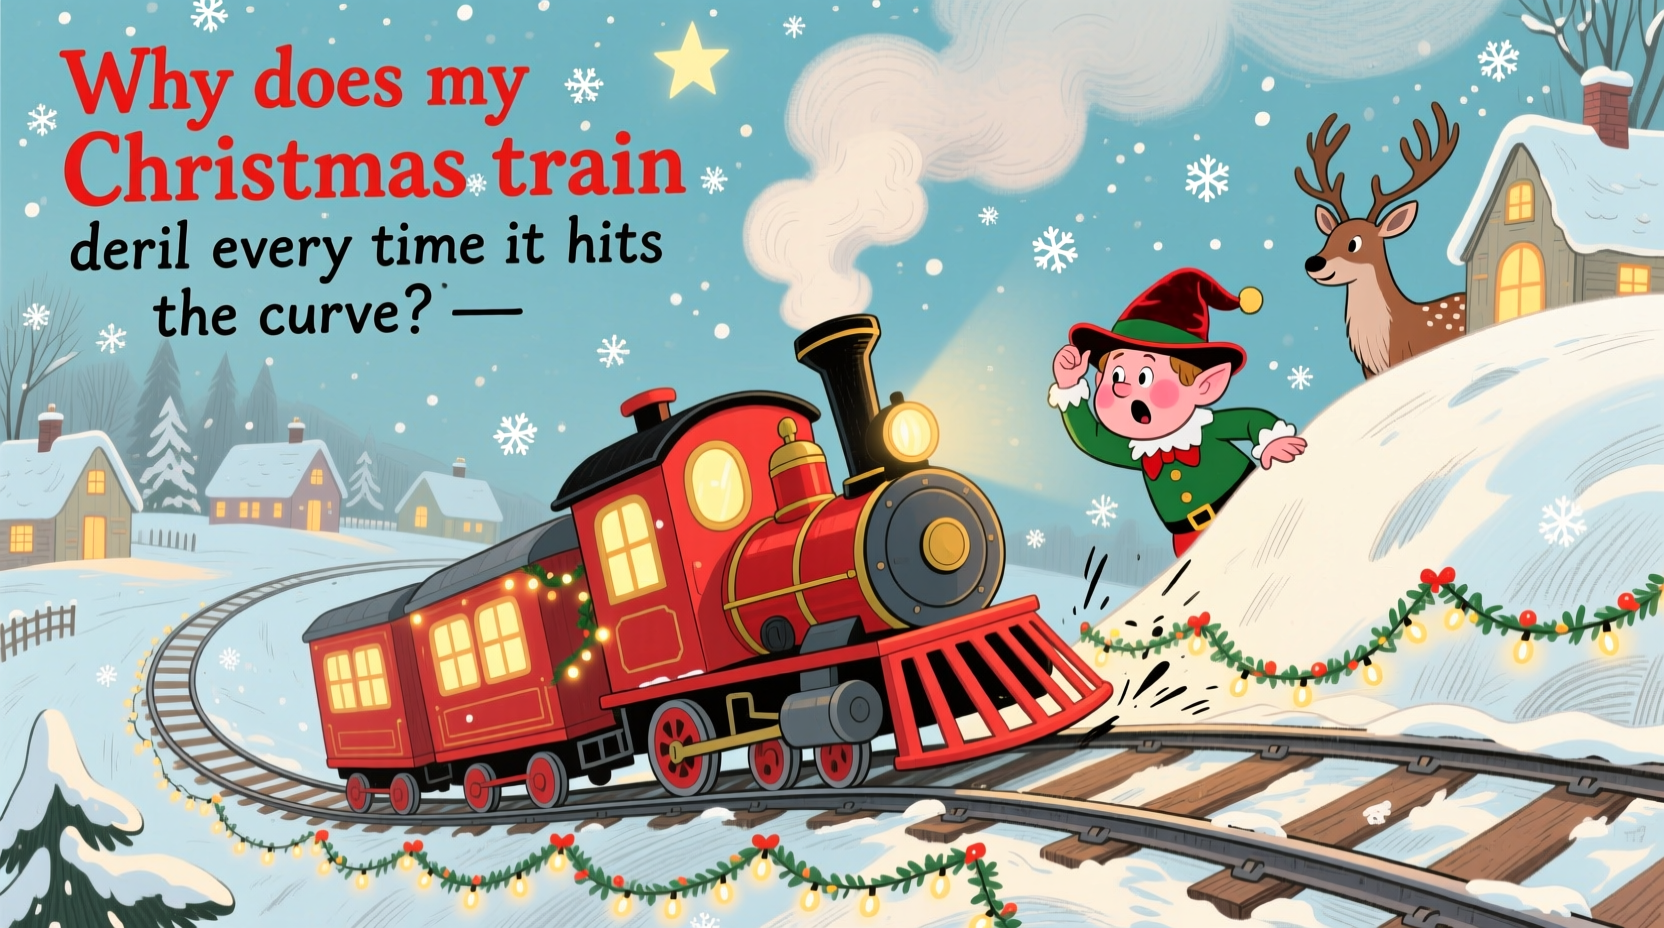
Every holiday season, families gather around beautifully decorated Christmas villages, with miniature trains chugging along tracks, adding motion and nostalgia to the festive display. But nothing disrupts the magic faster than a train that consistently jumps the rails just as it reaches a curve. If your Christmas train derails every time it hits the curve, you're not alone—and more importantly, it’s likely fixable. This issue stems from a combination of mechanical, environmental, and setup-related factors. Understanding the root causes and applying targeted solutions can restore smooth operation and bring back the joy of a seamlessly running holiday train.
Understanding How Model Trains Navigate Curves
Model trains are designed to mimic real locomotives, but at a much smaller scale. Their ability to stay on track depends on precise engineering of wheels, axles, track alignment, and speed control. When a train enters a curve, centrifugal force pushes outward, increasing the risk of derailment if any part of the system is compromised. The tighter the curve, the greater the stress on the wheels and track interface.
Most standard O-gauge or HO-gauge Christmas trains use flanged wheels—wheels with a raised inner edge that keeps them aligned within the rails. As the train rounds a bend, the outer wheel travels a longer distance than the inner one. Real trains solve this with conical wheel treads and flexible bogies; model trains rely on simpler mechanics, making proper setup even more critical.
A derailment on a curve doesn’t necessarily mean your train is broken. More often, it's a sign that one or more elements in the system—track, train, power supply, or environment—are out of balance.
Common Causes of Curve Derailments
Determining why your train derails requires careful observation and systematic troubleshooting. Below are the most frequent culprits behind curve-related derailments.
1. Misaligned or Poorly Connected Track Sections
Even a slight misalignment between two track segments can cause wheels to lift or jump, especially under momentum. Over time, plastic or metal tracks can warp due to temperature changes or improper storage. Gaps or height differences at joints become trip points on curves where lateral forces are already high.
2. Dirty or Oxidized Rails and Wheels
Accumulated dust, grime, or oxidation on the rails reduces electrical conductivity and traction. When power delivery becomes inconsistent, the motor may stutter or surge unpredictably as it exits a curve, causing jerking motions that lead to derailment. Similarly, dirty wheels lose grip and can slip sideways when turning.
3. Excessive Speed
Many users assume faster movement looks more realistic, but most Christmas trains aren't built for high-speed performance. Running too fast through a curve increases outward force dramatically. A train that runs smoothly on straightaways may violently jump the track on even moderate bends if speed isn’t moderated.
4. Worn or Damaged Wheel Sets
Over years of use, wheel flanges can wear down, become bent, or accumulate debris. Misshapen wheels don’t track properly, especially when navigating curves. Inspect each wheelset closely—look for flat spots, cracks, or uneven spacing between the flange and rail.
5. Improper Track Radius for Your Train Model
Not all model trains can handle tight curves. Some larger or older locomotives require a minimum turning radius (often 18 inches or more). Using tighter-radius curves than recommended stresses the couplers and trucks, forcing wheels off the rails. Always check manufacturer specifications for minimum curve radius compatibility.
6. Uneven or Unstable Surface
If your layout sits on an unstable base—a wobbly table, carpeted floor, or surface affected by foot traffic—vibrations can destabilize the train mid-turn. Even small shifts in elevation across the layout can compound problems on curves.
“Over 70% of model train derailments I see during holiday service calls stem from track misalignment or excessive speed. It’s rarely a defect—it’s usually setup.” — Mark Reynolds, Model Railroading Technician with 25+ years of experience
Step-by-Step Guide to Prevent Curve Derailments
Follow this logical sequence to diagnose and resolve recurring derailments.
- Power Down and Inspect All Track Sections
Disconnect power and examine every joint, especially those near curves. Ensure connectors are fully seated and there are no gaps, twists, or height discrepancies. Use a level to verify consistent elevation across the entire loop. - Clean Rails and Train Wheels
Use a lint-free cloth dampened with isopropyl alcohol to wipe down all rail surfaces. For stubborn oxidation, use a dedicated track-cleaning block or eraser. Clean each wheelset with a cotton swab and alcohol, ensuring flanges are free of residue. - Test on Straight Track Only
Reassemble a short straight section. Run the train slowly and observe wheel movement. Listen for grinding or skipping sounds. If issues appear here, the problem lies with the train, not the track layout. - Gradually Introduce One Curve
Add a single curved section to the straight run. Position it so you can clearly watch the train enter and exit. Run at minimal speed. If derailment occurs, mark the exact point and recheck alignment. - Adjust Locomotive Truck Movement
Check that the front and rear trucks (wheel assemblies) pivot freely. Stiff or jammed trucks can’t adapt to curves. Apply a tiny drop of light lubricant (like silicone-based gear oil) only to pivot points—not on gears or electrical contacts. - Reduce Controller Voltage
Lower the throttle to its minimum setting and gradually increase until the train moves smoothly. Aim for a slow, steady pace—about 1–2 inches per second—through curves. - Secure the Entire Layout
Anchor the track to a rigid baseboard using clips or adhesive if necessary. Avoid placing the layout where pets or children might bump it. Even minor disturbances can trigger derailments at high-stress points.
Do’s and Don’ts: Track and Train Maintenance Table
| Do | Don’t |
|---|---|
| Use track cleaner regularly, especially before seasonal setup | Use household cleaners like Windex or vinegar on metal tracks |
| Store tracks flat and in labeled containers to avoid warping | Stack heavy items on top of stored track boxes |
| Inspect wheel flanges annually for wear or damage | Run the train if any wheel appears cracked or loose |
| Operate at low-to-moderate speeds on curves | Force a train through a curve that previously caused derailment without fixing the cause |
| Use manufacturer-recommended curve radii for your model | Mix different brand tracks unless confirmed compatible |
Real Example: The Johnson Family’s Holiday Fix
The Johnsons had enjoyed the same Lionel Christmas train for over 15 years. Each November, they’d excitedly unpack it, only to face the same frustration: the locomotive would make three full laps and then derail precisely at the northwest curve. They tried tightening connections, cleaning the track, and even replacing the engine—nothing worked reliably.
This year, they decided to investigate systematically. After reading about minimum curve radius requirements, they measured their layout and discovered they were using 15-inch radius curves—tighter than the 18-inch minimum recommended for their vintage steam engine. They purchased two additional wide-radius curve pieces, expanding that section. They also cleaned the wheel trucks and applied a drop of lubricant.
The result? A smooth, uninterrupted run throughout the entire holiday season. The train completed over 200 laps without incident. “We didn’t realize our sentimental favorite needed more space to turn,” said Sarah Johnson. “It wasn’t broken—it just needed the right conditions.”
Essential Checklist for Smooth Holiday Operation
- ✅ Inspect all track connections for gaps, twists, or misalignment
- ✅ Clean rails and wheels with isopropyl alcohol
- ✅ Verify your curve radius meets manufacturer recommendations
- ✅ Test train on straight track before adding curves
- ✅ Operate at reduced speed, especially through bends
- ✅ Check that wheel trucks pivot freely
- ✅ Secure the layout to a stable, level surface
- ✅ Monitor first few runs closely for early warning signs
Frequently Asked Questions
Can I use any type of curve with my Christmas train?
No—not all curves are universally compatible. Most manufacturers specify a minimum curve radius. Using tighter curves than recommended increases derailment risk and can strain motors and gears over time. Always consult your train’s manual or product specifications before assembling the layout.
Why does my train run fine at first but then derail later?
This often indicates heat buildup or gradual loss of traction. As the motor warms up, slight expansion or increased vibration can amplify existing flaws—like a slightly raised rail joint or stiff truck. It may also suggest dirty pickups losing contact intermittently. Cleaning and securing all components usually resolves this.
Is it safe to lubricate my model train?
Yes, but only in the right places. Apply light silicone or synthetic oil sparingly to moving parts like truck pivots and coupler joints. Never lubricate gears, electrical pickups, or wheel treads, as this attracts dust and reduces traction. Over-lubrication can be worse than none at all.
Conclusion: Keep the Holiday Spirit on Track
A Christmas train that derails every time it hits a curve isn’t a lost cause—it’s a solvable puzzle. With attention to detail, a methodical approach, and a little patience, you can ensure your holiday tradition runs as smoothly as it should. From verifying track alignment to respecting speed limits and maintenance schedules, each step brings you closer to a flawless display.
Remember, these miniature trains carry more than freight—they carry memories. Ensuring their reliable operation preserves not just a toy, but a ritual that connects generations. This season, don’t let a derailed train dim the lights on your holiday village.


 浙公网安备
33010002000092号
浙公网安备
33010002000092号 浙B2-20120091-4
Comments
No comments yet. Why don't you start the discussion?