
If you've ever applied a fresh coat of nail polish only to see it flake, peel, or chip within hours—sometimes even minutes—you're not alone. This frustrating experience affects both casual polish users and frequent manicure-goers. While nail polish technology has improved dramatically, longevity still depends heavily on preparation, technique, and aftercare. The good news: most premature chipping isn’t due to poor product quality but rather preventable mistakes in the process. Understanding the science behind adhesion, moisture, and wear can transform your manicure from fleeting to long-lasting.
The Science Behind Nail Polish Adhesion
Nail polish doesn't just sit on top of your nails—it bonds with the keratin surface through a combination of mechanical grip and chemical compatibility. When this bond fails early, chipping occurs. Several factors influence adhesion, starting with the condition of the nail plate itself. Healthy, dry nails provide an ideal canvas. However, nails that are oily, moisturized, or uneven create weak points where polish lifts.
The nail’s natural oils and residual moisture from hand washing or lotion use interfere with the bonding process. Even if your hands feel dry, invisible moisture trapped under or within the nail layer can expand and contract with temperature changes, causing micro-lifting. Additionally, ridges or roughness on the nail surface act as stress points, making edges more prone to peeling.
“Most chipping begins at the free edge or cuticle area because those zones endure the most physical contact and flexing. Proper sealing and buffing reduce vulnerability.” — Dr. Lena Torres, Cosmetic Dermatologist & Nail Health Specialist
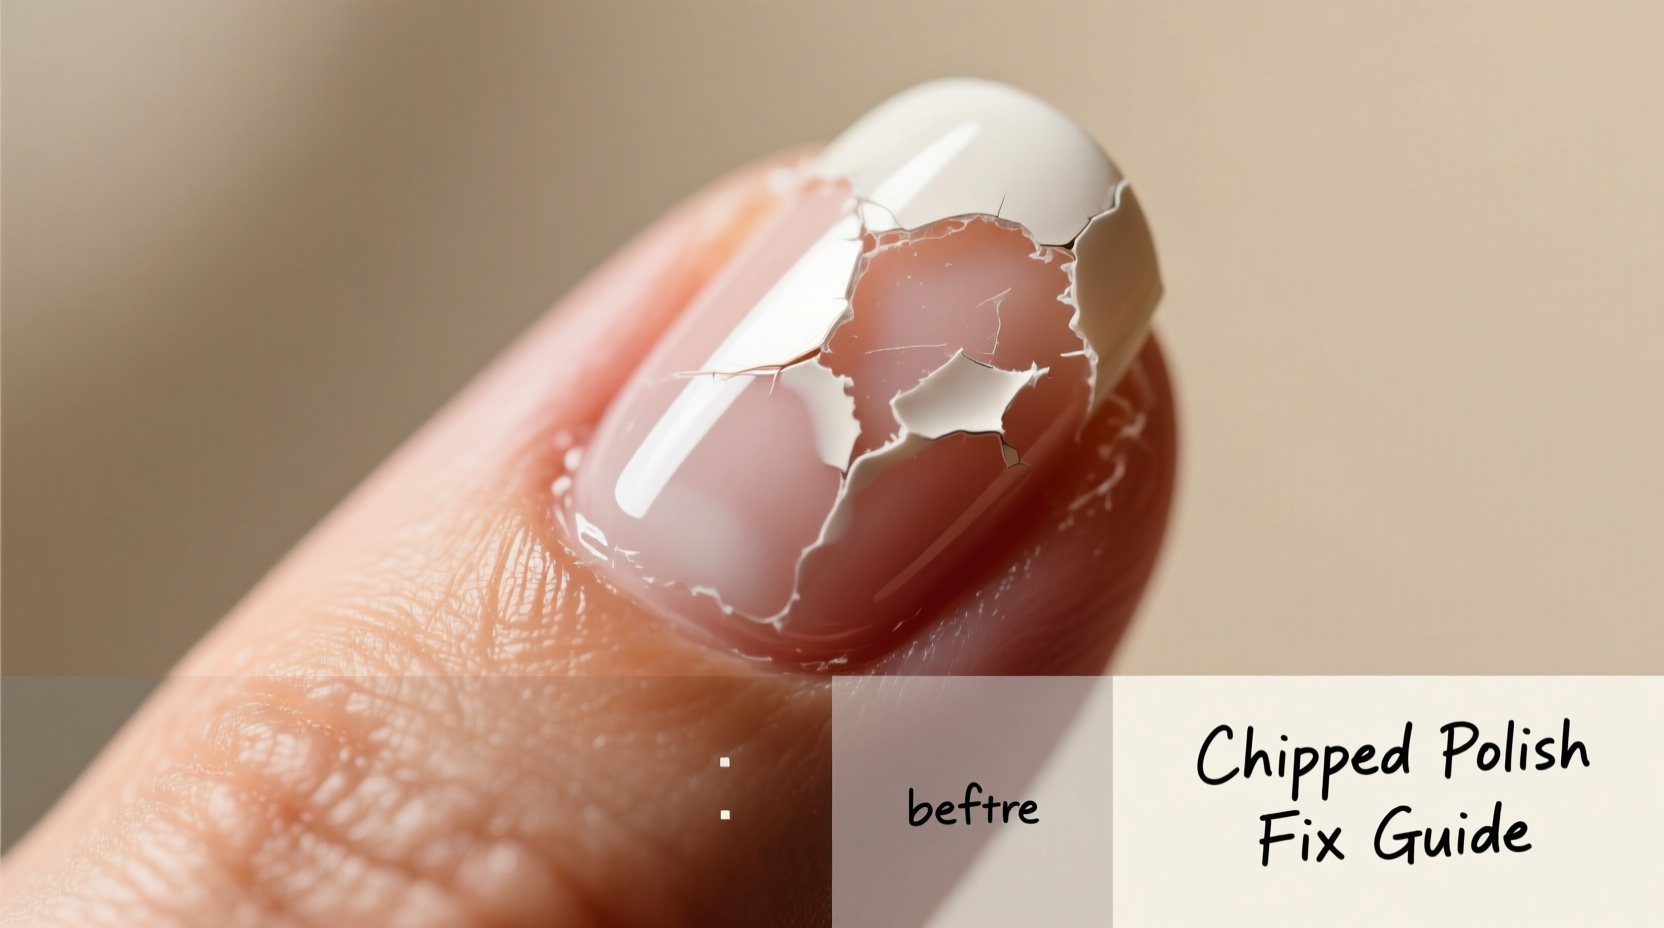
Common Causes of Premature Chipping
Chipping within hours usually stems from one or more overlooked steps in the manicure process. Identifying these root causes is the first step toward lasting results.
- Inadequate nail prep: Skipping cleaning, dehydrating, or shaping leaves residue that blocks adhesion.
- Applying polish over lotion or oil: Moisturizers create a barrier between the nail and polish, weakening the bond.
- Thick or uneven coats: Thick layers dry unevenly, crack under stress, and take longer to cure fully.
- Not capping the free edge: Failing to seal the tip of the nail allows daily activities to lift the polish from the front.
- Exposure to water too soon: Washing hands or doing dishes within two hours disrupts the curing process.
- Poor quality base or top coat: These are the foundation and shield of your manicure—skimping here compromises everything.
- Nail type and health: Brittle, soft, or layered nails naturally shed polish faster due to structural instability.
Step-by-Step Guide to Long-Lasting Nail Polish
A professional-quality manicure at home is achievable with discipline and attention to detail. Follow this timeline for a chip-resistant finish that lasts up to two weeks.
- Remove old polish completely using acetone-based remover. Avoid non-acetone removers for full removal—they leave behind a film.
- Shape and file nails in one direction using a fine-grit file (180+ grit). Avoid sawing motions that cause micro-splits.
- Gently push back cuticles with a wooden stick. Do not cut live tissue unless done by a professional.
- Buff lightly to smooth ridges. Use a 4-way buffer block with medium-fine grit. Over-buffing thins the nail and increases flexibility.
- Wash and dry hands thoroughly, then wipe each nail with 70% isopropyl alcohol. Let nails air-dry for two minutes.
- Apply a pH-balancing nail prep solution (optional but recommended) to neutralize surface acidity and enhance adhesion.
- Use a high-quality base coat. Apply a thin, even layer, ensuring it touches the very edge of the free tip. Wait 2–3 minutes to dry.
- Apply color in thin layers. Two thin coats are better than one thick one. Allow 5–7 minutes of drying time between coats.
- Cap the free edge with every coat. Run the brush horizontally across the tip of each nail to seal the end.
- Finish with a durable top coat. Choose a quick-dry, ridge-filling formula. Reapply every 2–3 days to refresh protection.
- Avoid water and heavy use for at least two hours. Keep hands dry during this critical curing window.
Real Example: From Hours to 10 Days
Sophie, a nurse in Chicago, struggled with her polish chipping by lunchtime after morning application. Her job required constant hand washing, glove use, and patient contact. After consulting a nail technician, she revised her routine: she began prepping nails with alcohol wipes, switched to a rubber base coat (designed for flexibility), applied thinner color layers, and capped every edge. She also started reapplying top coat during shift breaks. Result? Her manicure now lasts 10–12 days despite rigorous hand hygiene. The change wasn’t in the brand—but in the method.
Do’s and Don’ts: Nail Polish Application Table
| Do’s | Don’ts |
|---|---|
| Use a dehydrating wipe before base coat | Apply polish over hand cream or cuticle oil |
| File in one direction only | Use metal tools to scrape off polish |
| Apply thin, even layers | Paint thick, gloopy coats |
| Seal the free edge with each coat | Leave the nail tip exposed |
| Reapply top coat every 2–3 days | Wait until chipping starts to maintain |
| Wear gloves for chores | Soak hands in hot water immediately after painting |
Choosing the Right Products for Durability
Not all polishes are created equal. While technique matters most, product quality amplifies results. Look for formulas labeled “long-wear,” “chip-resistant,” or “gel-like.” These often contain stronger resins and plasticizers that increase elasticity and adhesion.
Rubberized base coats have become industry favorites because they adhere tightly while allowing slight movement—critical since nails flex with everyday use. Similarly, top coats with UV filters help prevent discoloration and brittleness from sun exposure.
Water-based polishes and “non-toxic” brands may be gentler but often lack the durability of traditional solvent-based formulas. If longevity is your goal, prioritize performance over marketing claims.
Maintenance Checklist for Week-Long Wear
Preserving your manicure goes beyond the initial application. Use this checklist to extend wear time:
- ✅ Apply cuticle oil nightly *after* top coat has dried (usually 1 hour post-application)
- ✅ Reapply top coat every 2–3 days, focusing on tips and stress zones
- ✅ Wear cotton-lined rubber gloves when washing dishes or cleaning
- ✅ Avoid using nails as tools (opening cans, scratching surfaces)
- ✅ Limit prolonged soaking in baths or hot tubs
- ✅ Gently buff any rough spots instead of picking at flakes
- ✅ Use a quick-dry spray or drops to accelerate drying if needed
Frequently Asked Questions
Can I make regular polish last as long as gel?
While gel manicures typically last 2–3 weeks due to UV curing and cross-linking polymers, regular polish can approach 10–14 days with perfect prep, high-quality products, and diligent maintenance. However, gel will always offer superior hardness and resistance to wear.
Why does my polish chip right at the cuticle?
This usually happens because the base coat wasn’t applied close enough to the skin, leaving a microscopic gap. As the cuticle grows out or shifts, it creates tension that lifts the polish. Always paint slightly under the cuticle line (without damaging live tissue) and cap the edge.
Is it bad to leave polish on for more than two weeks?
Yes. Extended wear without removal can trap moisture, encourage fungal growth, and weaken the nail structure. After 14 days, remove polish gently with acetone-soaked wraps, hydrate nails deeply, and allow a short break before reapplying.
Final Thoughts: Mastery Over Mistake
Chipping nail polish isn’t inevitable—it’s a signal. It tells you something in your routine needs adjustment. Whether it’s skipping dehydration, applying coats too thick, or neglecting the free edge, each error has a simple fix. The transformation from hours to days of wear isn’t magic; it’s method. With precise preparation, thoughtful product selection, and consistent upkeep, you can enjoy vibrant, intact color that withstands real life.


 浙公网安备
33010002000092号
浙公网安备
33010002000092号 浙B2-20120091-4
Comments
No comments yet. Why don't you start the discussion?