
Carrying a backpack means you're likely juggling more than just books or a laptop. Keys are one of the most frequently used—and easily misplaced—items in daily life. Attaching your keychain directly to your backpack offers quick access, but doing so haphazardly can lead to damage, loss, or even security risks. The ideal solution balances convenience, durability, and discretion. Whether you're a student, commuter, or outdoor enthusiast, how you attach your keychain matters. This guide explores thoughtful, tested methods that keep your keys within reach while protecting both your gear and your peace of mind.
Why Keychain Placement Matters
It’s tempting to simply clip a keychain onto any available zipper pull. But over time, this habit can wear down zippers, cause snagging, or make your backpack look cluttered. More importantly, dangling keys can be a theft risk in crowded spaces or get caught on objects when moving through tight areas. Thoughtful attachment methods not only extend the life of your backpack but also enhance functionality. A well-placed keychain should be: accessible with one hand, secure enough to prevent accidental detachment, and discreet enough to avoid drawing unwanted attention.
Creative & Secure Attachment Methods
The best attachment strategies use existing backpack features or add minimal hardware without compromising design. Below are five proven techniques that combine practicality with ingenuity.
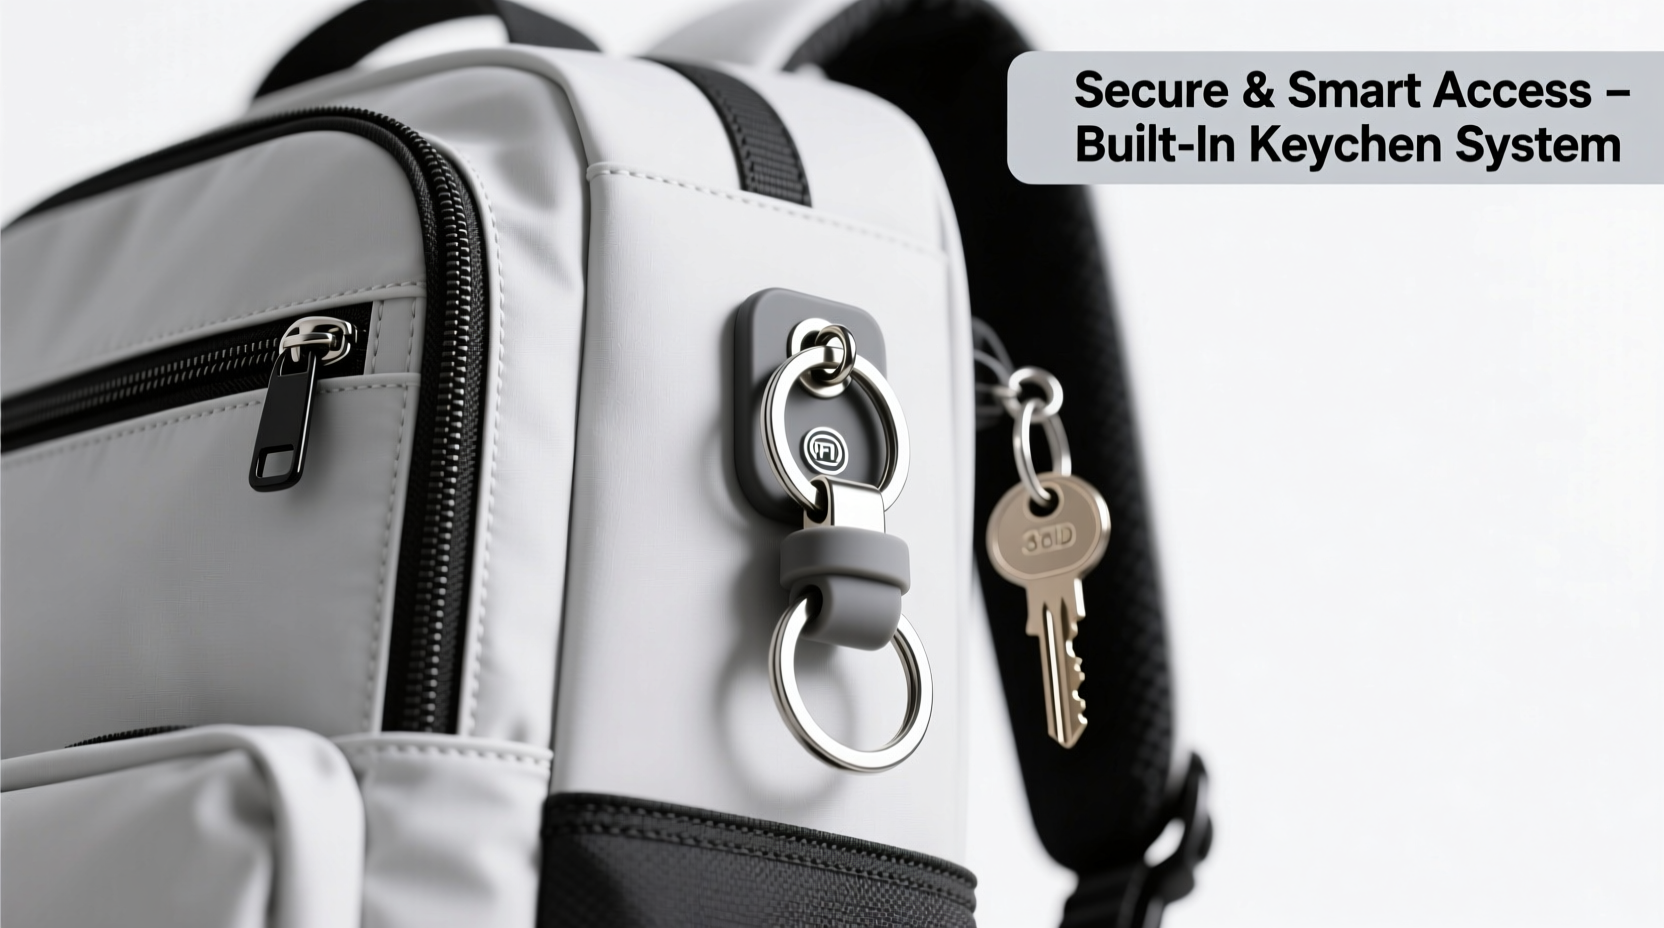
1. Use a Dedicated Key Clip or Loop
Many modern backpacks include a built-in key leash—a short nylon loop with a metal snap located inside a main compartment or near the top collar. If your bag has one, use it. It keeps keys secured and prevents them from getting lost among other items. For models without this feature, aftermarket key clips like the Nite Ize Gear Tamer or Pacsafe retractable cable locks can be anchored via internal loops or D-rings.
2. Attach to a Reinforced D-Ring
D-rings (metal or reinforced fabric loops) are commonly found on side compression straps or shoulder harnesses. These are structurally sound anchor points designed to handle stress. Use a carabiner or split ring to connect your keychain here. This location keeps keys visible yet protected, especially if the D-ring is near the top of the pack.
3. Integrate with a Lanyard or Retractable Reel
A retractable key reel—commonly seen in retail or office settings—can be adapted for backpack use. Mount the reel to an internal D-ring or sewn loop using its clip, then attach your keys. When needed, pull the chain out; release, and it retracts automatically. This method minimizes swinging, reduces snag risk, and keeps keys within immediate reach.
4. Conceal Inside a Zippered External Pocket
For maximum security, place your keychain inside a zippered front or side pocket, then thread the keyring through a small hole or mesh panel. Some backpacks have designated pass-through slots for cables or lanyards—use these to route a thin cord or paracord loop outside while keeping the actual keys safely enclosed. This deters theft while allowing swift access.
5. DIY Paracord Loop with Stopper Knot
Create a custom paracord loop by threading a 6-inch piece through a backpack strap or seam anchor point. Tie stopper knots at both ends to prevent slipping. Clip your keychain to the loop. Paracord is abrasion-resistant and blends well with tactical or outdoor-style packs. Choose colors that match your bag to maintain a clean aesthetic.
“Secure key storage isn’t just about preventing loss—it’s about designing habits that reduce friction in your daily routine.” — Jordan Lee, Urban Mobility Consultant
Step-by-Step: Installing a Discreet Internal Key Anchor
If your backpack lacks built-in key retention, install a low-profile anchor point using common materials. Follow this sequence:
- Identify an internal anchor: Look for a sturdy seam, webbing loop, or D-ring inside the main compartment.
- Gather supplies: A 2-inch steel split ring, a small key leash (or 4-inch paracord), and pliers.
- Attach the split ring: Open the split ring slightly with pliers and hook it onto the chosen anchor point.
- Connect the leash: Thread one end of the paracord through the split ring and tie a double fisherman’s knot.
- Add your keychain: Clip keys to the free end of the leash or tie a loop for a carabiner.
- Test security: Gently tug the keychain to ensure no slippage or strain on the backpack fabric.
This setup hides keys from view while allowing them to be pulled out quickly when needed.
Do’s and Don’ts: Keychain Attachment Guide
| Do | Don’t |
|---|---|
| Use reinforced anchor points like D-rings or internal loops | Clip heavy keys to delicate zipper pulls |
| Opt for lightweight carabiners or retractable reels | Allow keys to dangle freely where they can swing or snag |
| Store spare keys in a separate, hidden compartment | Attach keychains with sharp edges that could scratch electronics |
| Choose silent keycaps or silicone covers to reduce noise | Use oversized or flashy keychains in high-theft areas |
Real-World Example: Commuter Student’s Solution
Maya, a university student in Chicago, carried a sleek laptop backpack across campus daily. She initially clipped her large house-and-car keychain to the main zipper, but within weeks, the slider cracked. After replacing the zipper at a repair shop, she adopted a new system: a 3-inch steel split ring attached to an internal D-ring, connected to a black retractable 10-inch cable. Her keys stayed secure, quiet, and accessible with one hand—even when wearing gloves in winter. Theft incidents dropped in her dorm area after she removed flashy keychains, proving that subtle changes yield real benefits.
Checklist: Secure Keychain Setup
- ✅ Inspect backpack for built-in key loops or D-rings
- ✅ Remove unnecessary keys to reduce weight and bulk
- ✅ Select a low-profile attachment method (carabiner, reel, or loop)
- ✅ Test attachment strength by gently tugging the keychain
- ✅ Ensure keys don’t interfere with zippers, straps, or seated comfort
- ✅ Consider adding a backup micro-key stored separately
Frequently Asked Questions
Can I sew my own key loop onto a backpack?
Yes, but only if you have experience with heavy-duty stitching. Use UV-resistant nylon thread and reinforce the patch with bartack stitches. For non-waterproof bags, seal the puncture points with seam grip to prevent fraying or moisture ingress. If unsure, consult a repair specialist.
Are magnetic key holders safe for backpacks?
Magnetic key holders can work but pose risks. Strong magnets may interfere with electronic devices stored nearby, such as phones, credit cards, or laptops. Additionally, they can unexpectedly detach if bumped. If used, choose shielded, low-strength magnets and position them away from tech compartments.
What’s the safest way to carry keys in crowded cities?
In high-density areas, keep keys inside a zippered compartment and use a short lanyard fed through a mesh panel. Avoid external clips or dangling chains. Consider a wallet-style key organizer that lies flat and mimics the profile of a cardholder, reducing visibility to pickpockets.
Final Thoughts: Smart Access Starts with Smart Design
How you attach your keychain reflects how you manage everyday efficiency and personal security. The goal isn’t just to keep keys close—it’s to integrate them seamlessly into your carry system. By choosing durable attachment points, minimizing visual cues, and prioritizing function over flair, you create a routine that works whether you’re rushing between classes, navigating public transit, or hiking a trail. Small upgrades in organization compound into significant time savings and reduced stress over time.


 浙公网安备
33010002000092号
浙公网安备
33010002000092号 浙B2-20120091-4
Comments
No comments yet. Why don't you start the discussion?