
Stick drift on PS5 DualSense controllers is one of the most frustrating issues gamers face. It manifests as unresponsive or erratic movement in games—your character walks forward when you’re not touching the stick, or your camera spins uncontrollably. While Sony has made improvements over time, many users still encounter this problem within months of regular use. The good news: there are both temporary workarounds and long-term fixes. Understanding the difference between quick fixes and permanent solutions can save time, money, and frustration.
Understanding Stick Drift: Causes and Mechanism
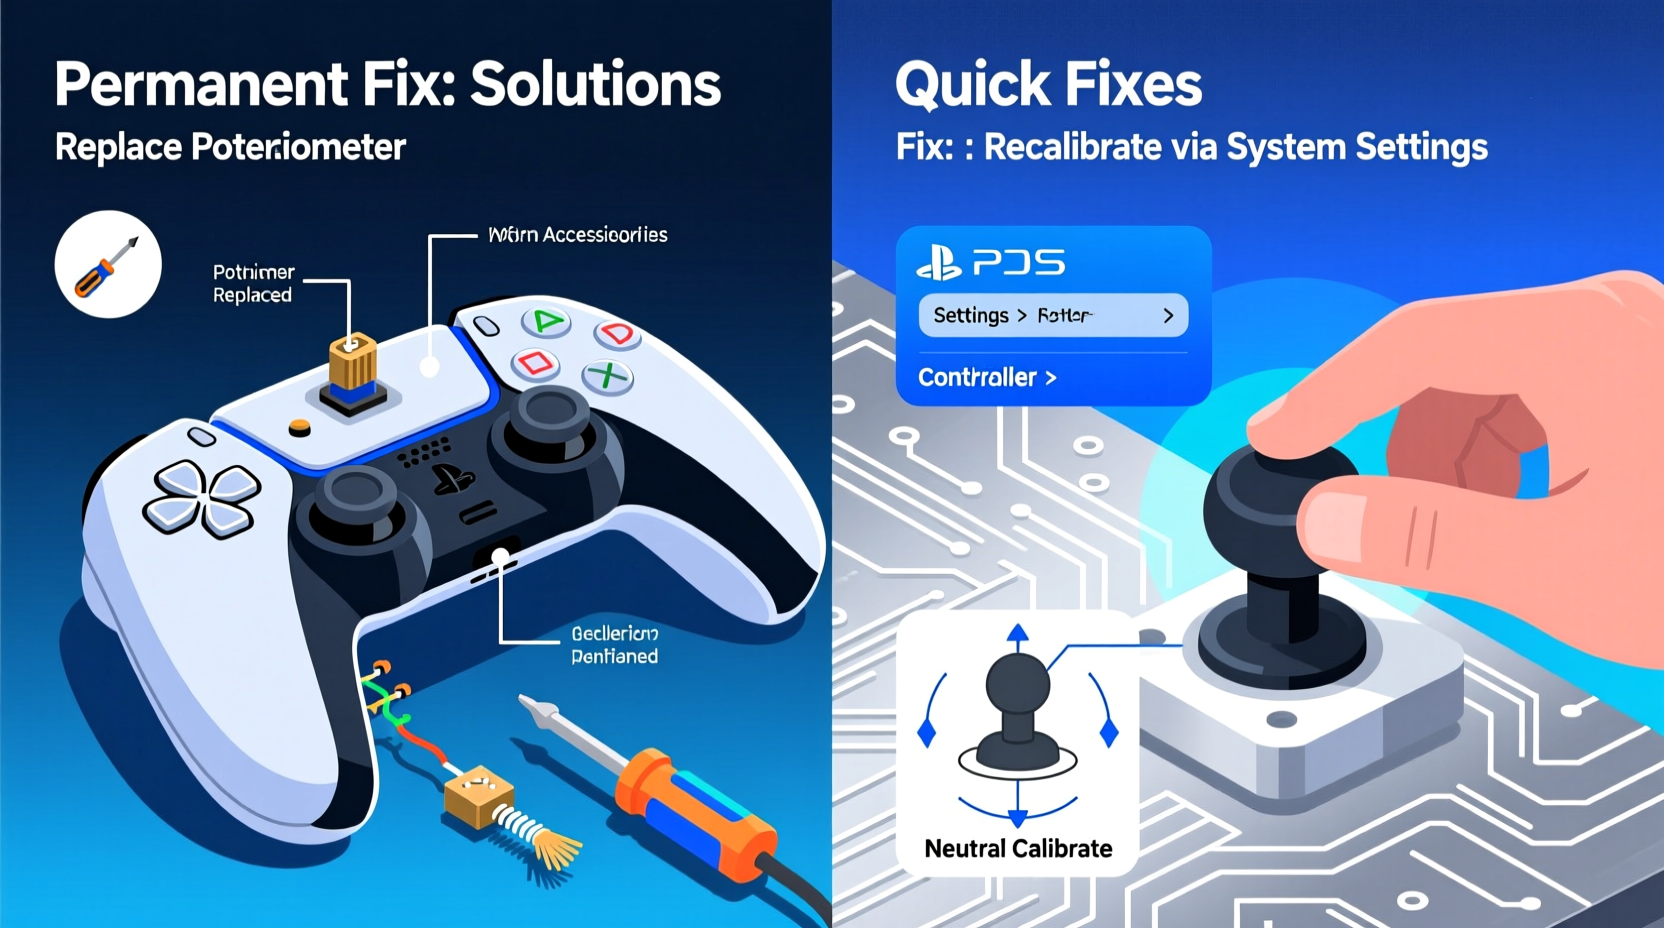
Analog sticks rely on potentiometers—small sensors that detect directional input based on resistance changes. Over time, dust, debris, sweat, and normal wear degrade these components. The rubber wiper inside the sensor loses contact precision, sending incorrect signals to the console. This results in “drift”—the controller registering movement even when untouched.
Environmental factors like humidity and frequent gameplay accelerate deterioration. Additionally, aggressive thumb pressure or playing while eating (crumbs!) introduces contaminants into the stick housing. Unlike software glitches, true stick drift is primarily mechanical, though firmware updates can sometimes mask or temporarily correct it.
“Analog stick degradation isn’t a flaw—it’s physics. All joysticks wear out, but quality control and usage habits determine lifespan.” — Mark Tran, Electronics Repair Technician with 12 years of console experience
Quick Fixes: Immediate Relief Without Tools
When drift starts, immediate action can restore functionality for short periods. These methods don't require disassembly and are ideal for testing severity or delaying more invasive steps.
1. Controller Recalibration via Settings
Sony includes a built-in calibration tool designed to reset analog input baselines:
- Go to Settings > Accessories > Controllers.
- Select Calibrate Control Sticks.
- Follow on-screen prompts to center both sticks fully.
This recalibrates the neutral position and may eliminate minor drift caused by temporary signal offset. However, if internal components are physically worn, recalibration offers only fleeting relief.
2. Blowing Compressed Air Around the Base
Dust and skin particles accumulate under the stick cap. Using compressed air can dislodge debris without opening the controller:
- Tilt the controller at a 45-degree angle.
- Spray short bursts around the stick base in a circular motion.
- Avoid shaking the can to prevent moisture discharge.
3. Firmware Update Check
Sony periodically releases DualSense firmware updates that improve stability:
- Connect the controller via USB.
- Navigate to Settings > System > System Software > Updates.
- If available, install the latest update.
While firmware won’t repair hardware wear, it can optimize sensor response and reduce false inputs.
Potential Risks of Temporary Methods
Some widely shared DIY tricks do more harm than good. Here's what to avoid:
| Method | Risk | Why It’s Problematic |
|---|---|---|
| Using rubbing alcohol directly on stick | Seal degradation | Liquid seepage damages internal circuits and degrades rubber seals. |
| Wrapping tape around stick base | Increased friction | Alters stick range of motion; accelerates internal wear. |
| Pressing down hard during use | Mechanical stress | Forces misaligned components further out of tolerance. |
Permanent Solutions: Repair, Replacement, or Upgrade
For lasting resolution, intervention beyond surface cleaning is required. True permanence involves either replacing worn parts or upgrading hardware.
Step-by-Step Guide: Replacing Analog Sticks
Replacing the joystick modules restores full functionality. This requires basic tools and moderate technical comfort.
What You’ll Need:
- Replacement joystick module (available online for $6–$10 per stick)
- Phillips #00 screwdriver
- Plastic prying tools or guitar picks
- Soldering iron (if replacing at board level)
Steps:
- Power off and disconnect the controller from all sources.
- Remove seven screws on the back using a Phillips #00.
- Separate the casing gently using plastic tools—start from the triggers.
- Lift the motherboard carefully after detaching ribbon cables.
- Locate joystick assemblies—they plug into sockets or solder directly.
- Desolder old sticks (if soldered) or unplug modular units.
- Install new sticks, ensuring proper alignment.
- Reassemble in reverse order and test before final tightening.
Total time: ~45 minutes. Success rate exceeds 85% when using high-quality replacement parts.
Professional Repair Services
If DIY feels risky, third-party repair shops offer stick replacements for $40–$70. Reputable providers use OEM-grade parts and often include warranty coverage. Look for services advertising “DualSense joystick replacement” specifically.
Alternatively, contact Sony Support. Under extended warranties or regional consumer laws (e.g., EU), free repairs may be available even outside standard 1-year coverage.
Mini Case Study: Recovering a Year-Old Controller
James, a daily gamer from Manchester, noticed left-stick drift in *FIFA 24* after eight months of use. He tried recalibration and compressed air—temporary improvement lasted two days. Faced with buying a new $70 controller, he opted for self-repair.
He purchased a $7 joystick set, followed a YouTube teardown guide, and completed the swap in under an hour. Post-replacement, the controller responded accurately for over six months with no recurrence. Total cost: less than 15% of a new unit.
“I assumed it was a lost cause,” James said. “But fixing it myself gave me confidence to maintain other devices too.”
Prevention Checklist: Extend Your Controller’s Lifespan
After fixing stick drift, protect your investment with proactive care:
- ✅ Clean around sticks monthly with dry microfiber cloth
- ✅ Use silicone caps to shield stick bases from debris
- ✅ Avoid eating or drinking near the controller
- ✅ Store in a low-humidity environment
- ✅ Rotate multiple controllers if gaming heavily
- ✅ Limit excessive thumb pressure during intense sessions
“Just like tires on a car, analog sticks are consumables. Treat them with care, and they’ll last significantly longer.” — Lena Park, Console Hardware Analyst at GameFix Labs
Comparison Table: Quick Fix vs Permanent Solution
| Aspect | Quick Fix | Permanent Solution |
|---|---|---|
| Time Required | 5–10 minutes | 30–60 minutes |
| Cost | $0–$15 (air can) | $6–$70 |
| Effect Duration | Hours to weeks | Months to years |
| Technical Skill | None | Moderate to advanced |
| Risk of Damage | Low (if done correctly) | Moderate (improper handling) |
| Best For | Testing drift severity, emergency play | Long-term reliability |
Frequently Asked Questions
Can stick drift be fixed without opening the controller?
In early stages, yes. Recalibration and compressed air may resolve minor drift caused by debris or signal drift. However, once internal potentiometers degrade, physical access is necessary for a reliable fix.
Is it worth repairing a DualSense instead of buying a new one?
Absolutely. A new official controller costs $69.99. Even professional repair ($50) saves money and reduces e-waste. Self-repair cuts costs further and builds technical skill.
Do third-party controllers have less stick drift?
Some premium third-party models (e.g., SCUF, Razer Wolverine) use hall-effect joysticks, which rely on magnetic sensors instead of physical contacts. These are inherently more resistant to drift and represent a viable long-term alternative for competitive players.
Conclusion: Take Control of Your Gaming Experience
Stick drift doesn’t have to mean the end of your PS5 controller’s life. While quick fixes offer momentary relief, they’re band-aids on a mechanical issue. Permanent solutions—whether DIY replacement, professional service, or upgrading to drift-resistant hardware—deliver lasting performance and value.
Every gamer deserves responsive controls. By understanding the root causes and available remedies, you regain not just functionality but also autonomy over your gear. Whether you choose to recalibrate, repair, or replace, taking informed action ensures smoother gameplay and fewer interruptions.


 浙公网安备
33010002000092号
浙公网安备
33010002000092号 浙B2-20120091-4
Comments
No comments yet. Why don't you start the discussion?