
As holiday seasons approach, homeowners and event decorators increasingly turn to animated lighting effects to create immersive winter atmospheres. Among the most popular options are lightweight LED projectors that cast dynamic, flickering snowflake patterns across walls, ceilings, and outdoor facades. These compact units offer energy efficiency, vivid projection quality, and ease of installation. However, achieving optimal visual impact depends heavily on correct mounting techniques. Poor placement can result in distorted images, uneven coverage, or safety hazards. This guide provides a comprehensive walkthrough of how to properly mount these devices for maximum effect, durability, and safety.
Understanding Your Projector’s Capabilities
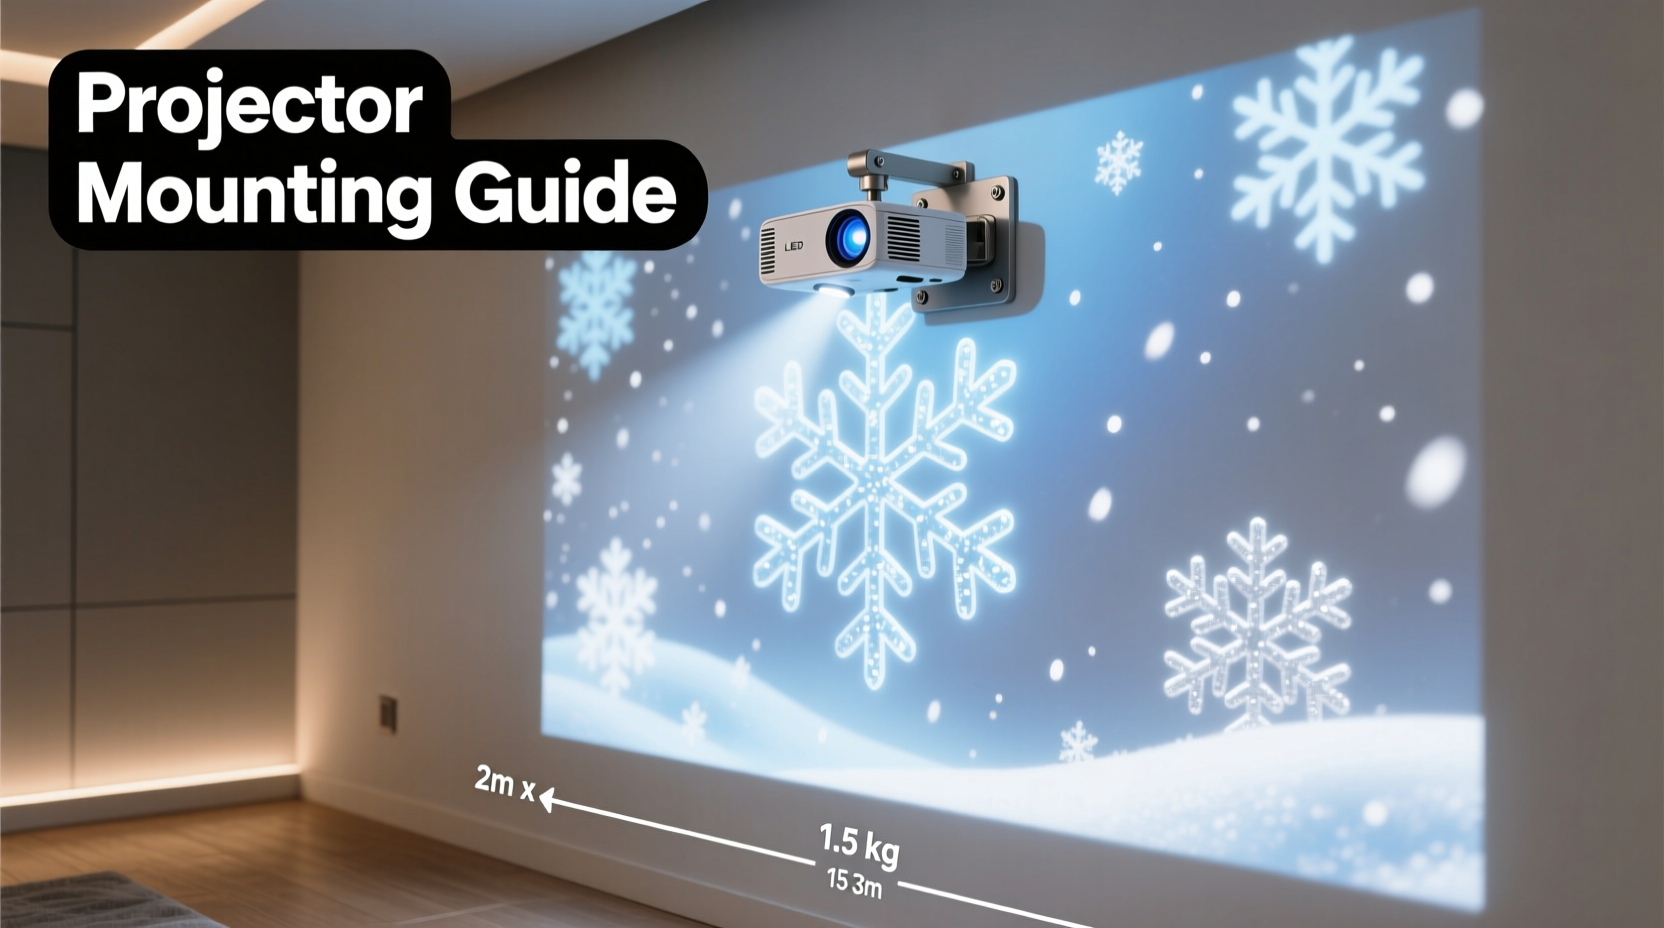
Before mounting begins, it's essential to understand the technical specifications of your LED projector. Most models designed for animated snowflakes have a rated projection distance between 5 and 20 feet, with coverage areas ranging from 60 to over 200 square feet depending on model and brightness (measured in lumens). Entry-level units may produce around 300–500 lumens, while premium versions reach up to 1,200 lumens for larger or outdoor use.
The lens type also affects performance. Fixed-focus lenses require precise distance calibration, whereas some advanced models feature adjustable focus rings allowing sharper image tuning post-installation. Additionally, consider whether your unit includes built-in motion sensors, remote controls, timers, or wireless synchronization features—these influence both placement strategy and power requirements.
Choosing the Right Mounting Location
Location determines everything—from visibility to maintenance access. Indoors, ideal spots include high corners of living rooms, above mantles, or near ceiling joints where the beam can fan across large wall surfaces without obstruction. Outdoors, eaves, soffits, porch columns, or upper balcony rails provide elevated vantage points.
Avoid placing projectors behind furniture, plants, or railings that could cast shadows or block part of the pattern. Also, ensure the surface being projected onto is relatively flat and light-colored; dark or textured walls absorb light and distort animation clarity.
Consider ambient light levels. Even moderately bright environments—such as streetlights or neighboring yard lamps—can wash out projections. For best results, install in low-light zones or program the device to activate only after dusk using its timer function.
“Mounting height and angle are just as important as brightness. A poorly angled projector turns delicate snowflakes into stretched blobs.” — Marcus Tran, Lighting Designer & Holiday Display Specialist
Step-by-Step Guide to Secure Mounting
Follow this sequence to safely and effectively install your LED snowflake projector:
- Power Off and Unpack: Ensure the projector is unplugged and all components are laid out—unit, mounting bracket (if included), screws, anchors, and instruction manual.
- Select Mounting Hardware: Use plastic wall anchors for drywall or masonry anchors for brick/concrete. Match screw size to the projector’s base holes (typically M4 or #8).
- Mark Drill Points: Hold the bracket against the wall at desired height. Use a level to align it horizontally, then mark screw positions with a pencil.
- Drill Pilot Holes: Using an appropriately sized bit, drill into marked points. Insert anchors if needed.
- Attach Bracket: Screw the bracket securely into place. Do not overtighten—this can strip threads or crack surfaces.
- Mount Projector: Slide or screw the projector onto the bracket according to manufacturer instructions. Some models lock in with thumbscrews; others require tools.
- Adjust Angle: Loosen tilt adjustment knob (if available) and point the lens toward target wall. Re-tighten once aligned.
- Connect Power: Route cord along baseboards or down gutters using adhesive clips. Avoid tripping hazards or water exposure.
- Test Operation: Plug in and turn on the unit. Observe projection shape, brightness, and animation flow. Make micro-adjustments as needed.
- Seal Outdoor Exposures: If installed outside, apply silicone sealant around screw heads and entry points to prevent moisture ingress.
Do’s and Don’ts of Installation
| Do’s | Don’ts |
|---|---|
| Use weatherproof enclosures for outdoor installations | Leave cords exposed to foot traffic or vehicle paths |
| Check local electrical codes when wiring permanently | Mount directly above heat sources like vents or heaters |
| Label multiple units for easy troubleshooting | Over-tighten mounting screws—plastic housings crack easily |
| Use UV-resistant zip ties for securing cables outdoors | Ignore manufacturer clearance recommendations around ventilation slots |
| Test alignment at night for realistic viewing conditions | Assume all projectors are waterproof—verify IP ratings first |
Mini Case Study: Transforming a Suburban Porch Display
In suburban Denver, homeowner Lisa Mendez wanted to elevate her annual Christmas lights display with subtle winter magic. She purchased two 800-lumen LED snowflake projectors but initially placed them too low—on deck railings—resulting in compressed, skewed patterns climbing only halfway up her two-story home.
After consulting online forums and rewatching setup videos, she relocated the units to the roofline soffits, approximately 18 feet above ground. Using extension ladders and toggle bolts for stucco walls, she mounted each projector at a 25-degree downward angle. By adjusting focus manually and spacing the beams slightly apart, she achieved full facade coverage with overlapping, drifting snowflakes that moved naturally across windows and siding.
The new setup increased neighborhood foot traffic during evenings, with several neighbors asking for advice. “It looked like a gentle blizzard was passing through,” Lisa said. “The difference a few feet of height made was unbelievable.”
Extending Performance with Smart Accessories
While many projectors work straight out of the box, integrating accessories enhances reliability and control:
- Smart Plugs: Connect via Wi-Fi to schedule on/off times or sync with sunset/sunrise data.
- Cable Management Kits: Include raceways and clips to hide cords neatly indoors and reduce trip risks outdoors.
- Pole Mounts: Useful for lawns or driveways where wall mounting isn't possible—attach to fence posts or freestanding poles.
- Diffusion Filters: Rare but available, these soften harsh edges in close-projection scenarios.
- Solar Shields: Small awnings or hoods prevent direct sun exposure which degrades casing materials over time.
For multi-projector setups, look for models supporting IR or RF syncing so animations stay coordinated. Staggered start times disrupt the illusion of continuous snowfall.
Frequently Asked Questions
Can I mount an LED snowflake projector upside down?
Yes, most modern units support inverted mounting thanks to internal orientation sensors or reversible image settings. Check your manual—if there’s an “image flip” option in the menu, you can safely install it upside down on ceilings or under eaves.
How do I prevent theft when mounting outdoors?
Use security screws (e.g., Torx or one-way bolts) instead of standard Phillips heads. Position units beyond arm’s reach—ideally over 8 feet high. Consider pairing with motion-sensor floodlights to deter tampering.
Are these projectors safe to leave on overnight?
Most are designed for extended operation (often rated for 5,000+ hours), but always verify thermal management features. Units with passive cooling (no fans) run cooler and quieter. Avoid covering ventilation grilles. For peace of mind, use a timer to limit runtime to 6–8 hours daily.
Checklist: Pre-Mounting Preparation
Before climbing a ladder or drilling into walls, complete this checklist:
- ☐ Read the user manual thoroughly, especially safety warnings
- ☐ Confirm compatibility with indoor/outdoor use (check IP rating)
- ☐ Measure throw distance from intended mount point to target wall
- ☐ Gather proper tools: drill, level, tape measure, screwdrivers, anchors
- ☐ Test projector functionality on a table or stand
- ☐ Plan cable route and identify nearest GFCI outlet (for outdoor use)
- ☐ Notify household members about installation timing and power interruptions
- ☐ Check weather forecast—avoid rainy or windy days for exterior work
Maintaining Long-Term Performance
Once mounted, routine maintenance ensures lasting performance. Dust accumulation on lenses causes dimming and blurry patterns. Wipe the lens gently every few weeks with a microfiber cloth dampened with distilled water. Never use alcohol-based cleaners unless specified by the manufacturer.
Inspect mounts seasonally, especially after storms. Vibration and temperature shifts can loosen fasteners over time. Tighten any wobbly brackets and replace cracked anchors promptly. If using extension cords, examine them for fraying or cracking insulation.
At the end of the season, remove and store projectors in climate-controlled spaces. Wrap cords loosely—never coil tightly—to avoid wire fatigue. Keep units in original boxes or padded containers to protect lenses and buttons.
“Treat your holiday projectors like seasonal electronics—not disposable decor. With care, they’ll perform beautifully for five years or more.” — Derek Lin, Consumer Electronics Technician
Conclusion
Mounting lightweight LED projectors for animated snowflake patterns combines technical precision with creative vision. When done correctly, the result is a captivating winter ambiance that delights residents and passersby alike. From selecting the right location and hardware to fine-tuning angles and protecting investments, each step contributes to a seamless, enchanting display.


 浙公网安备
33010002000092号
浙公网安备
33010002000092号 浙B2-20120091-4
Comments
No comments yet. Why don't you start the discussion?