
Outdoor holiday lighting can transform even the most modest landscape into a winter wonderland. But when your evergreen trees have thin or patchy foliage, stringing lights in straight rows often highlights gaps instead of creating ambiance. The solution? Staggering your light strands. This technique mimics natural depth and volume, turning a sparse tree into a glowing centerpiece. Whether you're working with a young spruce, a mature pine with bare lower branches, or a deciduous tree you're illuminating for seasonal effect, strategic staggering makes all the difference.
Unlike simply wrapping lights around a trunk or draping them vertically, staggering involves layering multiple strands at varying intervals and angles to create visual density. It’s a method used by professional decorators to maximize impact without requiring hundreds of extra bulbs. When done correctly, the human eye perceives continuity rather than gaps—making your tree appear lush, full, and professionally lit.
Why Staggering Works on Sparse Trees
Sparse trees—those with wide branch spacing, missing sections, or minimal needle coverage—pose a challenge for traditional lighting methods. A single strand of lights will follow the existing structure, emphasizing emptiness between branches. But staggering introduces controlled overlap and multidimensional placement that tricks the eye.
The principle is rooted in optical perception: when light points are distributed unevenly across different depths and heights, the brain fills in the blanks. Instead of seeing isolated strings, viewers perceive a cohesive glow. This is especially effective at night, when contrast and shadow play enhance the illusion of volume.
Staggering also allows you to direct attention where it matters most. You can concentrate more light near the base or crown, balance asymmetrical growth, or highlight architectural features like upward-sweeping limbs. It turns limitation into opportunity.
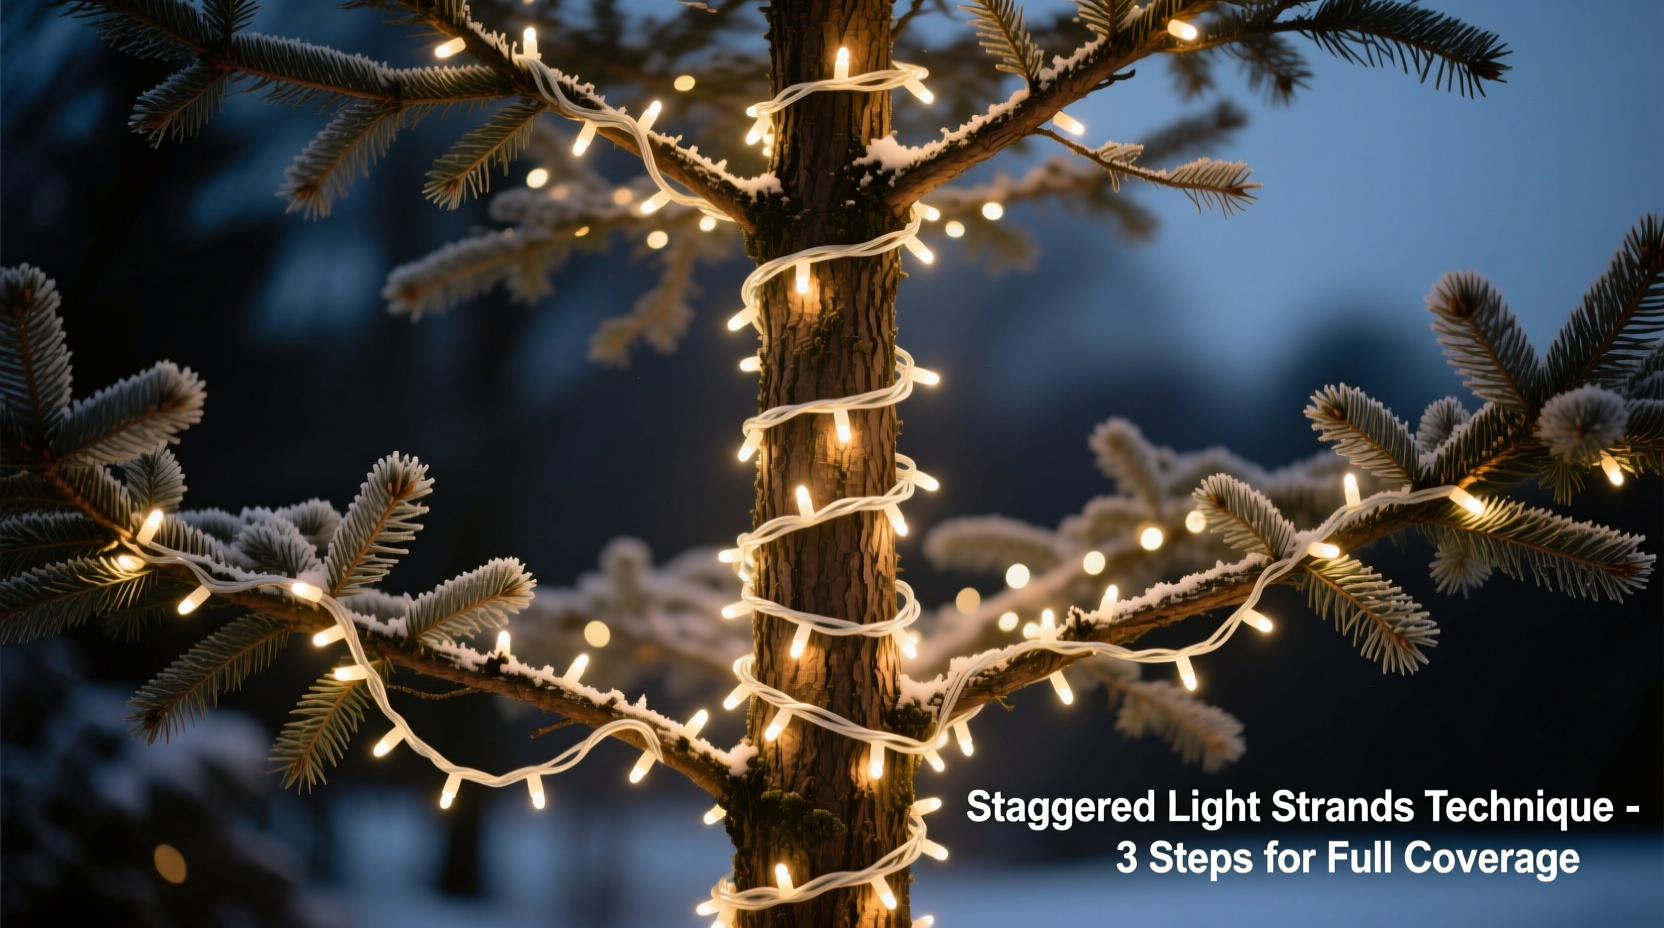
Step-by-Step Guide to Staggering Light Strands
Follow this proven sequence to achieve a dense, professional-quality lighting effect—even on underdeveloped trees.
- Assess the Tree Structure
Walk around the tree and note where branches are thick, thin, or absent. Identify primary limbs that can support weight and serve as anchor points. Mark areas you want to emphasize (e.g., the top third) or conceal (e.g., bare lower trunk). - Choose the Right Lights
Select flexible wire strands with closely spaced bulbs (ideally 4–6 inches apart). For most outdoor trees, 50- or 100-light strands work best. Use clips or twist ties later, but start with pliable, non-rigid wires. - Start High, Then Work Downward
Begin your first strand near the top of the tree, attaching it to an interior branch. Run it diagonally downward and outward, allowing it to weave through mid-level limbs. Do not wrap tightly—let it float slightly away from the trunk to create dimension. - Add a Second Strand with Offset Placement
Take a second strand and begin 12–18 inches below the starting point of the first. Angle it in the opposite direction—e.g., if the first went left-down, send this one right-down. This cross-hatching pattern prevents alignment and increases perceived density. - Incorporate Depth with Interior Runs
Push some sections of the strand deeper into the canopy, securing them to inner branches. This creates layers of light: front, middle, and back. The variation in distance from the viewer enhances three-dimensionality. - Repeat with Controlled Overlap
Add a third strand starting near the base and running upward at a shallow angle. Let it intersect with previous strands but avoid bundling wires together. Crossings are fine; nesting strands side-by-side reduces the stagger effect. - Fill Gaps Strategically
Use shorter plug-in segments or cut-to-length LED strips (if compatible) to add pinpoint brightness in dead zones. Focus on corners or sides facing high-traffic areas like sidewalks or windows. - Test and Adjust
Turn on the lights at dusk. Walk around the tree from multiple vantage points. If any area still looks thin, add a partial strand or reposition an existing one. Fine-tuning is part of the process.
Do’s and Don’ts of Staggered Lighting
| Do | Don’t |
|---|---|
| Use multiple short strands instead of one long one for better control | String lights in perfect horizontal or vertical lines |
| Vary the angle and starting height of each strand | Overlap strands directly on the same branch path |
| Secure lights with insulated branch clips, not nails or tight ties | Pull wires taut—slack allows for natural movement and depth |
| Test all strands before installation to avoid mid-process failures | Daisy-chain more than three strands unless rated for it |
| Use timers or smart plugs to manage energy use and wear | Leave lights up year-round—seasonal removal prevents weather damage |
Checklist: Preparing for a Staggered Lighting Installation
- ☐ Inspect all light strands for broken bulbs, frayed wires, or faulty connectors
- ☐ Count available strands and calculate coverage (aim for 100 lights per foot of tree height as baseline)
- ☐ Gather tools: insulated clips, step ladder, gloves, voltage tester, extension cords rated for outdoor use
- ☐ Map out the tree’s strong branches and plan starting points for 3–5 staggered runs
- ☐ Check local electrical codes if using multiple circuits or smart controllers
- ☐ Schedule installation during dry, wind-free weather
- ☐ Take a “before” photo to compare results after lighting
Real Example: Transforming a Thin Spruce in Suburban Denver
Jamie L., a homeowner in Highlands Ranch, Colorado, struggled for years with her 12-foot blue spruce. Planted five years prior, the tree had grown quickly but unevenly—dense at the top, nearly bare from the midpoint down. Previous attempts at lighting involved wrapping a single strand around the trunk and fanning out horizontally. From the street, it looked like a glowing lollipop on a stick.
In November 2023, Jamie decided to try staggering after watching a neighborhood display where every tree appeared luxuriant. She purchased six 100-light warm-white LED strands and insulated branch clips. Starting at the upper third of the tree, she ran the first strand diagonally toward the left front. The second began 15 inches lower and angled right. She repeated this with four more strands, alternating directions and depths. She avoided the thinnest lower quadrant entirely, instead using two short strands to highlight a nearby shrub, drawing attention away.
On lighting night, neighbors commented that the tree “looked twice as full.” Jamie noted that the effort took only 45 minutes more than her old method—but the visual payoff was dramatic. “It doesn’t hide the tree’s shape,” she said, “but it hides its weaknesses.”
Expert Insight: What Professional Decorators Know
“Amateurs light the branches. Pros light the space between them.” — Marcus Tran, Lead Designer at Everlight Holiday Installations, with 18 seasons of commercial and residential work
“Staggering isn’t just about placement—it’s about timing your eye movement. You want the viewer’s gaze to wander, not stop. That’s why randomization beats symmetry every time.” — Lena Pruitt, Urban Nightscapes Consultant
These insights underscore a key truth: effective lighting is design work, not just decoration. The goal isn’t to cover every inch but to guide perception. Staggering achieves this by introducing rhythm, surprise, and layered brightness.
Frequently Asked Questions
Can I stagger lights on a tree with no lower branches?
Absolutely. Focus your staggered runs on the upper canopy and use upward-facing ground stakes to project light into the trunk zone. You can also hang subtle strings from overhead structures (like eaves or power lines, if safe and permitted) to cast ambient fill light.
How many strands do I need to achieve a dense look?
As a rule of thumb, use at least three strands per vertical section of the tree. For a 10-foot tree, nine to twelve 100-light strands (or equivalent) are typically sufficient when staggered properly. More is not always better—placement matters more than quantity.
Is it safe to mix different bulb sizes or colors when staggering?
You can, but proceed with caution. Mixing warm and cool whites on the same tree can create visual dissonance. If using color variety, limit it to themed displays (e.g., red and green for traditional, blue and white for icy). For maximum fullness, stick to uniform bulbs and focus on placement diversity instead.
Final Tips for Long-Term Success
Once installed, maintain your staggered layout for future seasons. Take photos from multiple angles before removing lights so you can replicate the setup next year. Store strands carefully—wrap them on cardboard reels or use light keepers to prevent tangling. Label each strand’s intended position (e.g., “Top Left Diagonal”) for faster reinstallation.
Consider upgrading to programmable LED strands with dimming or gentle pulse effects. These add dynamic depth that further masks sparseness. And if your tree continues to grow, revisit the layout annually—what worked at 8 feet may need adjustment at 14.
Conclusion: Turn Sparse into Spectacular
Staggering Christmas light strands is more than a technique—it’s a mindset shift from covering to crafting. On sparse trees, it transforms limitations into creative opportunities. With thoughtful placement, varied angles, and layered depth, even a young or thin evergreen can become a radiant focal point.
This holiday season, skip the predictable wrap-and-go approach. Invest a little extra time in planning and staggering. The result won’t just look fuller—it will feel intentional, elegant, and worthy of second glances. Your neighbors might not know what you did differently, but they’ll know something changed.


 浙公网安备
33010002000092号
浙公网安备
33010002000092号 浙B2-20120091-4
Comments
No comments yet. Why don't you start the discussion?