How To Configure A Tp Link Extender


 0
0


 1/3
1/3


 1/3
1/3


 1/3
1/3


 1/3
1/3


 0
0


 1/20
1/20


 1/3
1/3


 1/3
1/3


 1/3
1/3


 1/3
1/3


 1/2
1/2


 1/3
1/3


 1/3
1/3


 1/3
1/3


 0
0


 1/3
1/3


 1/3
1/3


 1/1
1/1


 0
0
About how to configure a tp link extender
Where to Find TP-Link Extender Configuration Support?
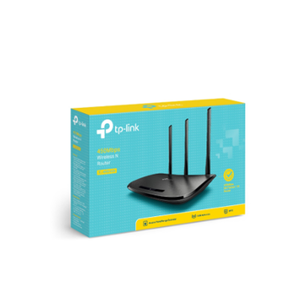
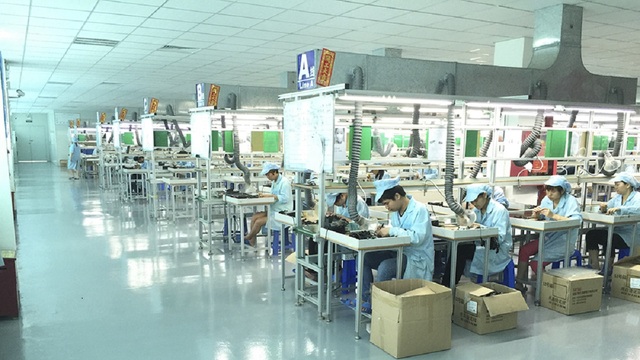
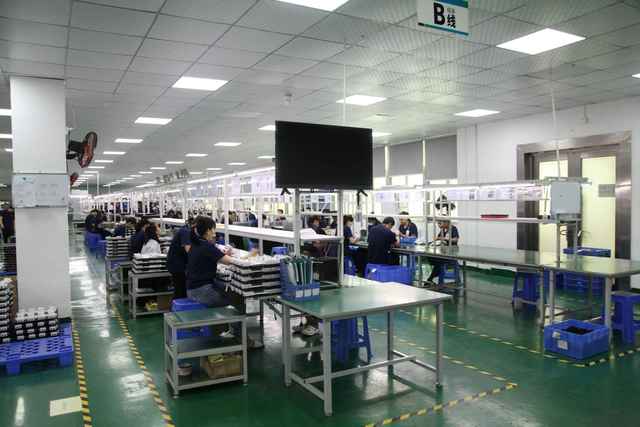
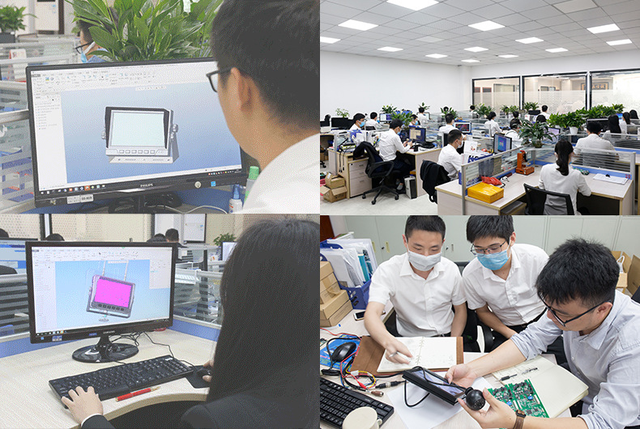
Configuration support for TP-Link Wi-Fi extenders is primarily delivered through digital channels and technical service networks rather than physical manufacturing hubs. Unlike industrial machinery, these consumer networking devices are mass-produced by OEMs in Guangdong and Jiangsu provinces, China, where over 75% of global WLAN equipment manufacturing is concentrated. These regions benefit from fully integrated electronics supply chains, enabling rapid firmware development, automated testing, and scalable production runs exceeding 500,000 units per month.
The post-purchase configuration ecosystem is decentralized, with official support managed directly by TP-Link’s global technical divisions. Regional distribution centers in North America, Europe, and Southeast Asia maintain localized help portals, multilingual documentation, and certified technicians to assist with setup, including web-based wizards (http://tplinkrepeater.net), mobile app guidance (Tether app), and WPS synchronization protocols. Buyers sourcing large deployments should confirm access to bulk configuration templates and enterprise-grade management tools such as Omada Controller integration or cloud-based monitoring via Kasa Smart technology.
How to Choose Reliable Technical Support for TP-Link Extenders?
When evaluating support reliability for deployment or procurement decisions, apply the following verification criteria:
Technical Documentation & Compliance
Confirm availability of region-specific setup guides compliant with IEEE 802.11ac/ax standards and regulatory certifications including FCC Part 15, CE RED, and RoHS. For commercial environments, ensure firmware supports WPA3 encryption and VLAN tagging. Validate that configuration interfaces are available in required languages and align with local data privacy regulations such as GDPR or CCPA.
Support Infrastructure Assessment
Evaluate the responsiveness and depth of technical resources:
- Official knowledge base with step-by-step configuration articles and video tutorials
- Multi-tiered support system offering email, live chat, and phone assistance
- Firmware update frequency (minimum quarterly patches recommended)
- Response time benchmarks: ≤4 hours for critical connectivity issues
Cross-reference user-reported resolution rates and average ticket closure times through independent review platforms. Prioritize suppliers or distributors who provide pre-deployment technical consultations and post-installation validation services.
Procurement & Deployment Safeguards
Require documented proof of genuine product sourcing, including serial number traceability and original factory warranties. For volume orders, confirm access to configuration-as-a-service options—such as pre-loaded SSID settings or MAC address whitelisting—to reduce on-site setup time. Utilize third-party inspection services when importing through intermediaries to verify device authenticity and packaging integrity before final payment release.
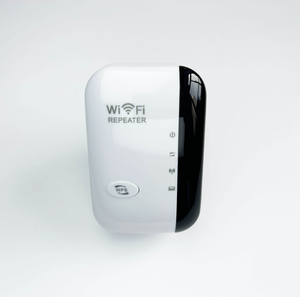
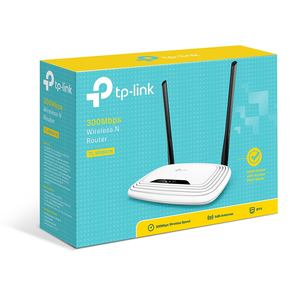
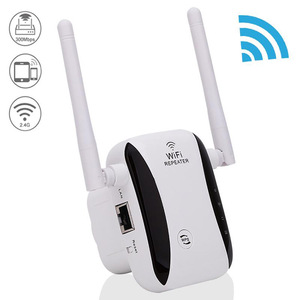
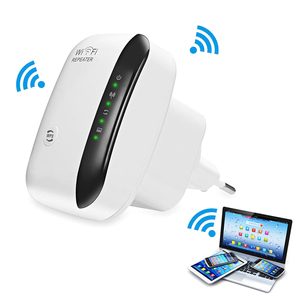
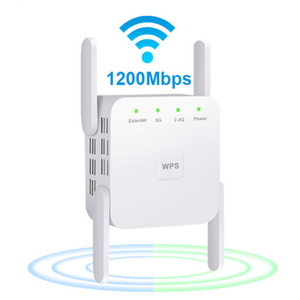
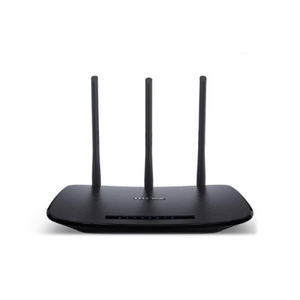
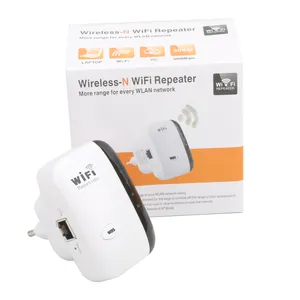
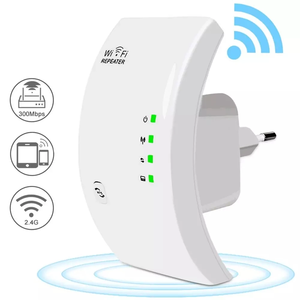
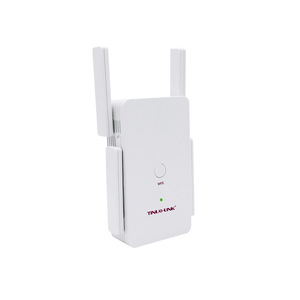
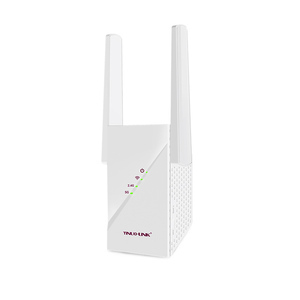
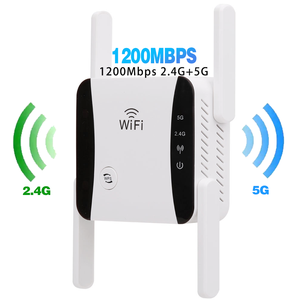
What Are the Key Configuration Methods for TP-Link Extenders?
| Configuration Method | Access Point | Prerequisites | Setup Time | Success Rate | Use Case Suitability |
|---|---|---|---|---|---|
| Tether App (Mobile) | Smartphone/Tablet | Android/iOS device, Wi-Fi enabled | 5–8 minutes | 94% | Home users, small offices |
| Web Browser (tplinkrepeater.net) | PC/Laptop | Connected to extender network | 7–12 minutes | 89% | Advanced settings, IT administrators |
| WPS Push Button | Router & Extender | WPS-enabled router, physical access | 2–4 minutes | 76% | Quick pairing, non-technical users |
| Cloud-Based Setup (Kasa Smart) | TP-Link Cloud | Account registration, internet access | 6–10 minutes | 91% | Remote management, multi-device networks |
Performance Analysis
The Tether app delivers the highest success rate and fastest deployment for consumer-grade installations, leveraging intuitive UI navigation and real-time signal feedback. Web-based configuration via tplinkrepeater.net remains essential for adjusting advanced parameters such as DHCP allocation, channel width (80 MHz), and beamforming settings. While WPS offers speed, its lower success rate stems from compatibility gaps with older routers and intermittent handshake failures. Cloud-integrated models support centralized control across multiple locations, making them ideal for managed service providers deploying standardized network extensions.
FAQs
How to verify correct placement during TP-Link extender setup?
Position the extender within range of the primary router but close enough to achieve at least -60 dBm signal strength. Use the LED indicators or Tether app’s site survey tool to identify optimal placement before final mounting. Avoid interference sources such as microwaves, cordless phones, or thick concrete walls.
What is the average firmware update cycle?
TP-Link releases firmware updates every 3–6 months, addressing security vulnerabilities, improving connection stability, and adding feature enhancements. Devices with automatic update enabled will download patches when connected to the internet; manual updates can be verified through the web interface under System Tools > Firmware Upgrade.
Can TP-Link extenders be configured without internet access?
Yes, initial setup does not require external internet connectivity. The extender only needs to establish a wireless link with the host router. Internet access is required only for firmware checks, remote management features, and cloud account synchronization.
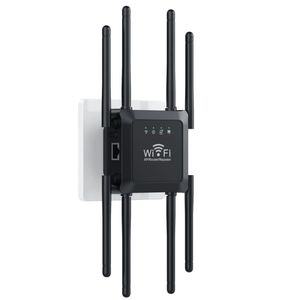
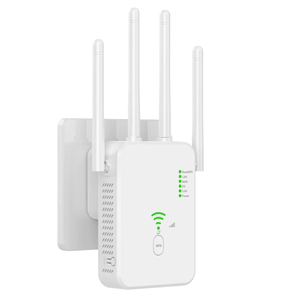
Do all models support mesh networking?
No. Only Deco series and select OneMesh-compatible extenders (e.g., RE505X, RE605X) support seamless roaming and unified SSID broadcasting. Legacy models operate in traditional range-extender mode, which may result in separate network names and manual switching between bands.
How to reset and reconfigure a used TP-Link extender?
Press and hold the Reset button for 8–10 seconds until all LEDs flash. This restores factory defaults. After reboot, reconnect to the default SSID (usually "TP-Link_Extender" followed by a unique ID) and restart the setup process using the preferred method (app, browser, or WPS).


