
Punk isn’t just music or fashion—it’s an attitude, a rebellion, a statement. And when it comes to self-expression, few canvases are as personal and accessible as your nails. Punk nail art transforms fingertips into miniature protest signs, bold declarations of individuality, and wearable art rooted in DIY culture. From safety pins to cracked textures, graffiti lettering to anarchic color clashes, mastering punk style in nail art means embracing chaos with intention. This guide breaks down the essential elements, tools, and techniques to help you craft authentic, head-turning punk-inspired manicures—without sacrificing precision.
The Essence of Punk in Nail Design
Punk nail art rejects polish in favor of raw energy. It’s not about perfection; it’s about expression. Rooted in the 1970s punk movement, this aesthetic thrives on contrast: glossy against matte, symmetry against asymmetry, beauty against decay. Think ripped fishnets translated into lace patterns, band logos scratched onto nails, or chrome studs mimicking leather jackets. The goal is to unsettle, provoke, and inspire.
Unlike minimalist or French styles, punk design welcomes imperfection. Uneven lines, chipped finishes, and jagged edges aren’t flaws—they’re features. But beneath the apparent disorder lies strategy. A truly compelling punk manicure balances controlled rebellion with intentional composition.
“Punk nail art is less about technique and more about attitude. If it feels too clean, you’ve probably missed the point.” — Lila Reyes, Nail Artist & Founder of Riot Lacquer
Essential Tools and Materials for Punk Nails
To create authentic punk nail art, you need more than standard polishes. The right toolkit expands your creative range and enables textures, attachments, and effects that define the genre.
| Tool/Item | Function | Punk Application Example |
|---|---|---|
| Metal studs & micro-rivets | Add 3D texture | Line cuticles like spikes on a collar |
| Foil transfer sheets | Create metallic sheen | Simulate chrome or distressed metal |
| Matte top coat | Flatten shine | Give nails a worn, grungy finish |
| Nail glue (cyanoacrylate) | Secure embellishments | Attach chains or tiny safety pins |
| Striping tape or vinyl stencils | Clean sharp lines | Create anarchist symbols or barbed wire |
| Sponge applicator | Blend colors roughly | Smudged graffiti-style gradients |
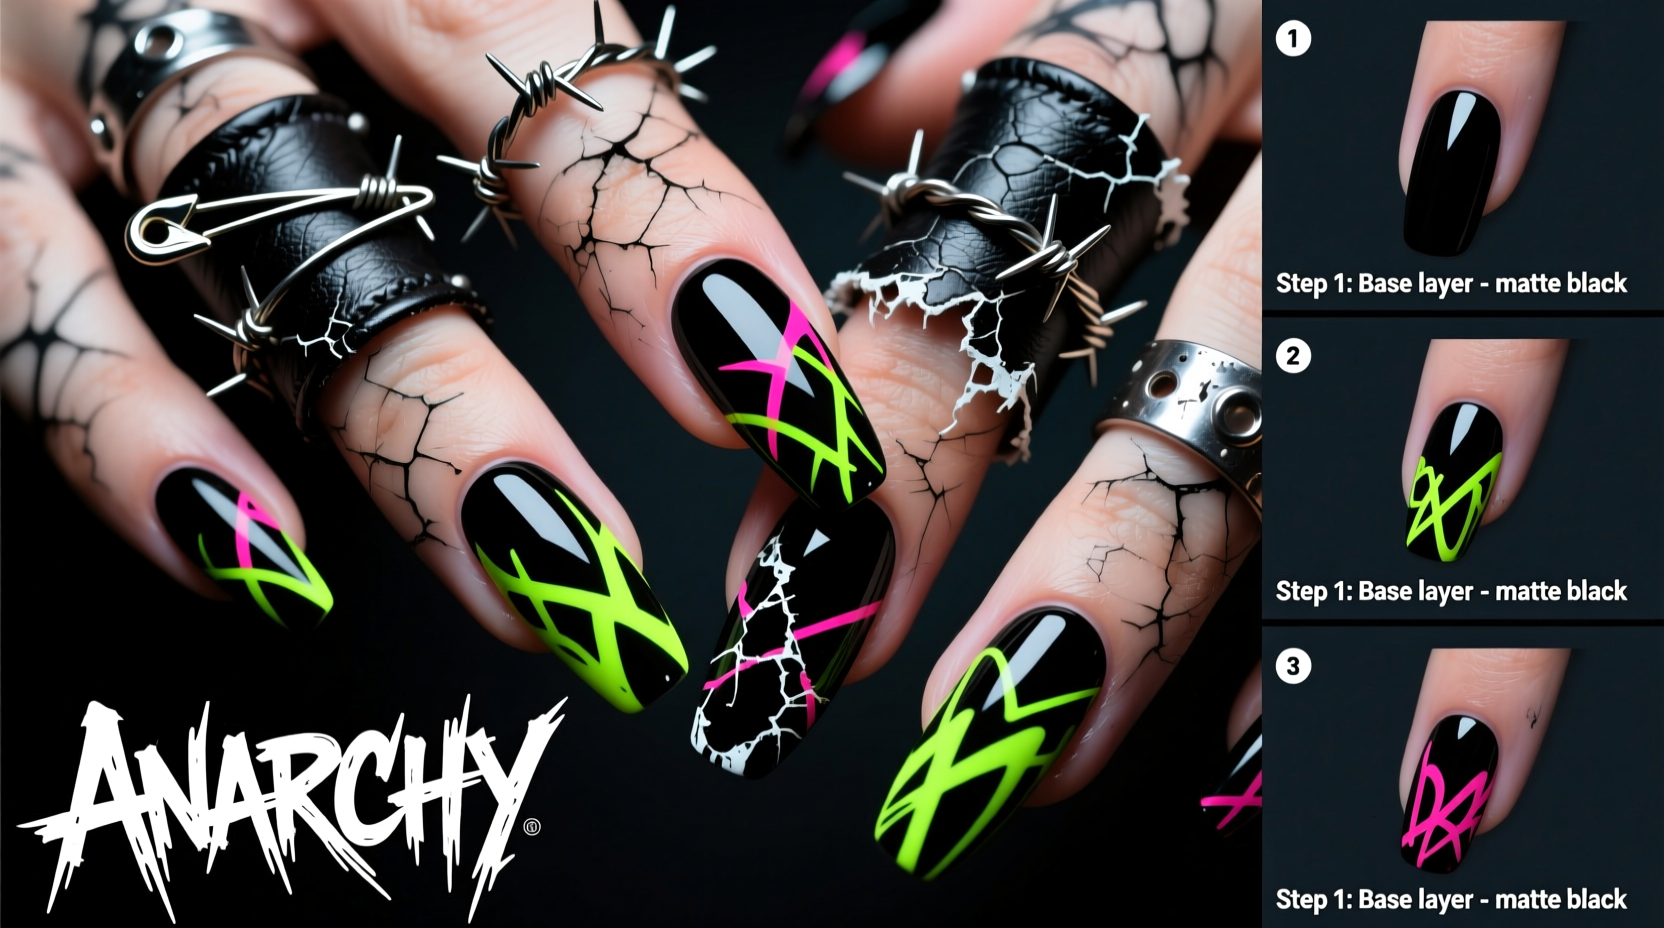
Step-by-Step Guide to Creating a Punk Nail Look
Follow this five-stage process to build a cohesive yet defiantly edgy manicure. This method works whether you're painting at home or refining your studio technique.
- Prep with Purpose: Clean nails thoroughly, push back cuticles, and lightly buff the surface. Apply a base coat—not to smooth, but to protect. Punk doesn’t mean damaging your nails.
- Choose Your Rebellion: Decide on a theme—e.g., anti-establishment, cyberpunk, or vintage punk. This guides color selection. Classic combos include black/red, silver/neon green, or monochrome with one bright accent nail.
- Lay the Foundation: Use a sponge to dab two or three clashing colors near the tip for a “torn” effect. Let layers dry between applications to avoid smudging.
- Add Symbols & Texture: Use striping tape to form sharp lines resembling barbed wire or prison bars. Paint anarchist circles (Ⓐ), skulls, or band initials with a fine brush. Embed small studs along the side edge of the ring finger for subtle aggression.
- Distress the Finish: Once fully dry, lightly scratch the surface with a toothpick or needle tool. Apply a matte top coat to mute shine, then selectively re-gloss only certain areas (like a stud or symbol) for contrast.
Real-World Inspiration: Maya’s Protest Manicure
Maya, a 28-year-old graphic designer from Portland, wanted her nails to reflect her activism ahead of a climate rally. She chose deep charcoal as a base, then used a stencil to spray-paint a raised fist in neon yellow across her thumbnails. Along the side walls, she glued tiny silver screws pointing outward like armor. To complete the look, she applied a cracked-effect top coat over half the nails, symbolizing environmental damage. The result? A conversation starter at every picket line.
Her approach blended symbolism with craftsmanship—a hallmark of effective punk design. As she noted: “It wasn’t just about looking tough. It was about making my hands part of the message.”
Do’s and Don’ts of Punk Nail Art
Avoid common pitfalls that dilute the impact of your design. Even rebellion benefits from rules.
| Do | Don’t |
|---|---|
| Use uneven lengths for asymmetry | Overload every nail with details |
| Mix finishes (gloss + matte + foil) | Forget nail health—no bleeding or pain |
| Incorporate meaningful symbols | Copy copyrighted band logos without permission |
| Keep one accent nail bold | Use weak adhesives that lose studs in hours |
| Let imperfections show | Confuse messiness with intentionality |
Checklist: Build Your Punk Nail Kit
- ✔️ Black, red, silver, and one neon polish
- ✔️ Matte and high-gloss top coats
- ✔️ Fine detail brush and striping tape
- ✔️ Small metal studs or magnetic spikes
- ✔️ Nail-safe adhesive (not regular glue)
- ✔️ Foil transfer kit or chrome powder
- ✔️ Sponge daubers for blending
- ✔️ Cuticle oil (for aftercare—punk lasts longer when hydrated)
FAQ: Common Questions About Punk Nail Art
Can I do punk nail art on short nails?
Absolutely. Short nails often enhance the aesthetic—think of them as clenched fists. Focus on bold colors, strong textures, and strategic studs on the sides or tips. Avoid overly intricate center designs that get lost on small surfaces.
How long does a punk manicure last?
With proper sealing and care, 7–10 days. The key is sealing each stud individually with top coat and reapplying a protective layer every few days. Avoid prolonged water exposure, especially if using foils or transfers.
Is it safe to use real safety pins on nails?
No. Full-sized safety pins are too heavy and unbalanced. Instead, use miniature nail studs shaped like pins or recreate the look with paint. Safety always comes before style—even in punk.
Conclusion: Make Your Statement, One Nail at a Time
Punk nail art isn’t about following trends—it’s about breaking them. It invites you to question norms, embrace imperfection, and wear your beliefs boldly. With the right materials, a clear vision, and respect for both craft and context, your nails become more than decoration. They become defiance. They become identity.
Start small: try a single studded nail or a hand-drawn slogan. Then build. Experiment with textures, symbols, and finishes until your hands feel like true extensions of your voice. The world doesn’t always listen—but with the right manicure, it might finally look.


 浙公网安备
33010002000092号
浙公网安备
33010002000092号 浙B2-20120091-4
Comments
No comments yet. Why don't you start the discussion?